
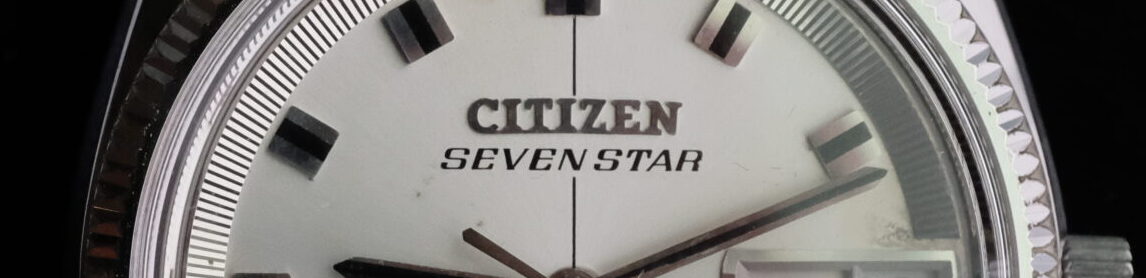
It’s a poor first impression, but we start this journey in the middle of the action. The movements were disassembled and all parts cleaned prior to starting documenting the service for this blog. Nevertheless, I will do my best to provide the necessary background information.
The two Citizen watches on the bench today were picked up as a pair from eBay a few months ago, and both are in need of attention. The listing pictures, salvaged from the order email, will serve as our “before”:
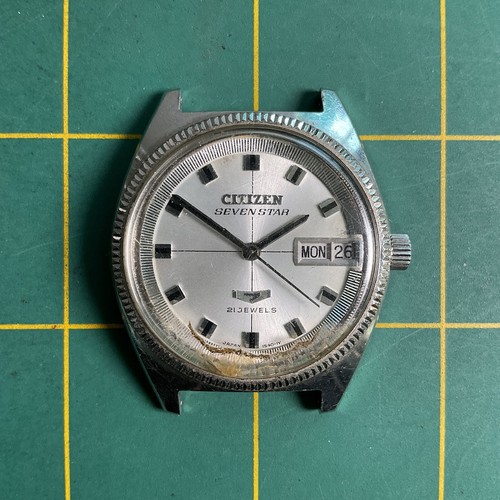
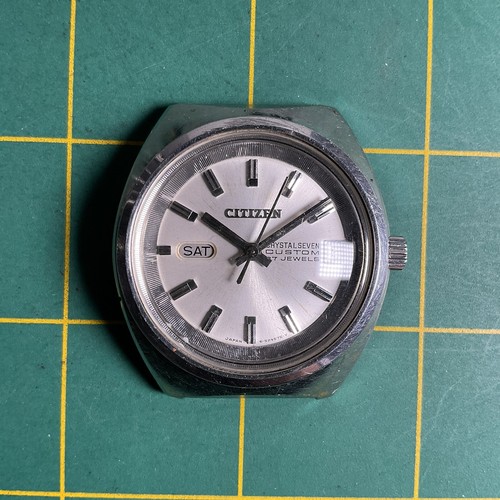
On the left, is the star of the show, a Citizen Seven Star 21 Jewels from April 1968. On the right, the Citizen Crystal Seven Custom 27 Jewels from April 1969. Both sport a cushion-case-inspired design, with the Crystal Seven bringing to mind the iconic case designs of Seiko’s “Pogue” or Omega’s Speedmaster Mark II.
Both bear the scars of a particularly hot environment. The Seven Star has a charred acrylic crystal, and the Crystal Seven has droplets of metal fused to the case. These cosmetic issues can be address later on.
The family tree for the 52xx movements from Sweephand’s Vintage Citizen Watch Blog can help with the genealogy of these two watches. It confirms the 5270 (21 Jewels) is correct for the Seven Star, and the same goes for the 5204 (here in 27 Jewels) belonging to the Crystal Seven Custom.
Regarding the condition of our Seven Star, the stills from the disassembly footage reveal several immediate concerns.
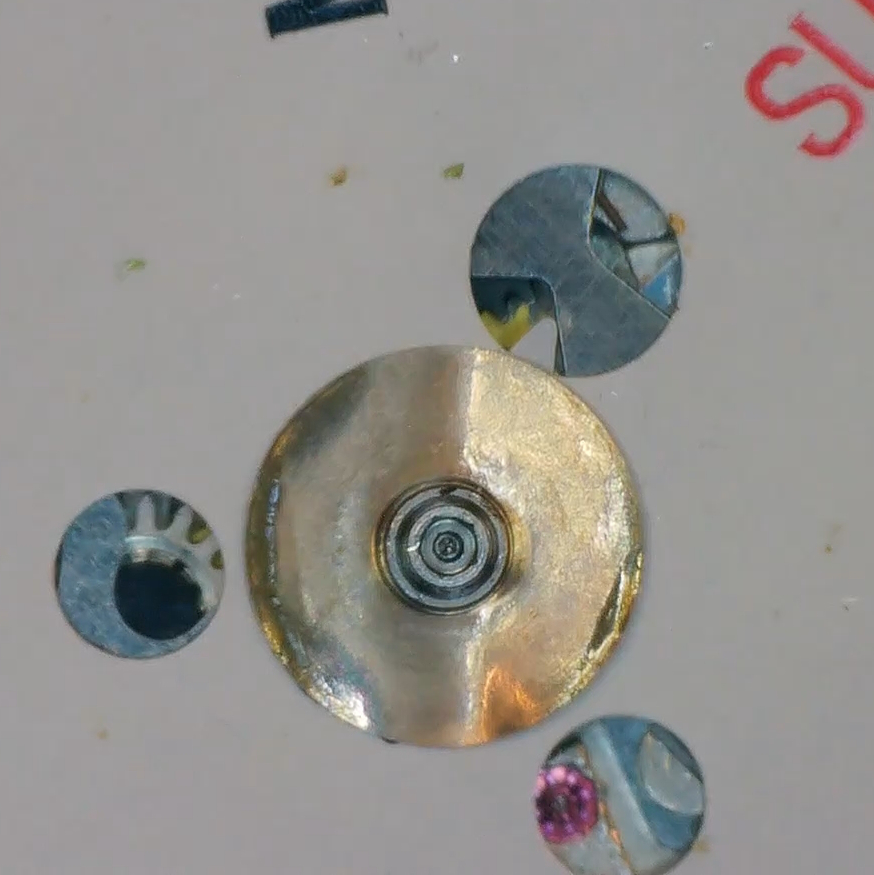
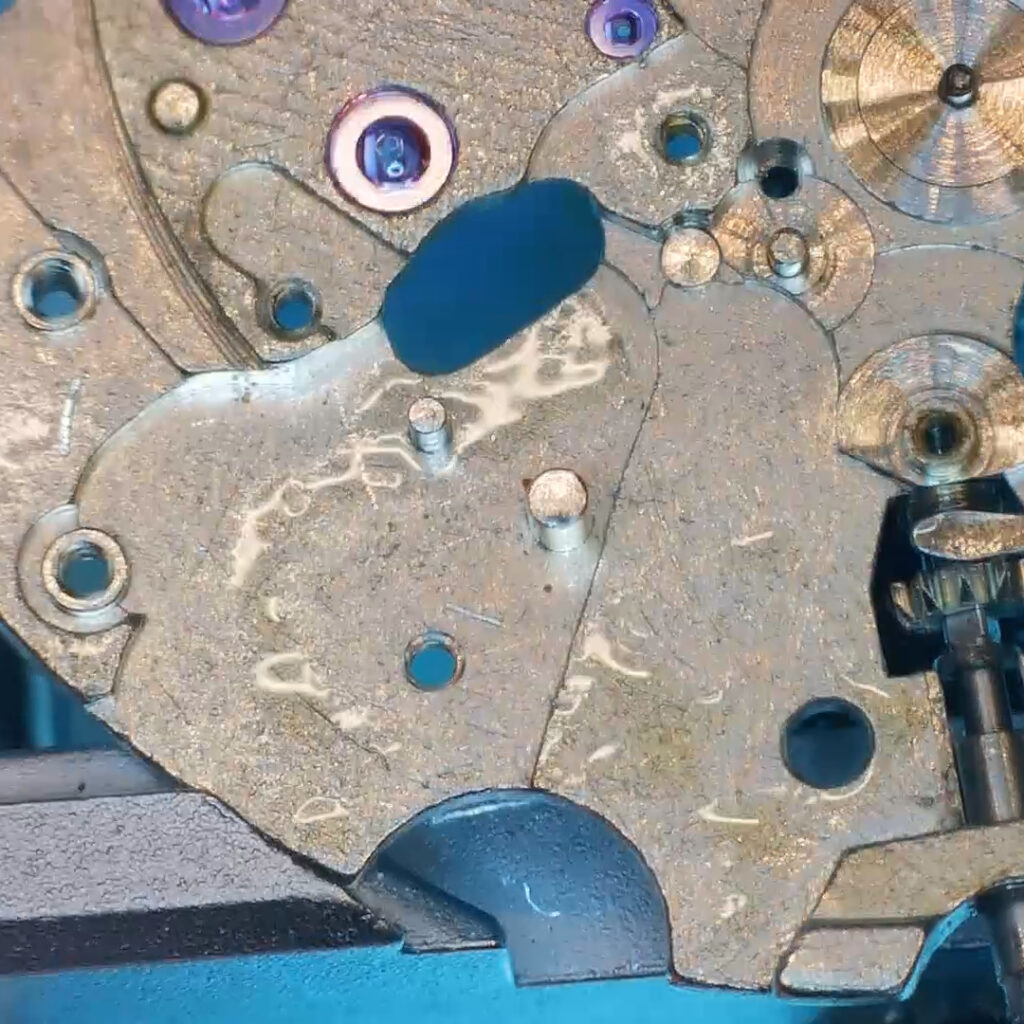
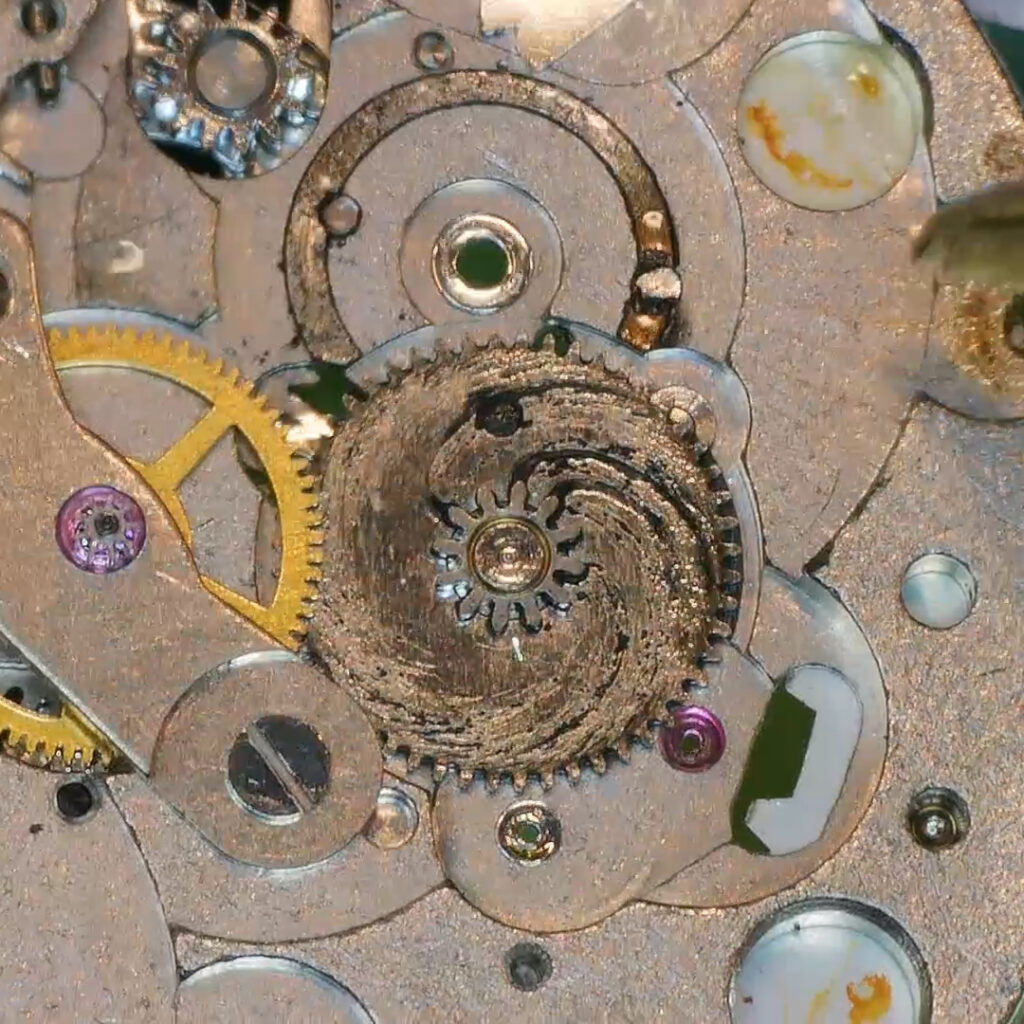
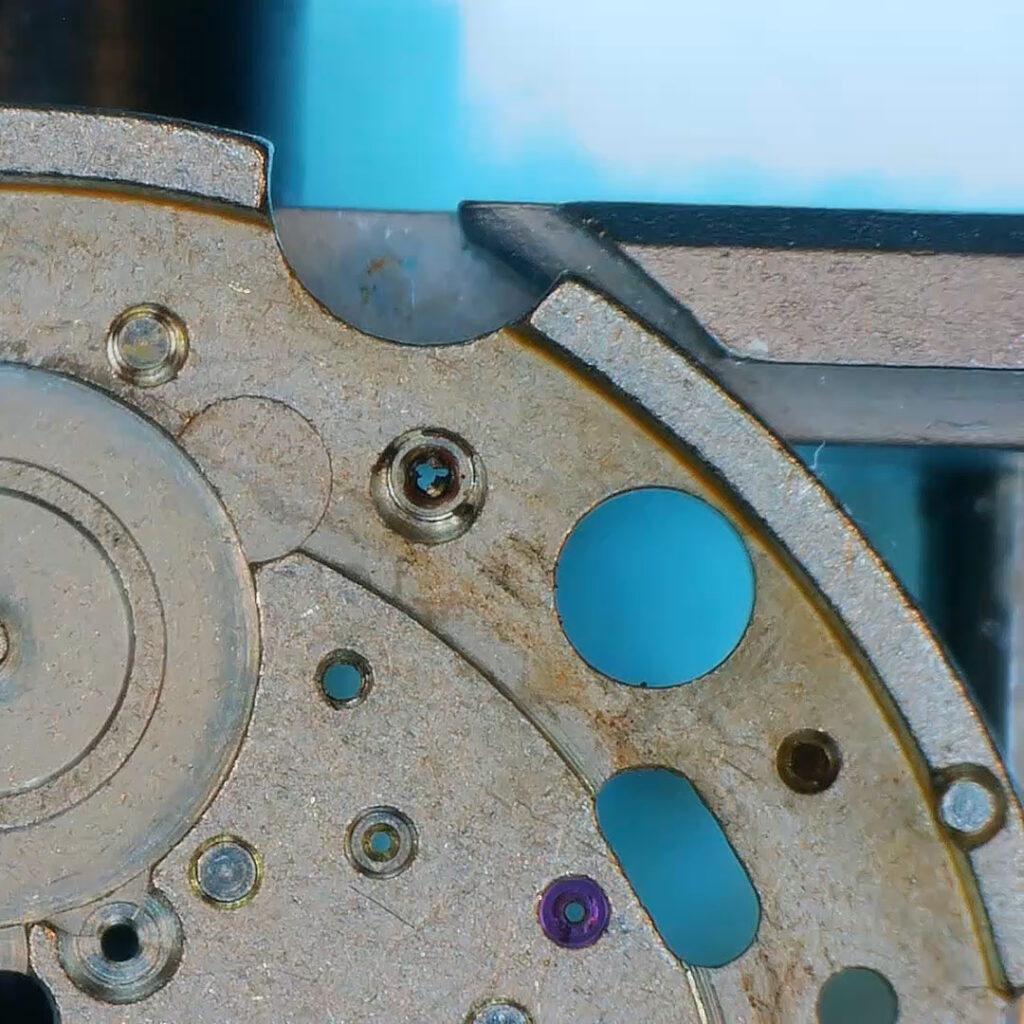
The movement had oil pooling in various places. Top left shows oil on the day-wheel. Top-right and bottom-right show the mainplate, the dial side and the movement side respectively. And bottom-left shows the thick grease present on the rachet driving gear. This stretches to the mainspring barrel as seen below.
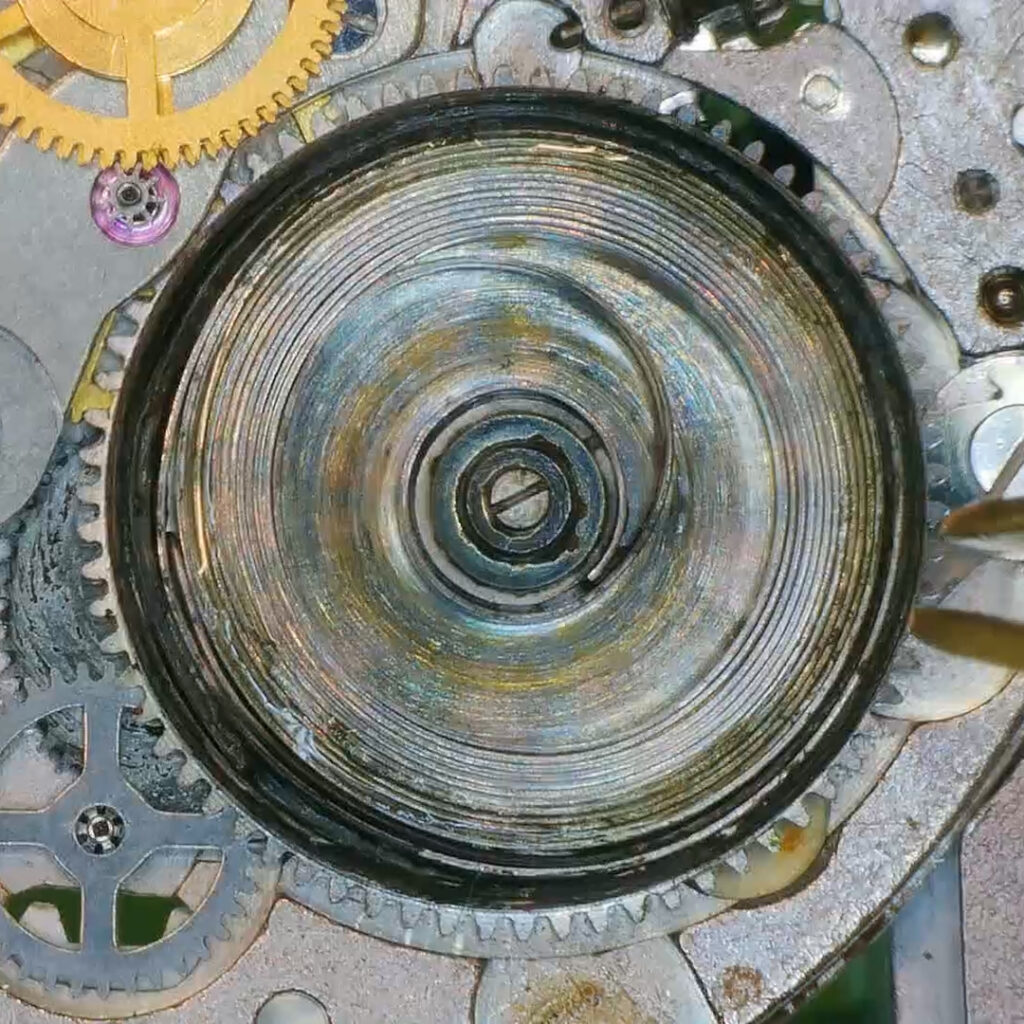
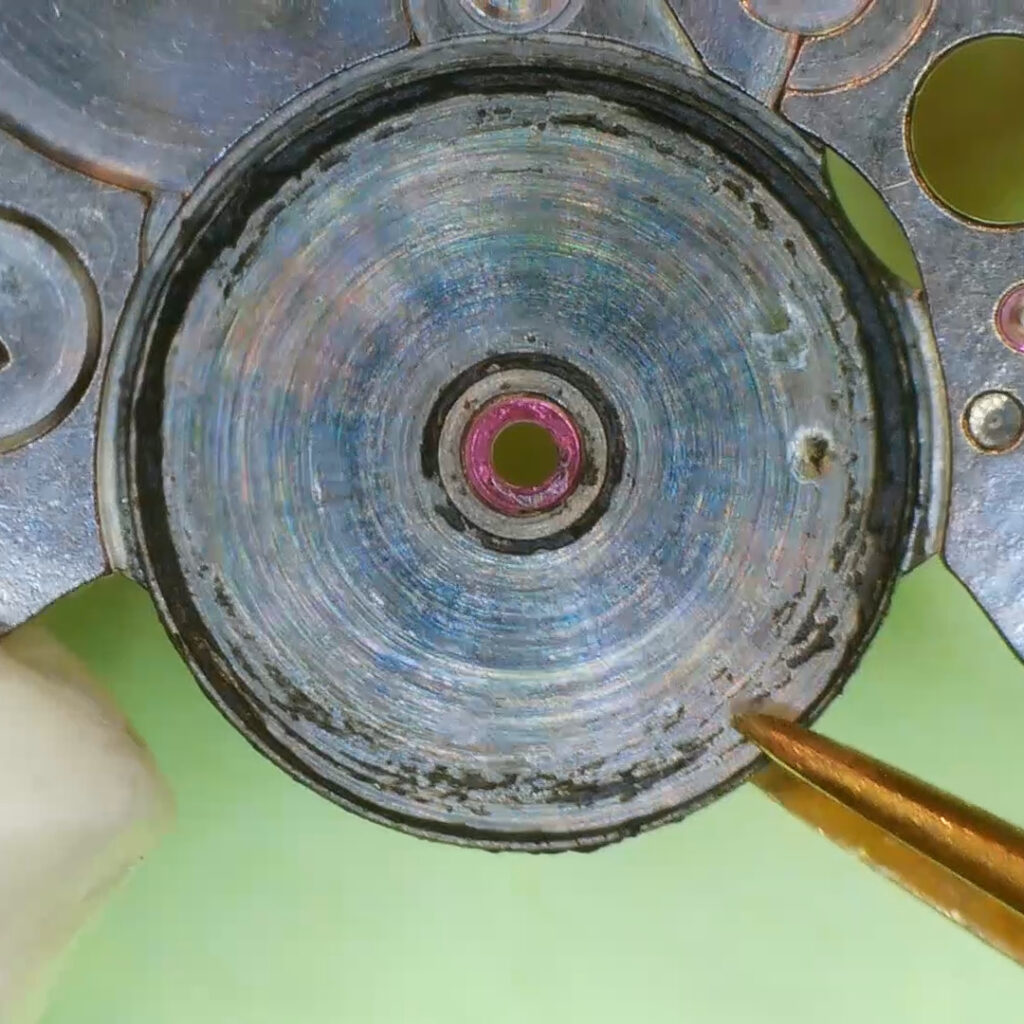
The mainspring is coated in the same oil and grease found in the movement. In cases like this, it’s especially good practice to pre-clean the parts in a small container of solvent solution to remove the bulk amount of grease and oil before contaminating the cleaning fluids used in the main cleaning steps.
There are yet a couple more issues with this movement. Two rusted screws. One in the yoke guard plate and another in the 3/4 bridge holding the train of wheels and barrel.
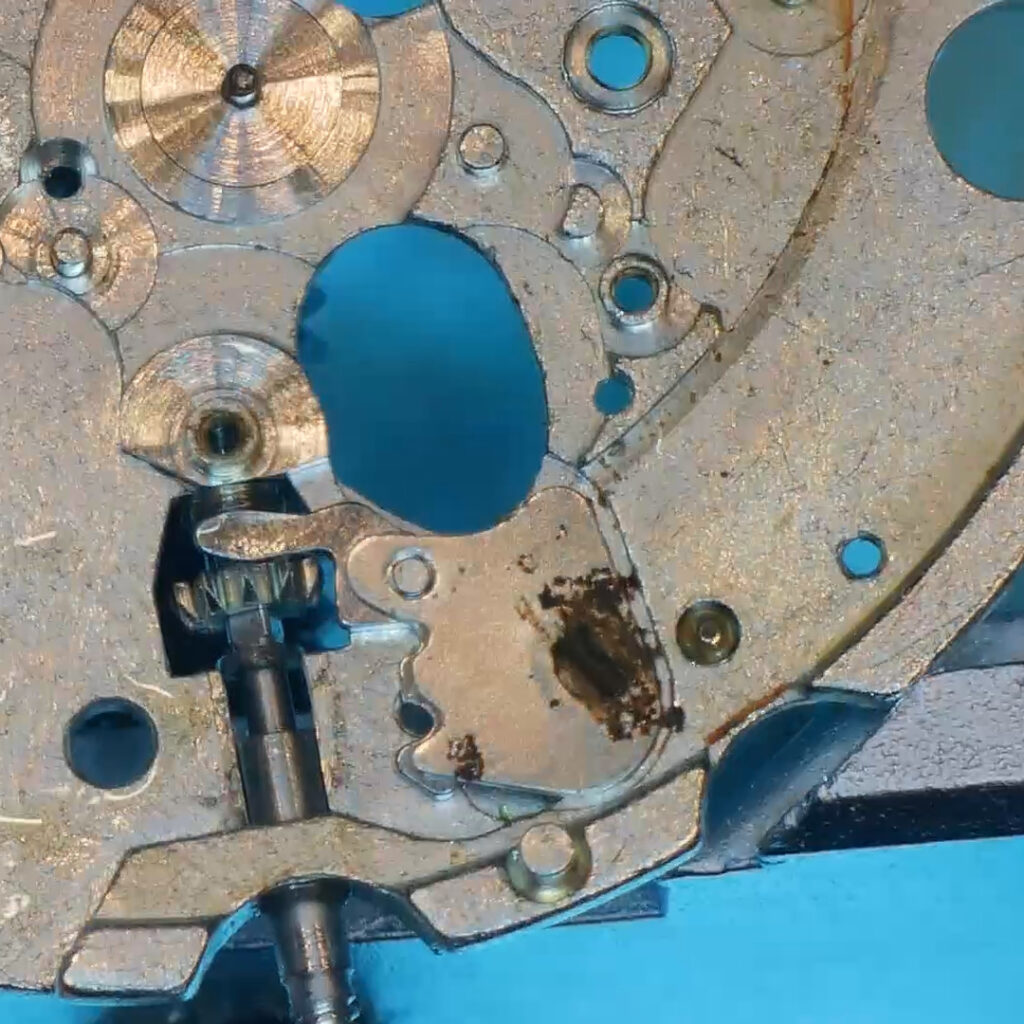
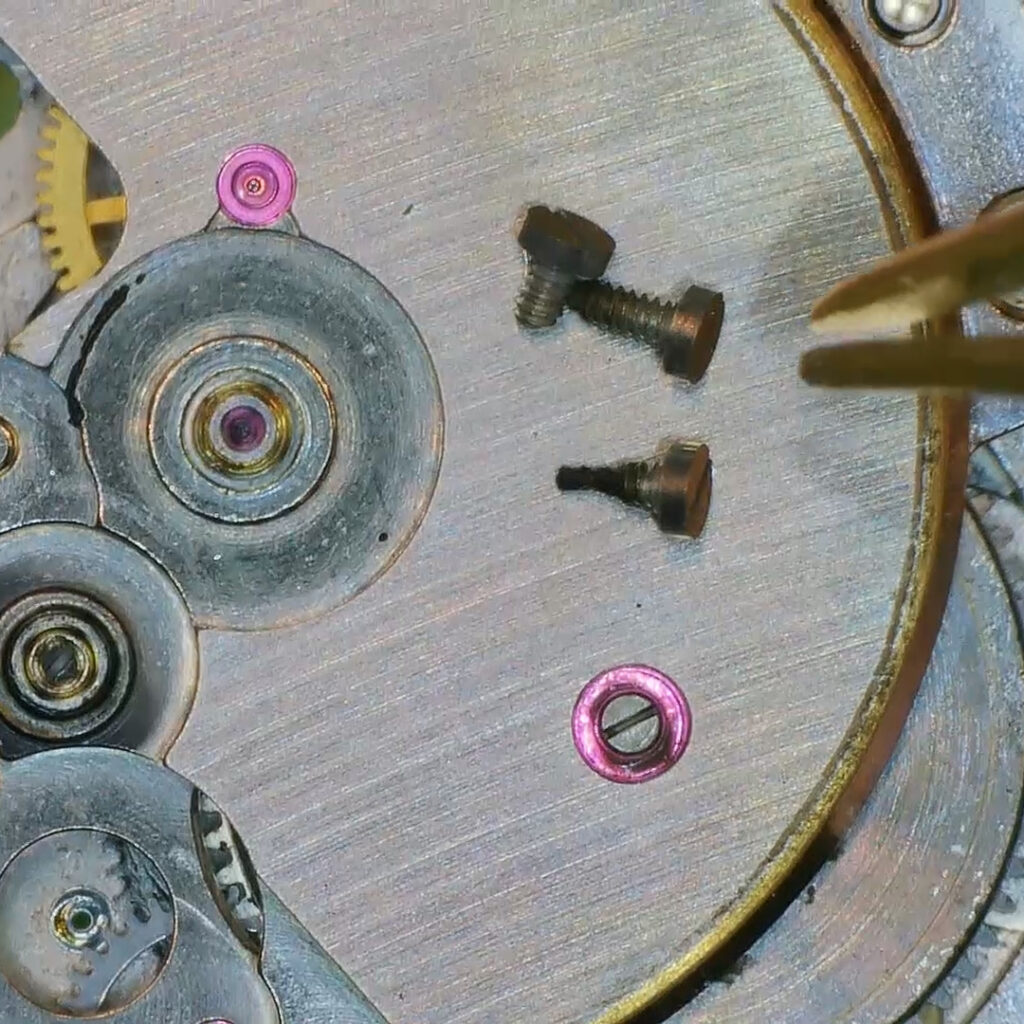
Note the shorter screw seen on the image on the right. Of the three holding this bridge, this screw is near the winding stem and lines up with the setting works on the other side of the plate. As such, it needs to be shorter to accommodate it.
All that’s left is to source the adequate replacements. Luckily, the 52 family has a wide compatibility of parts between movements. And so, by the power of buying a third one, we sourced a 5210 movement listed online for parts.
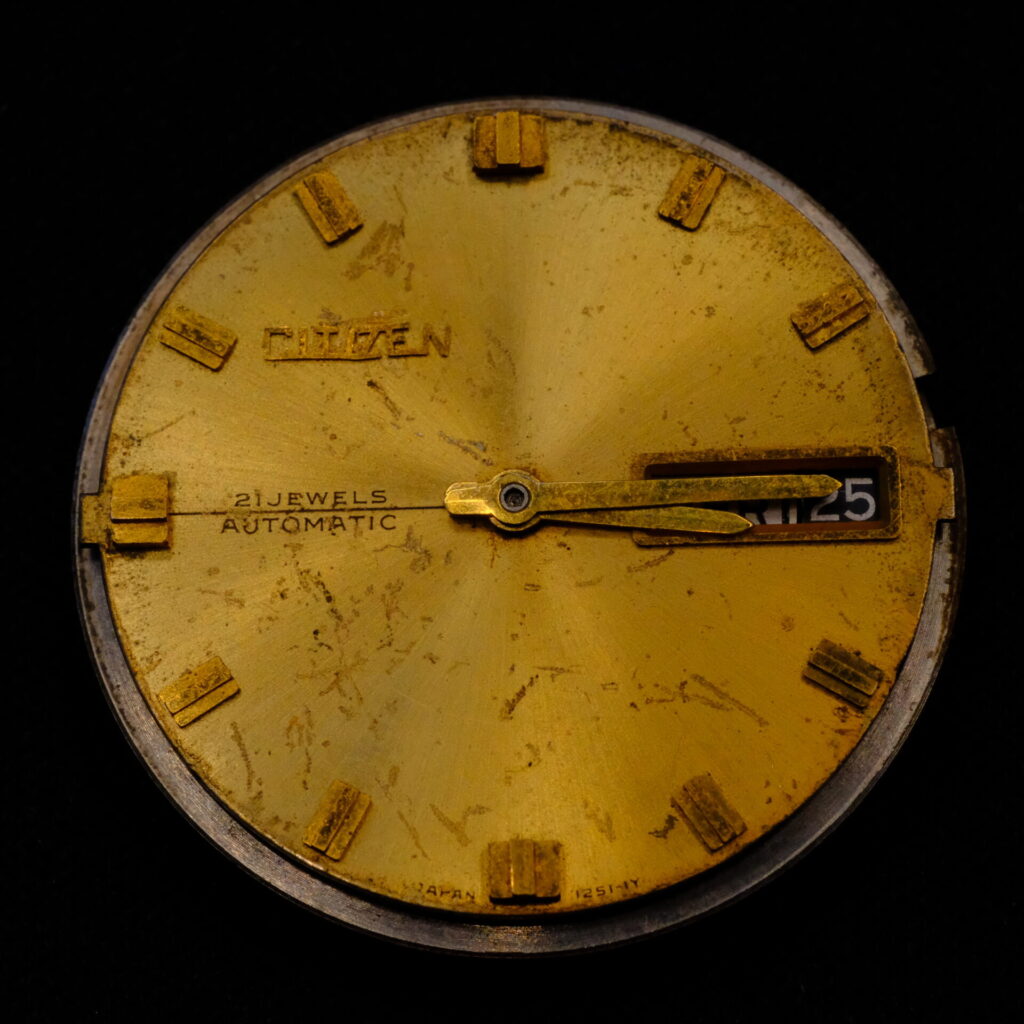
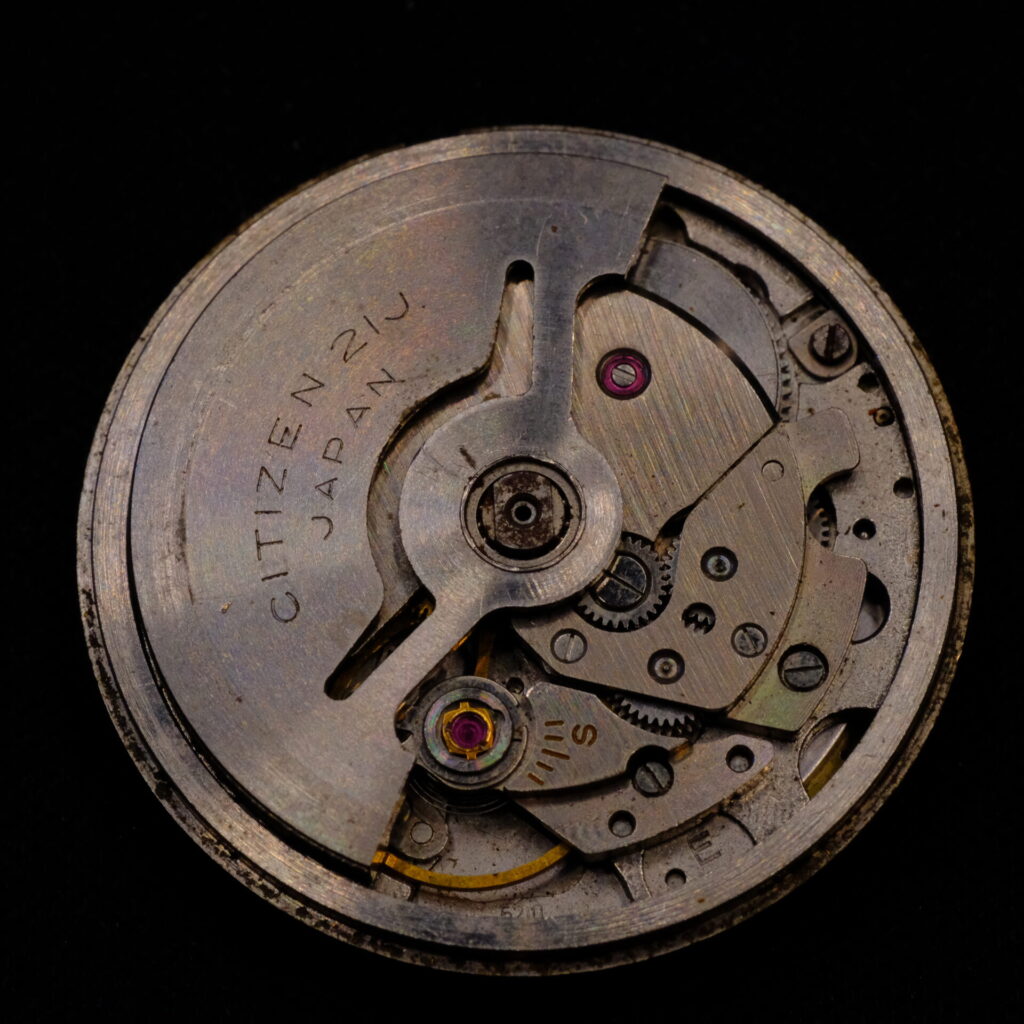
Despite its underwhelming looks, the movement looks to be in decent shape and will provide all necessary parts. Everything else we can add to our stock for future Citizen 52xx repairs.
The focus now shifts to the assembly of the 5270 movement. The steps are the same for the 5204 since it uses the same base caliber. The only notable difference will be the extra cap jewels over the escape wheel and third wheel pivots on the 5204.
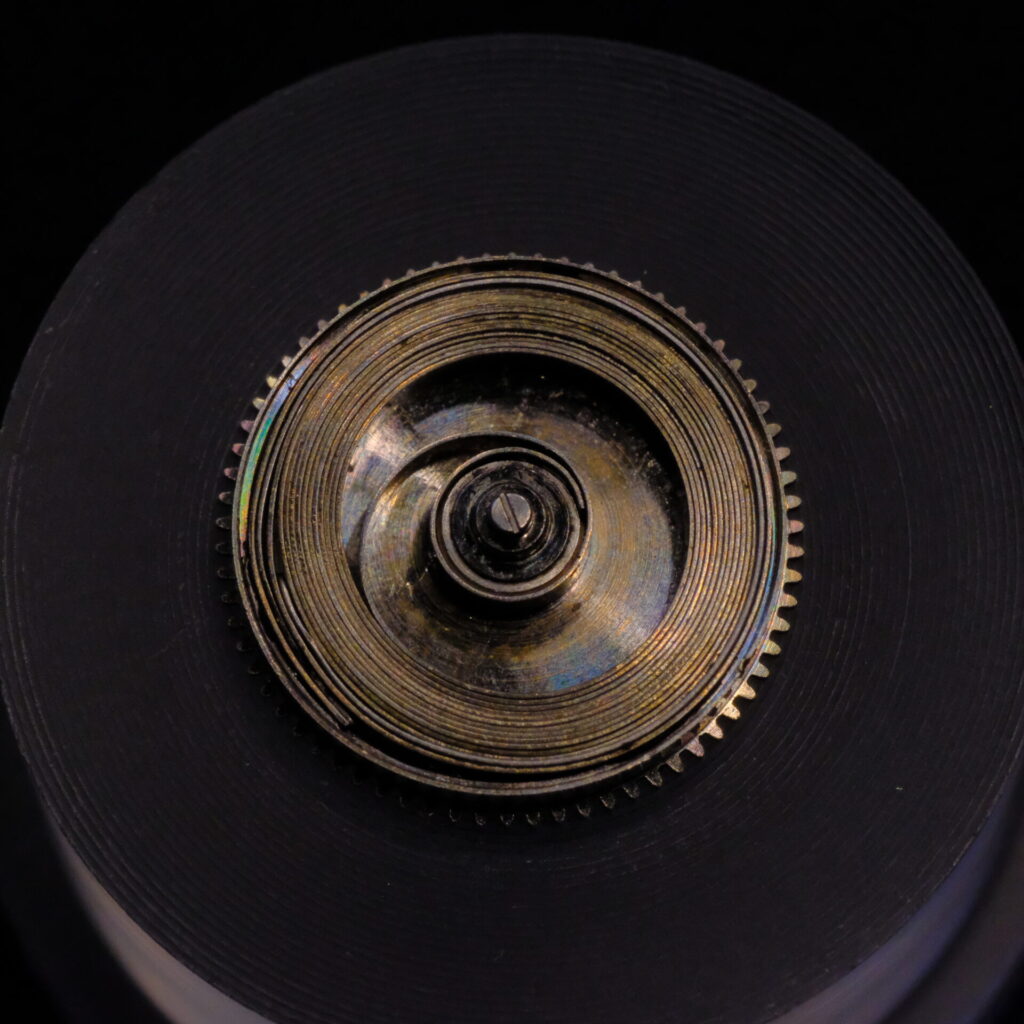
With the mainspring barrel cleaned from previous grease, we lubricate the barrel walls with breaking grease and install a new mainspring.
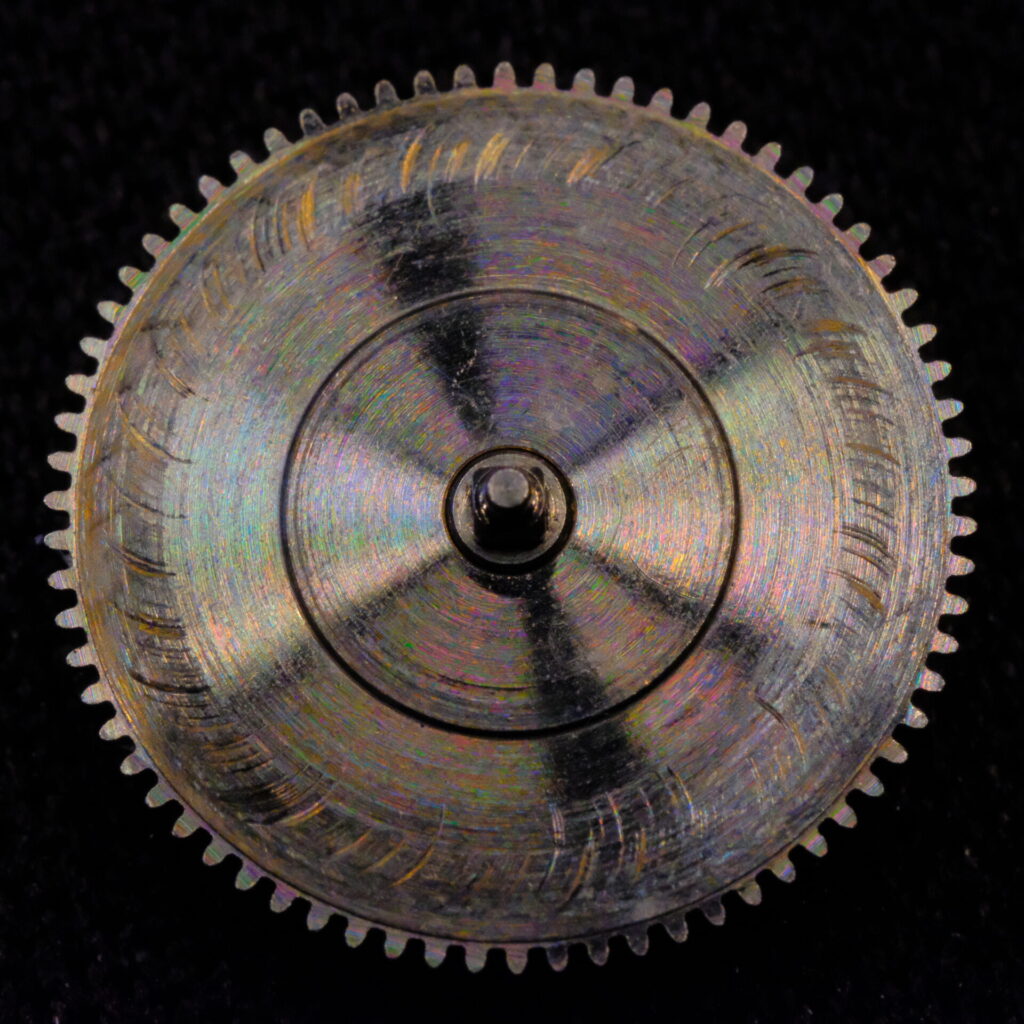
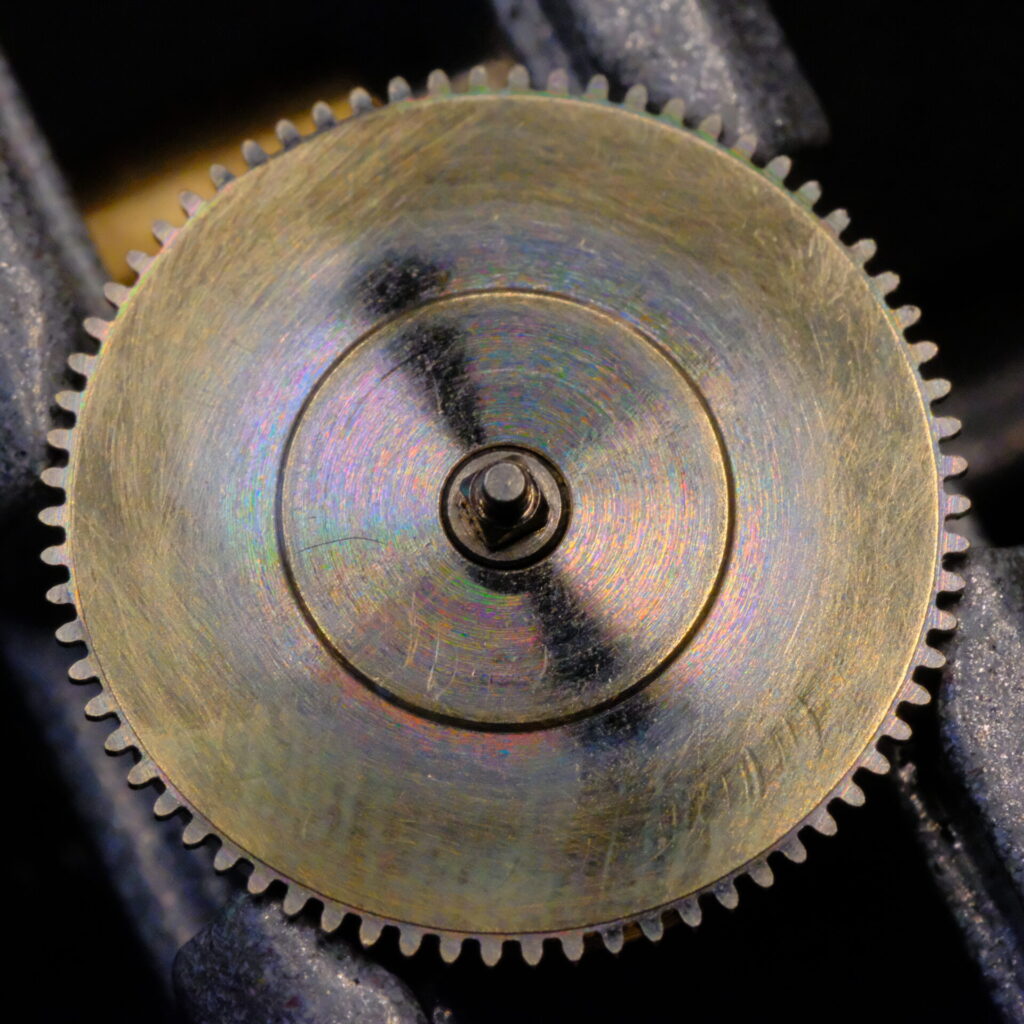
On the left, the barrel lid shows the wear pattern caused by excessive sideshake on the barrel and consequent rubbing against the center wheel. We address the side and endshakes of the barrel using the staking set to close the arbor hole very slightly, always checking progress with the barrel in situ. On the right, the barrel lid after polishing with silicone polishing sticks. An inelegant solution, but a cosmetic improvement.
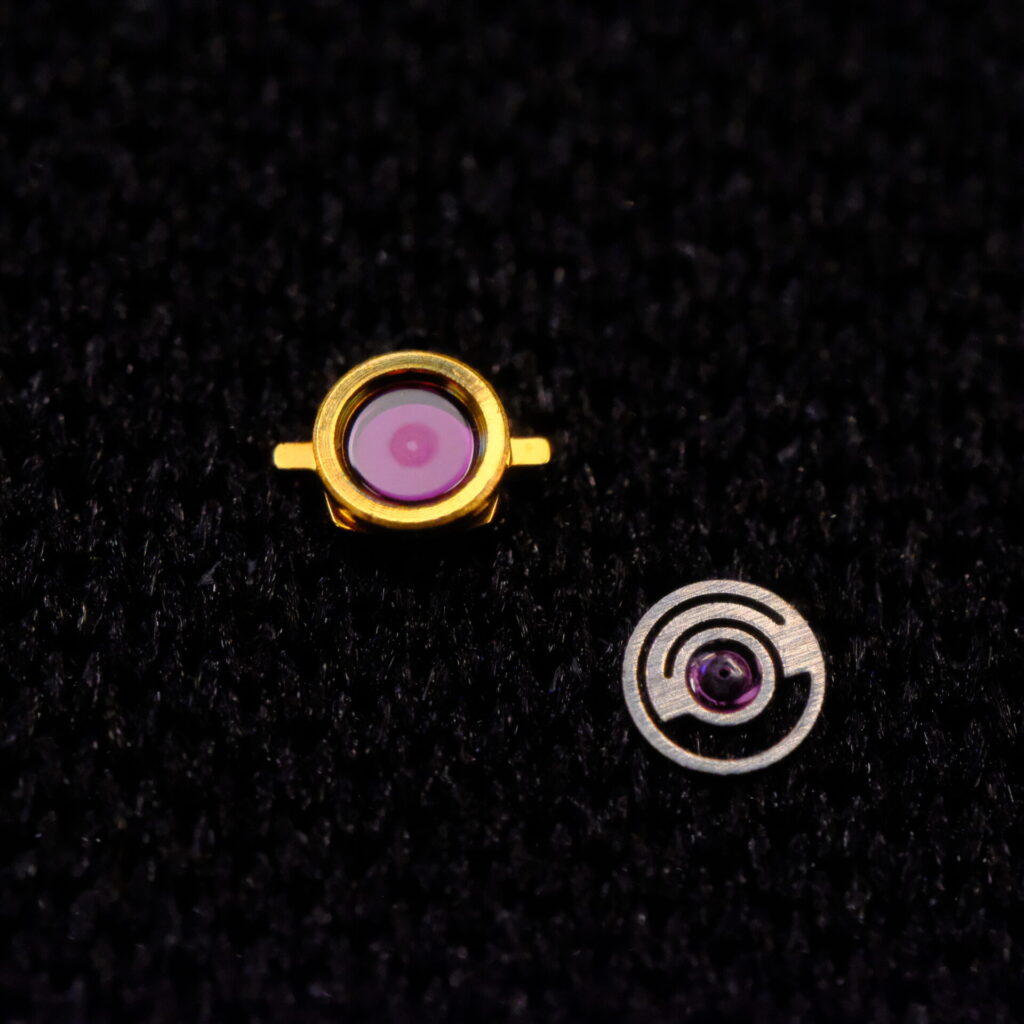
The balance wheel cap jewels are cleaned, until a mirror shine is achieved, as seen above. We re-oil them and get them in place, making sure to reference the Citizen Technical Information guide (available at my Retro Watches) on the Citizen’s Parashock system. Note the correct orientation of the spiral spring, before installation. Afterwards, we verify that the balance wheel can move freely with a puff of air. We aim for at least 45 to 60 seconds of movement. This one surpasses it with ease.
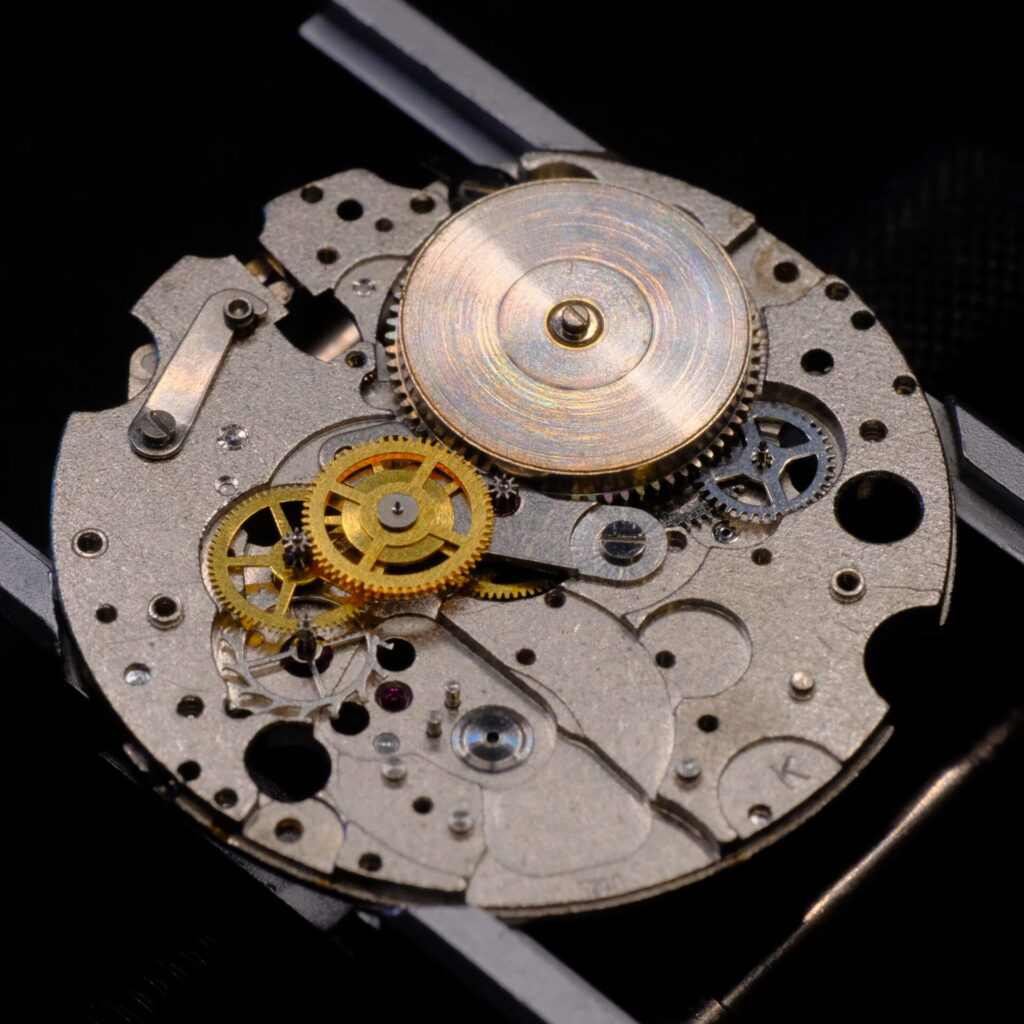
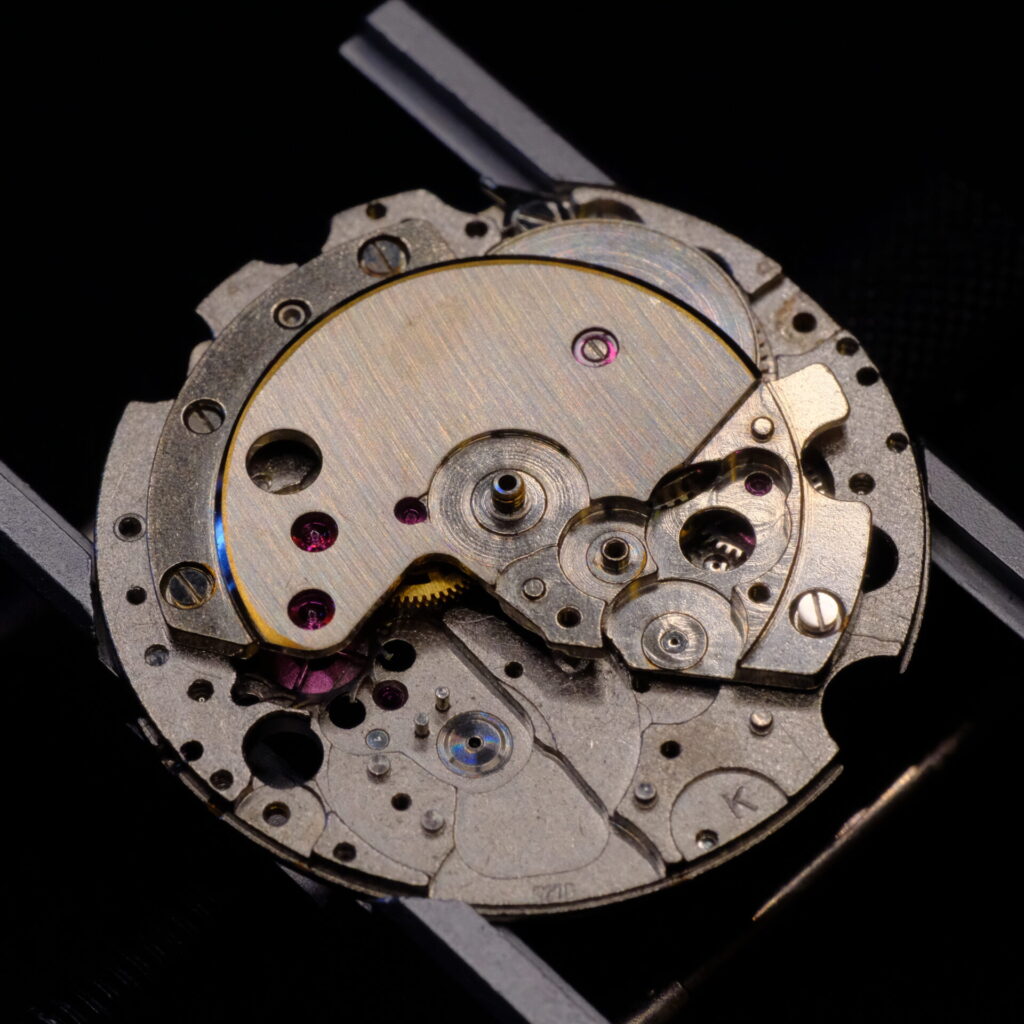
Above, having completed the click, ratchet wheel and center wheel installations, we proceed with adding the train of wheels to the movement. This isn’t the most straight forward thing. Having a single bridge cover most of the train of wheels leads to some tricky work making all the pivots line up with their respective jewel holes.
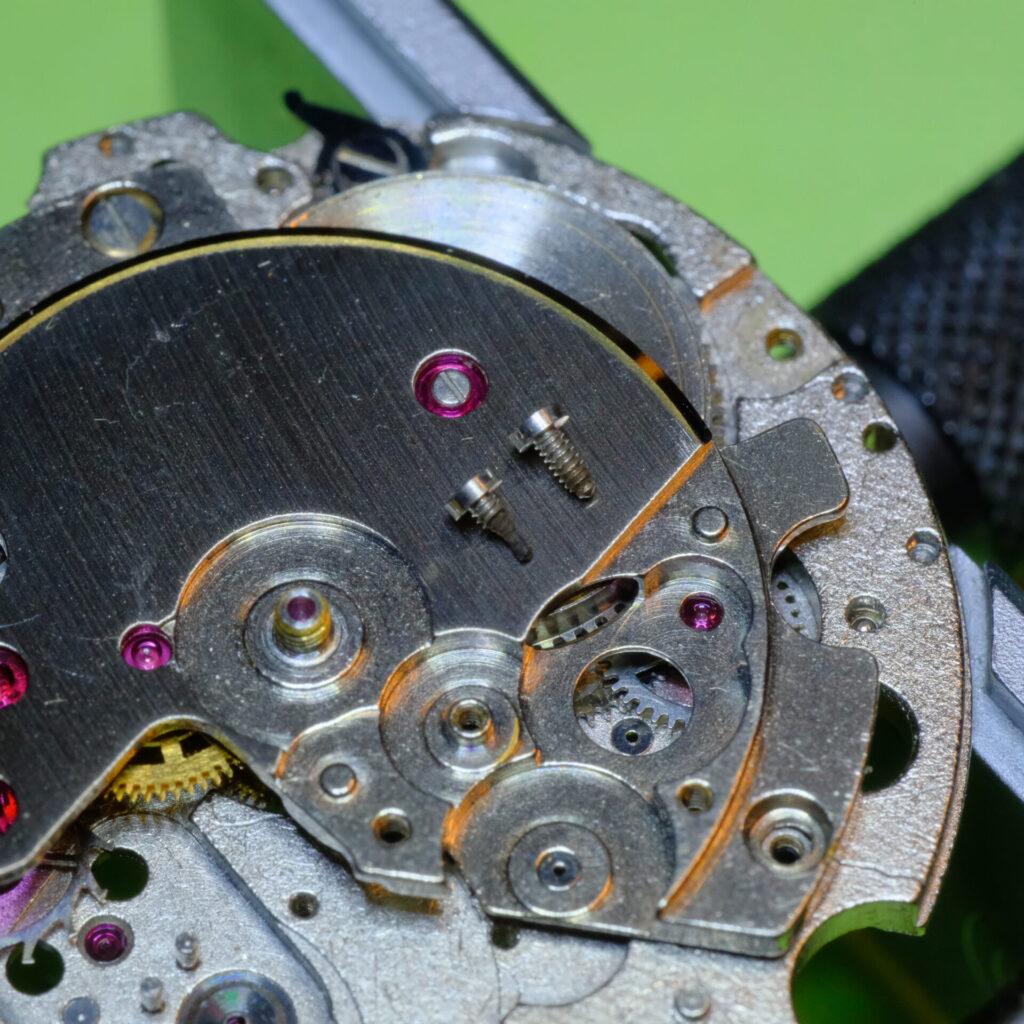
We can move to source a replacement screw from our donor movement. Note the significant amount lost to rust. The movement showed signs of moisture ingress, and this is by far the worst of it.
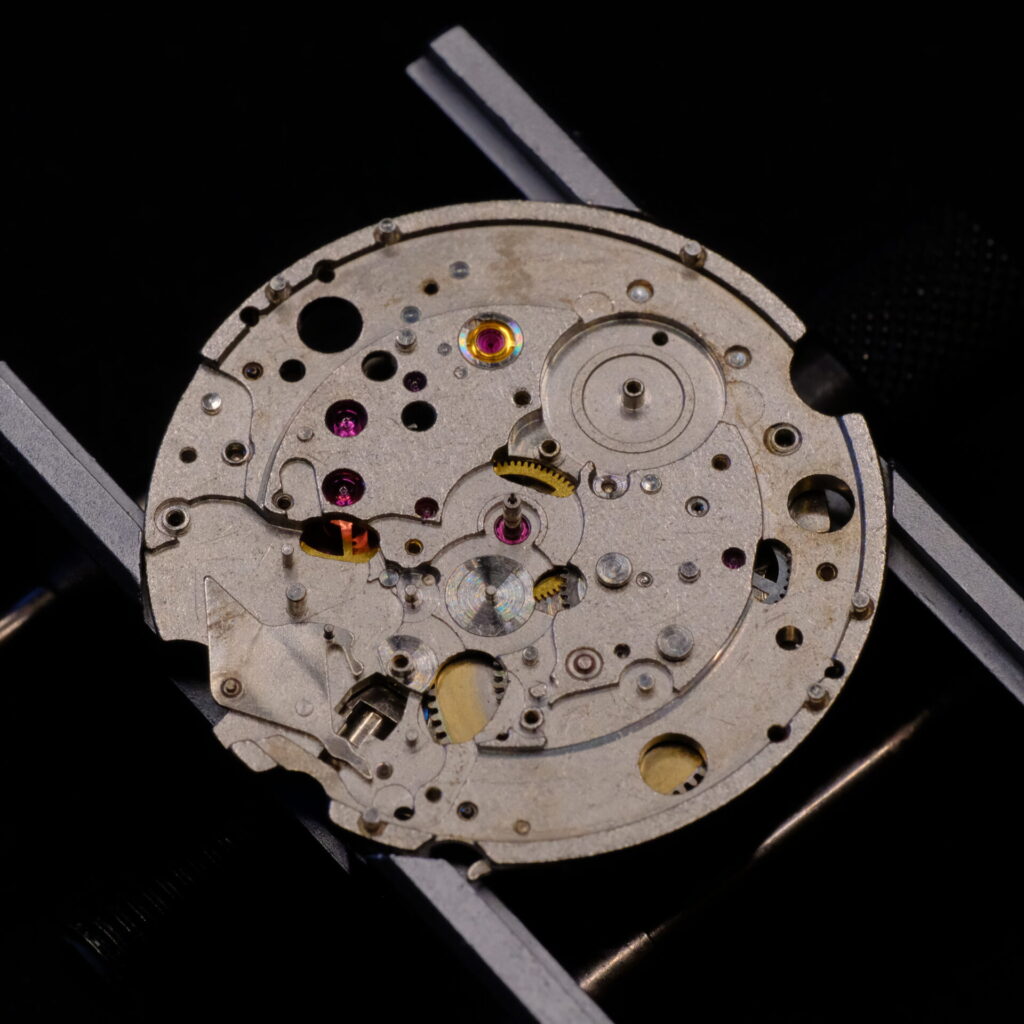
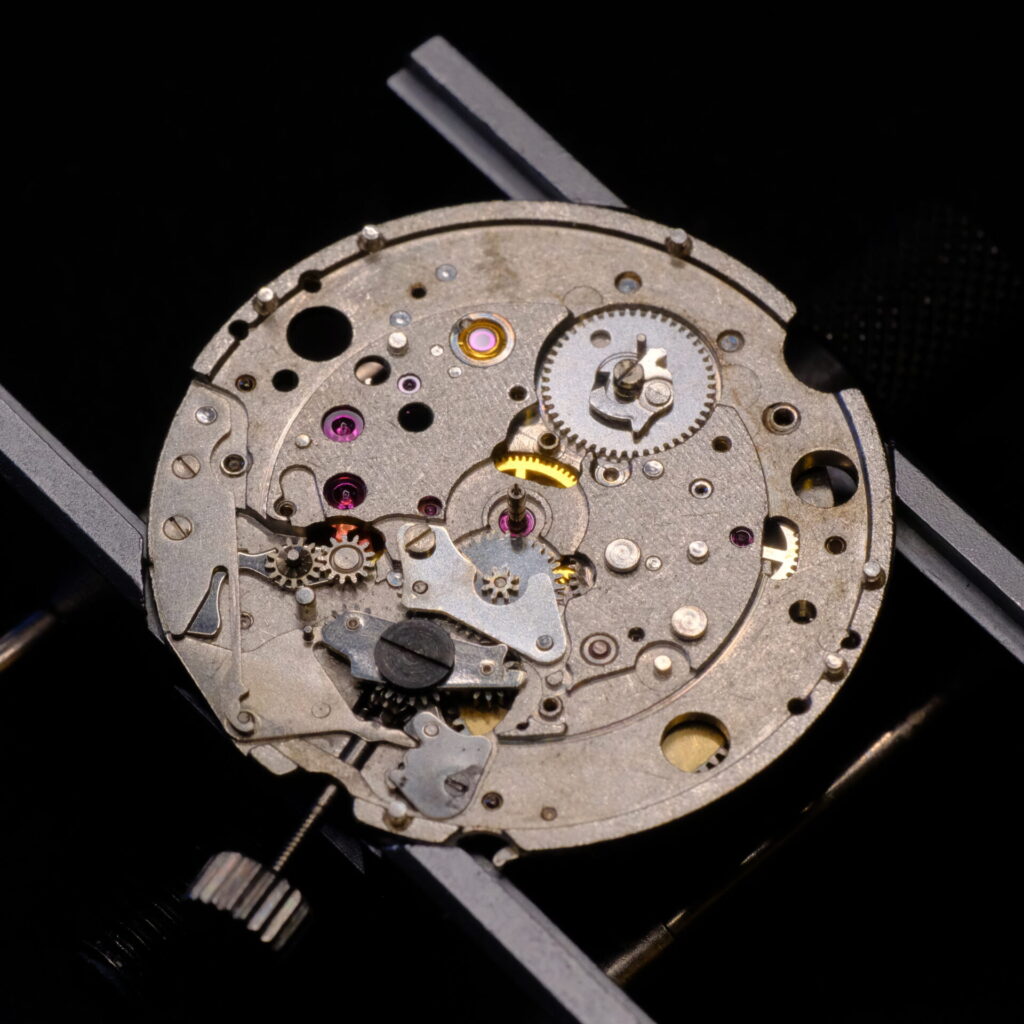
The keyless works and calendar wheel go into place without issues.
Always pay attention to anything out of the ordinary. Here, Citizen made the left handed screws this dark blue colour, seen on the image on the right. This warning prevents turning the screw the wrong way and potentially sheering the screw head off.
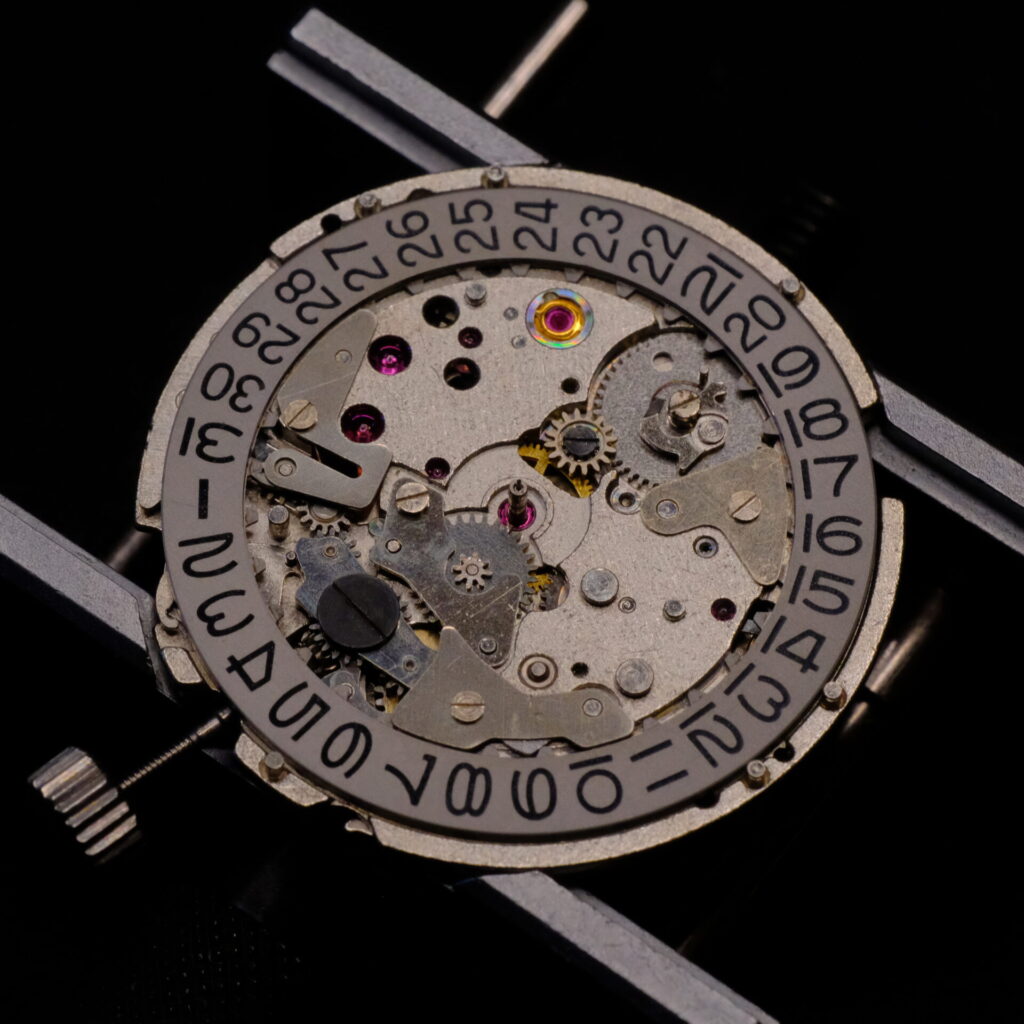
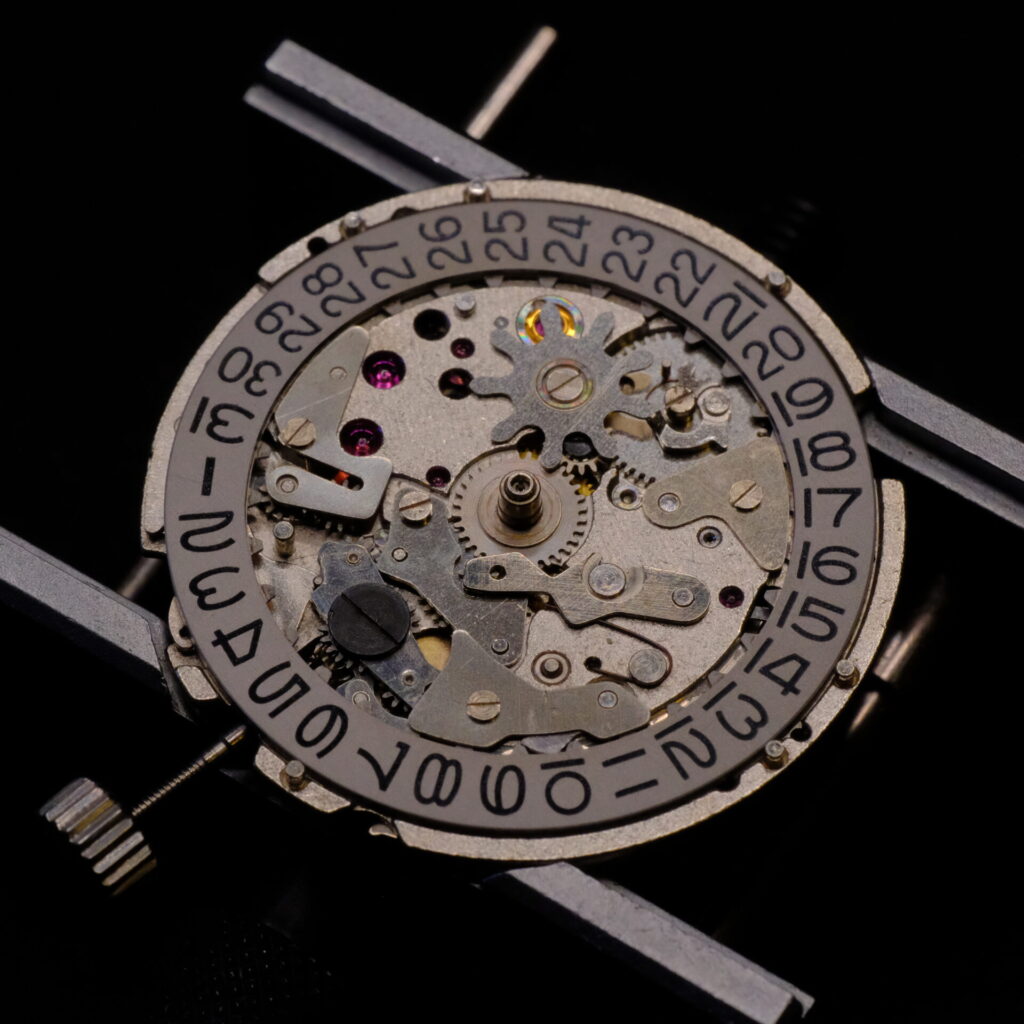
The date wheel (or date dial, as Citizen refers to it in its manual) and its jumper spring, corrector spring and day jumper spring go into place with the usual moments of tension. The biggest contributors being the five different springs Citizen has chosen to use on the dial side of this movement.
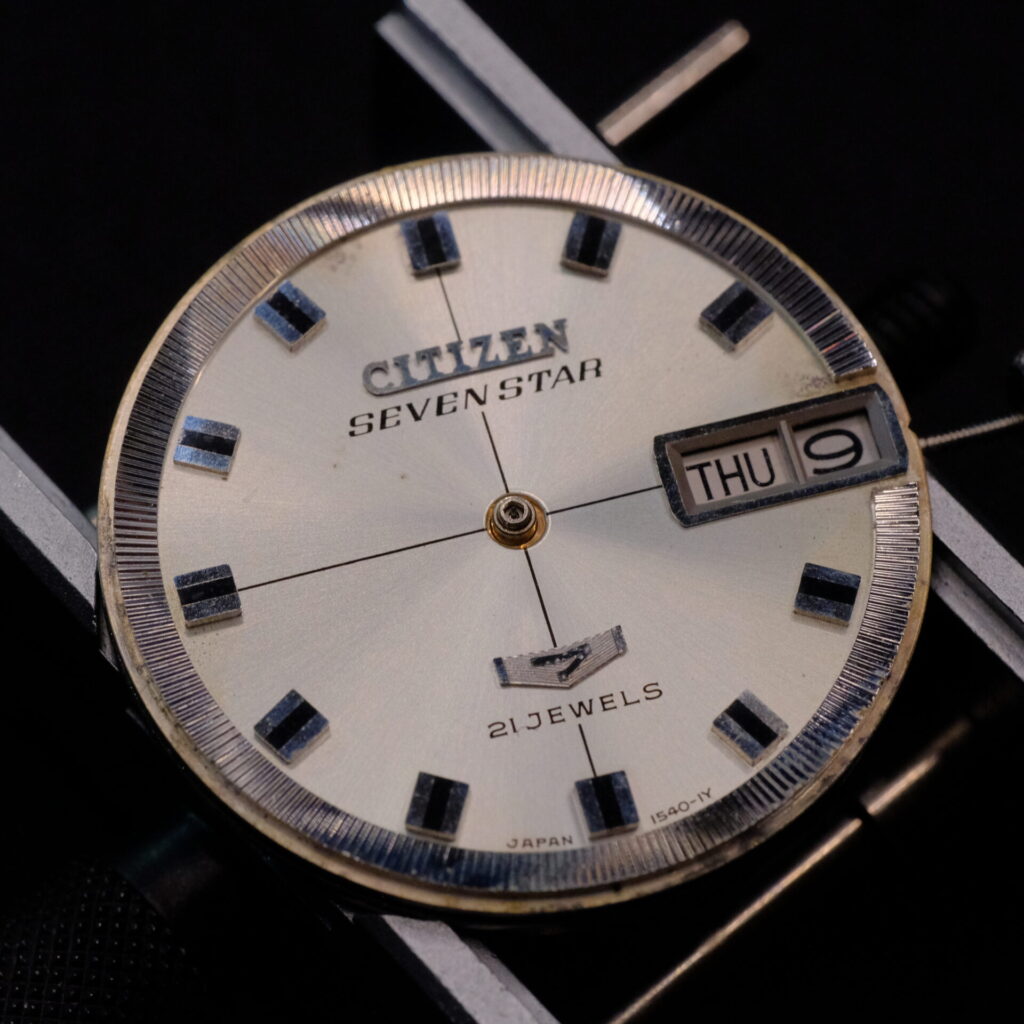
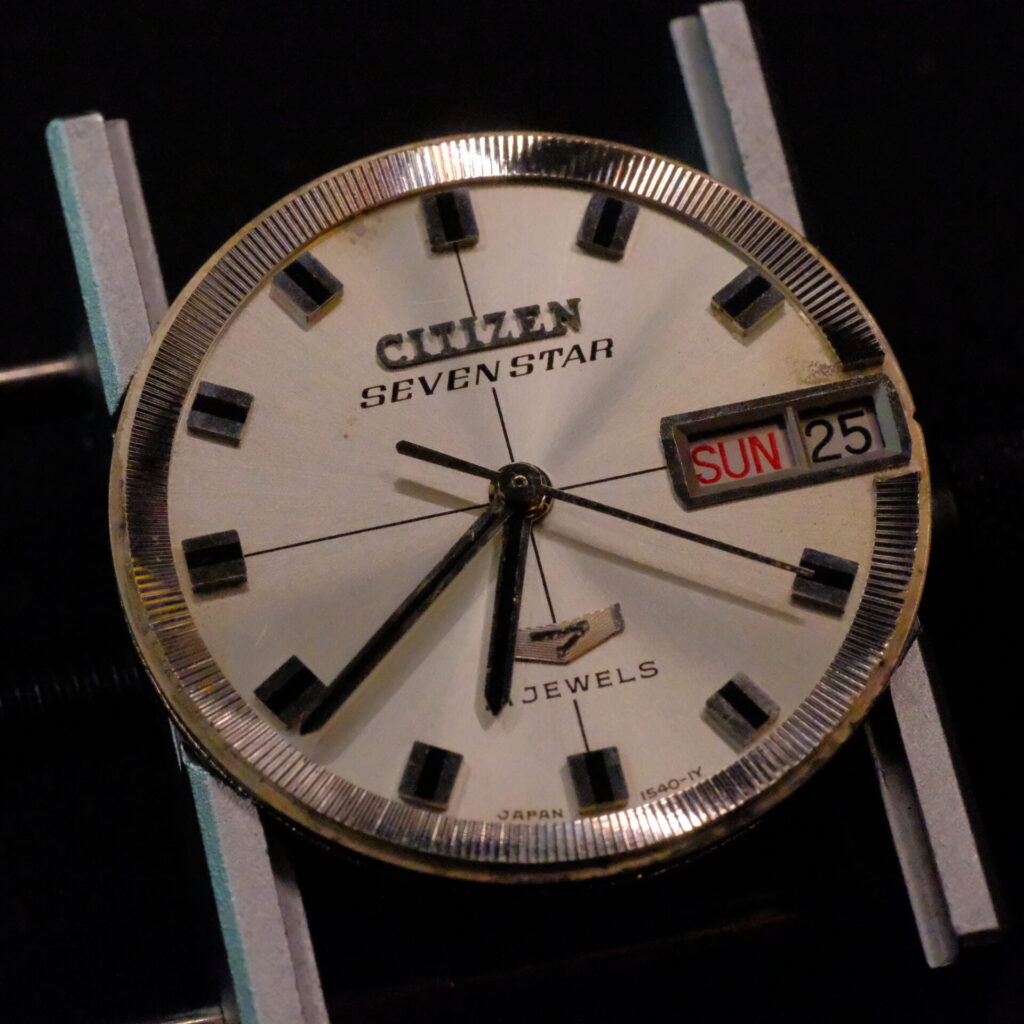
This amazingly retro dial caps it all off beautifully. The number 7 emblazoned chevron at the bottom centre is a particularly special touch of these Seven Stars. We will give a slight clean to the metallic surfaces later on but nothing too invasive since we want to preserve its natural state.
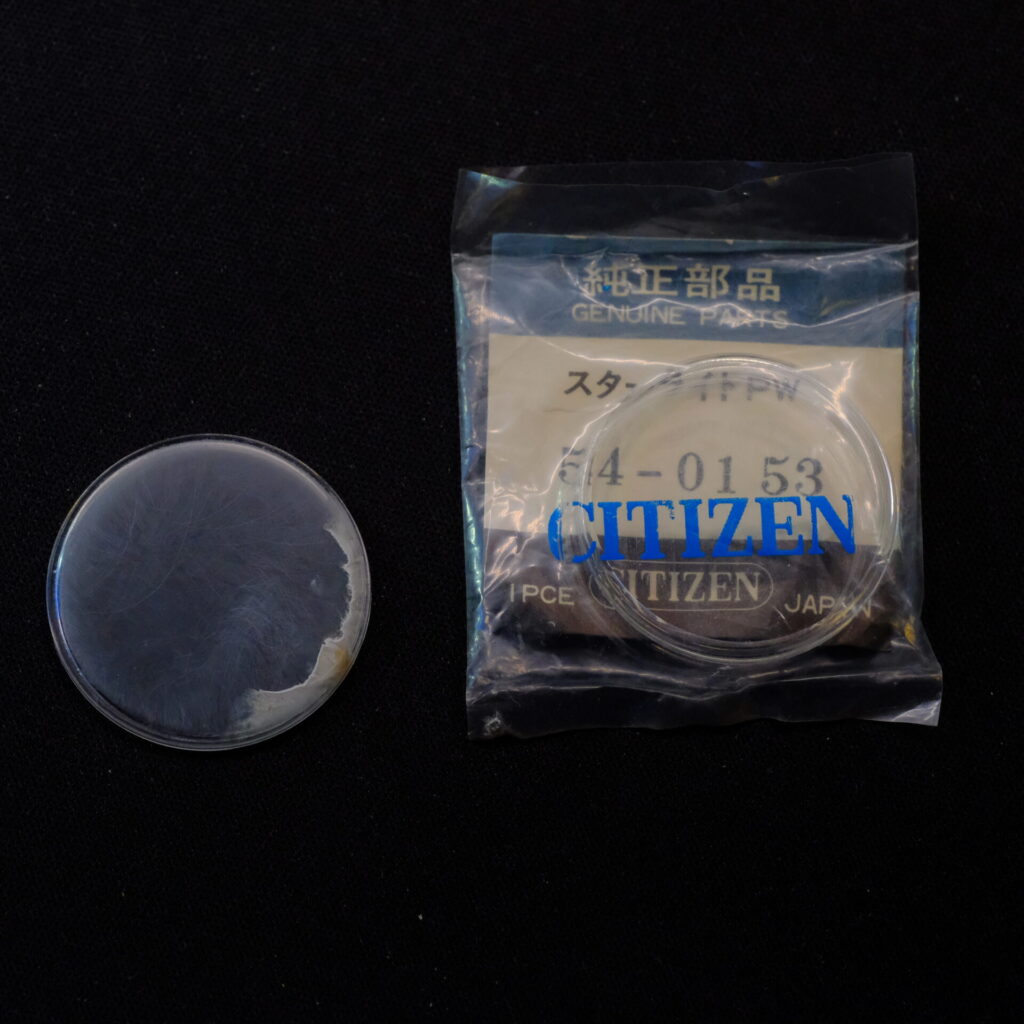
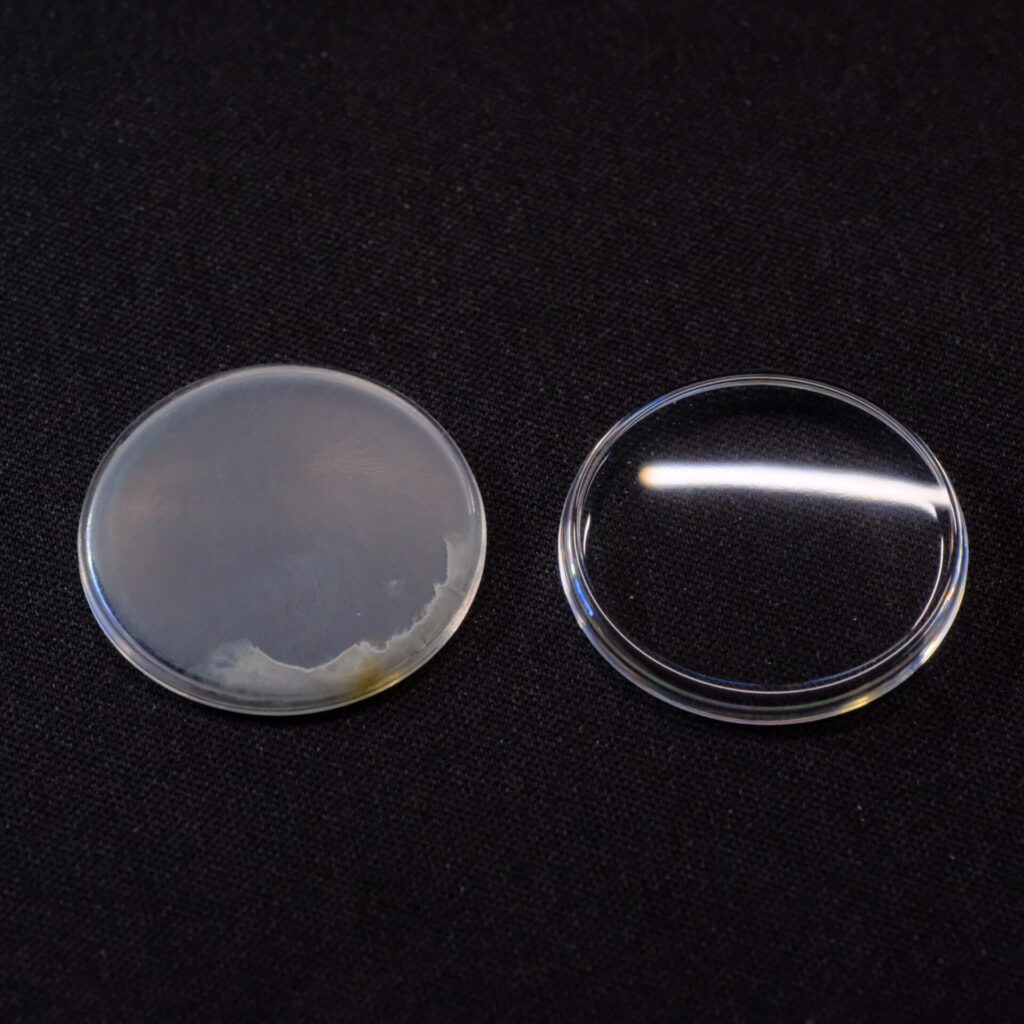
Quick aside to look at the crystal. Having tried polishing the original crystal, the scorched area simply did not yield. So, a replacement is in order. We are lucky to have found an original, factory sealed, reference 54-01 53 crystal on eBay.
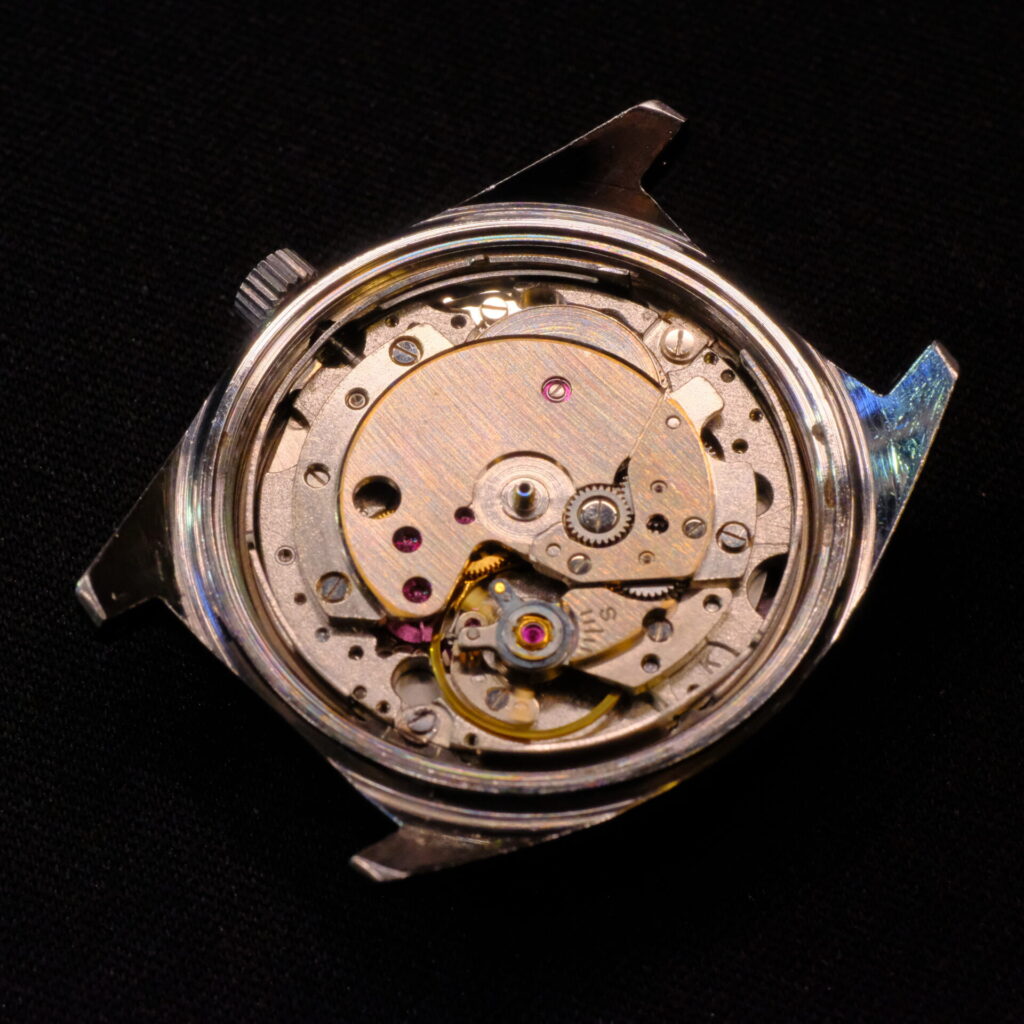
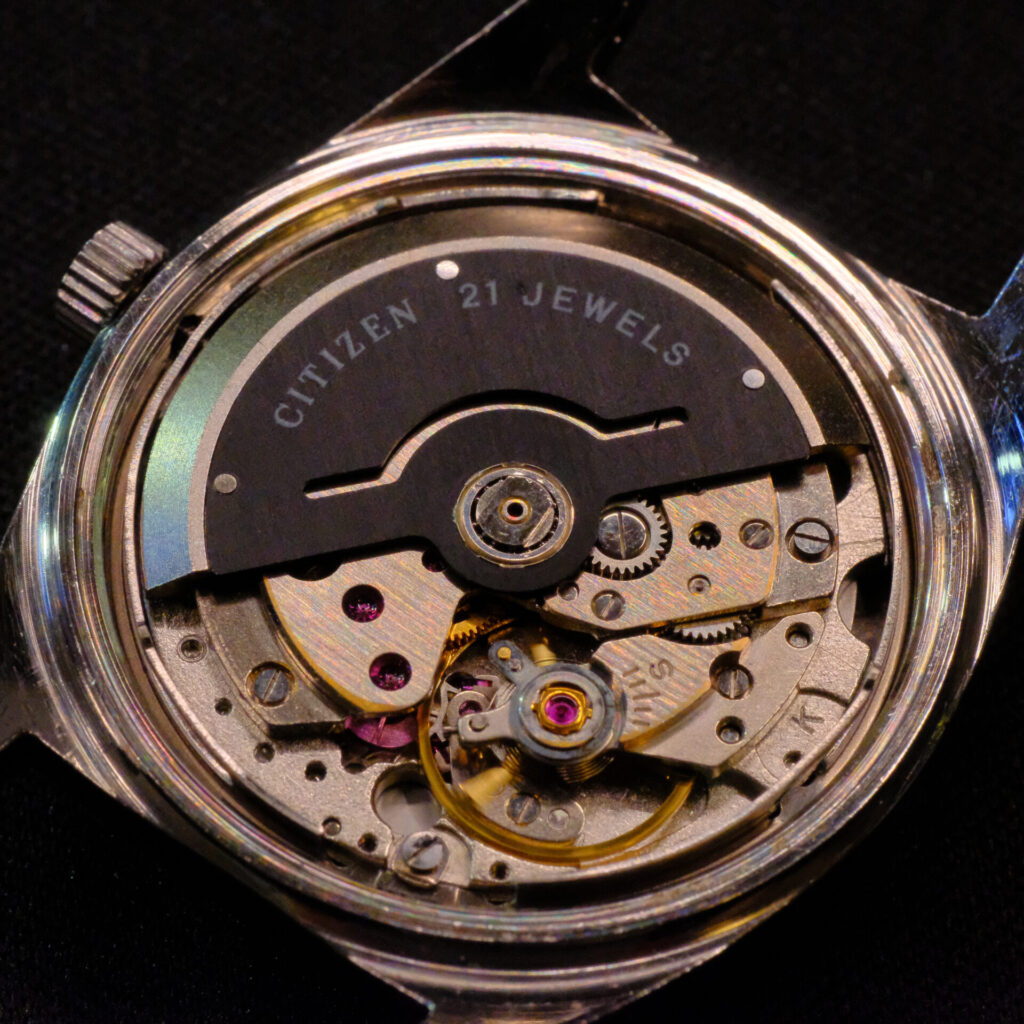
Back to casing the movement. The specially adorned black oscillating weight is mated with the automatic works. Note the unconventional built-in screw Citizen uses to attach the rotor. This is not missing a centre screw. Instead, the two slots on the sides are to be turned clockwise to screw the rotor onto the post. There is – of course – a tool purpose made for the job. But, lacking that, and for those not looking to spend money on a single-purpose-brand-specific-tool, a pair of tough straight walled tweezers held sideways will do the exact same thing. Remembering to always use a thin plastic sheet to protect from scratches. At this point, we can call this movement ready for final regulation!
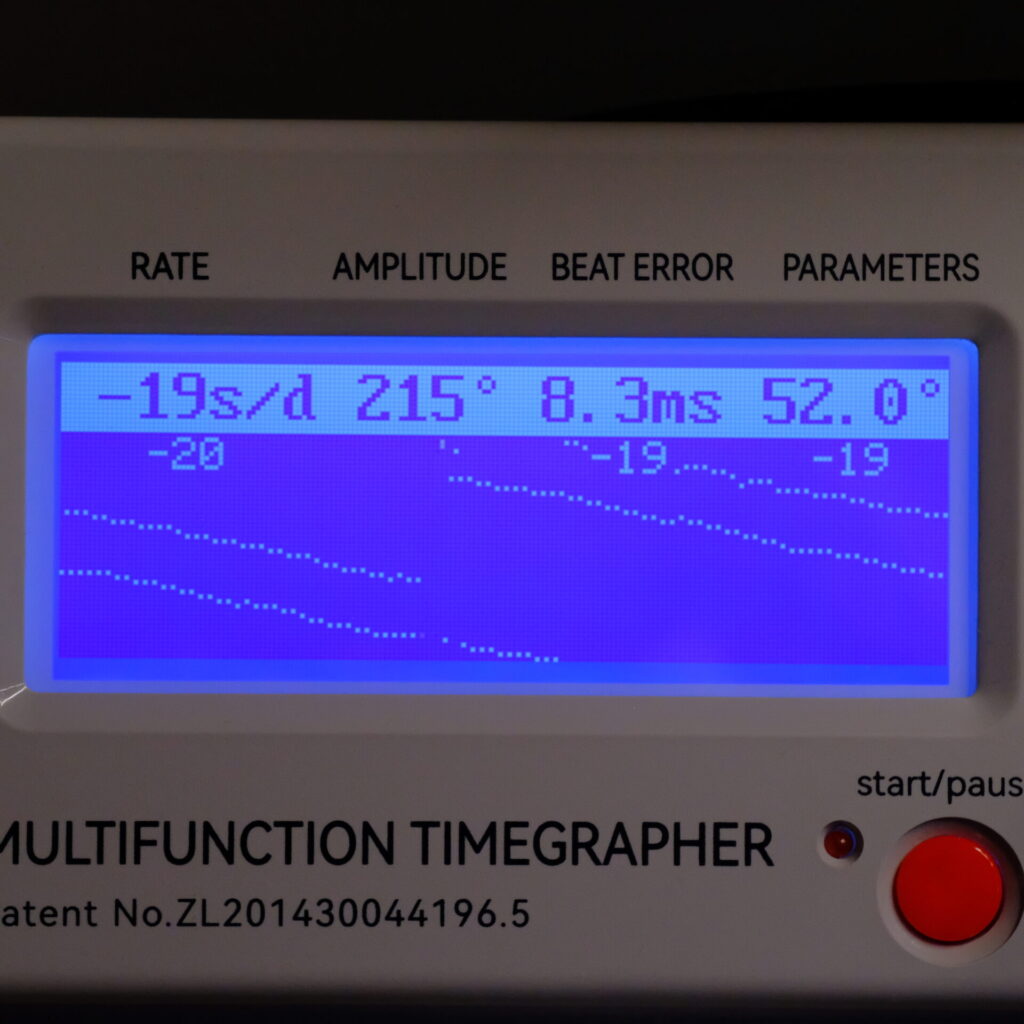
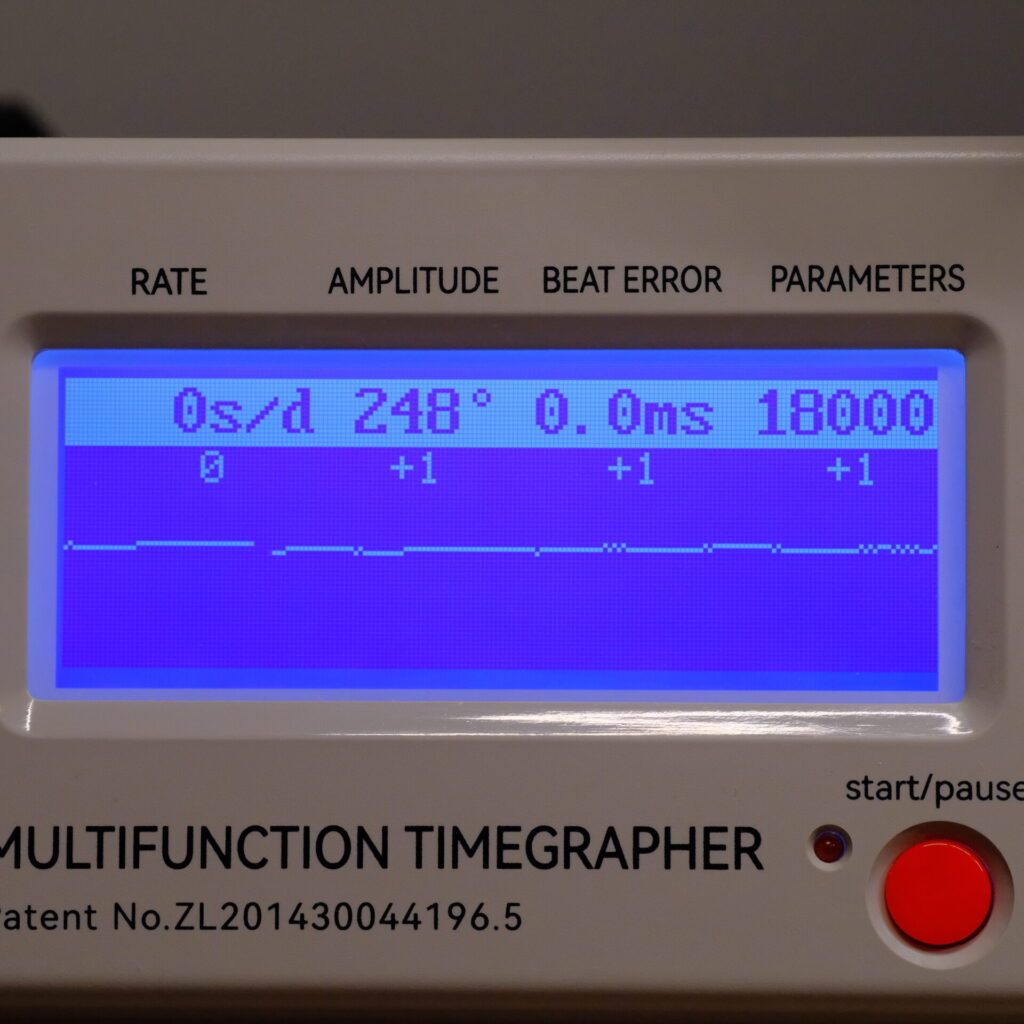
Our timegrapher readings before regulation are on the left, after regulation on the right. Could not be happier with the result. Power is running decently strong at 248 degrees of amplitude. And we have 0.0ms of beat error on a 50+ years old watch. A stunning piece of engineering!
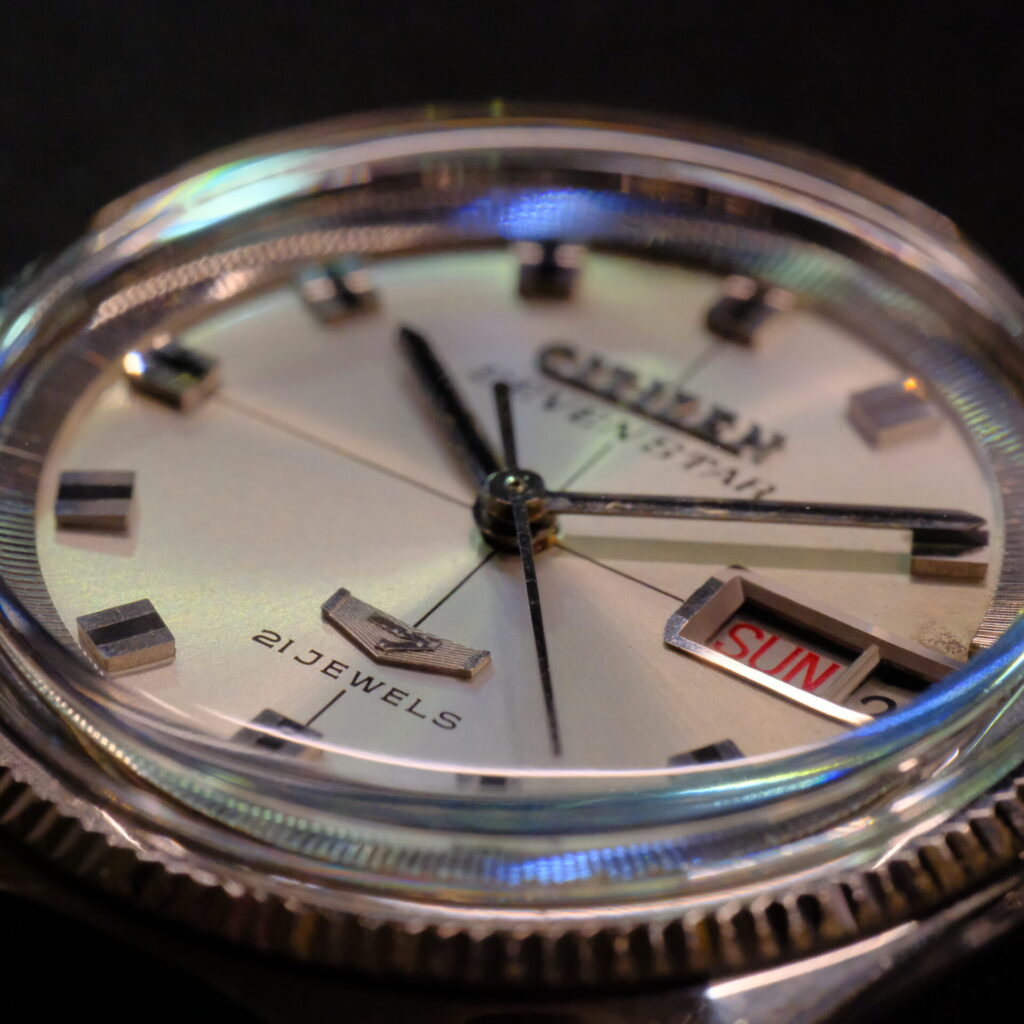
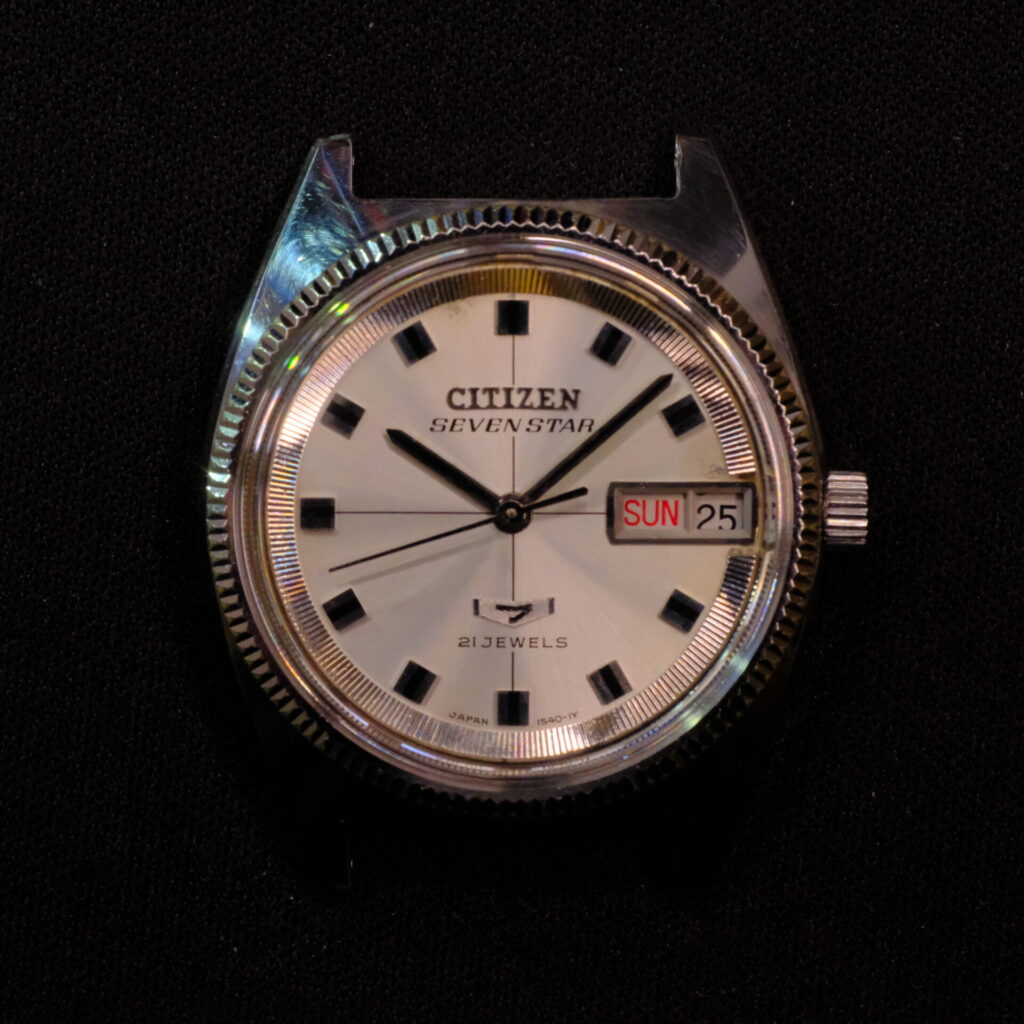
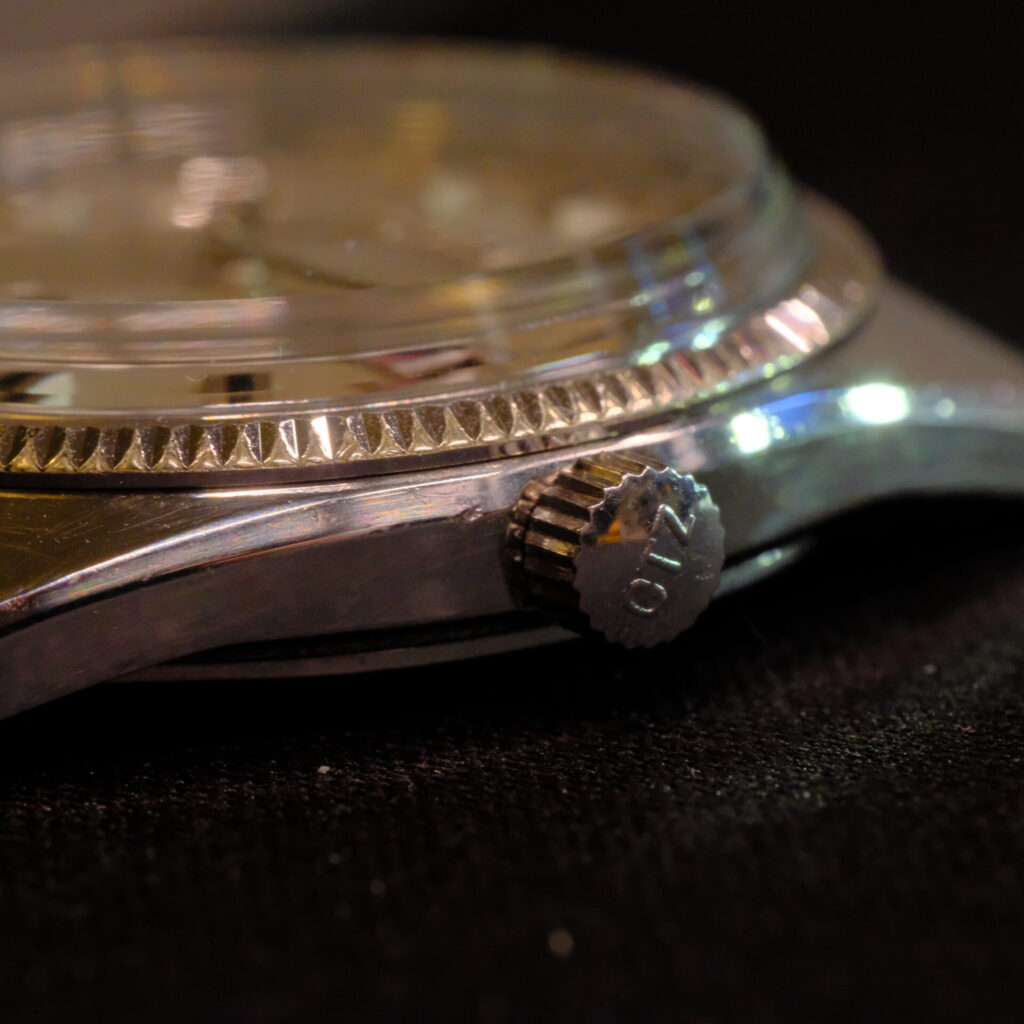
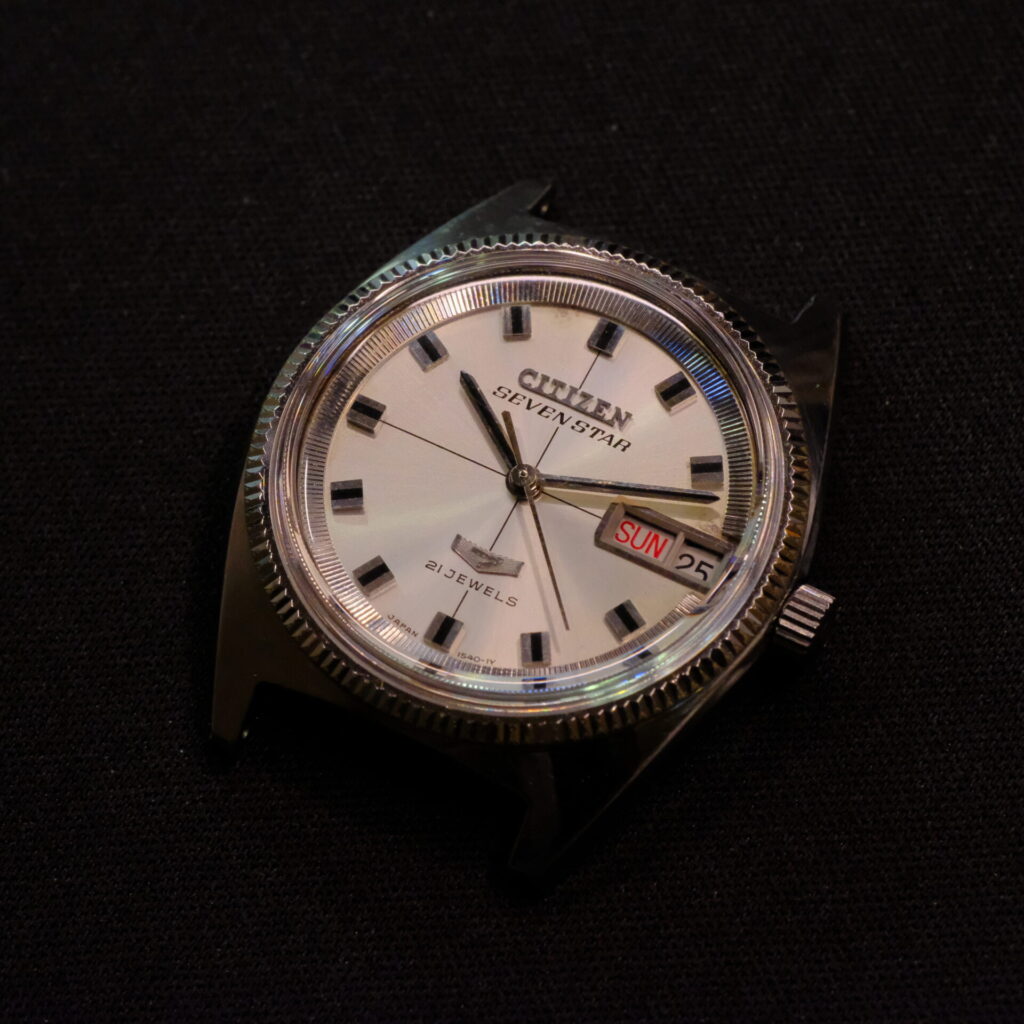
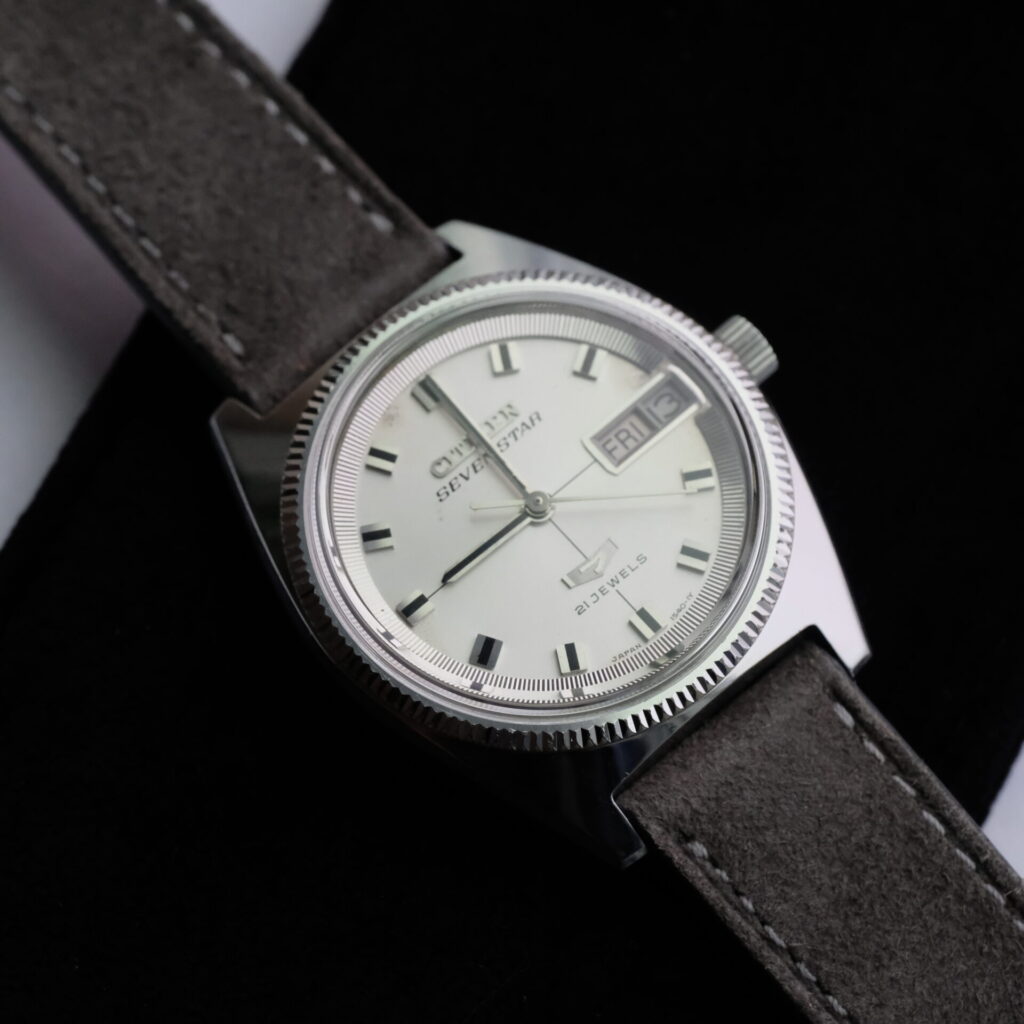
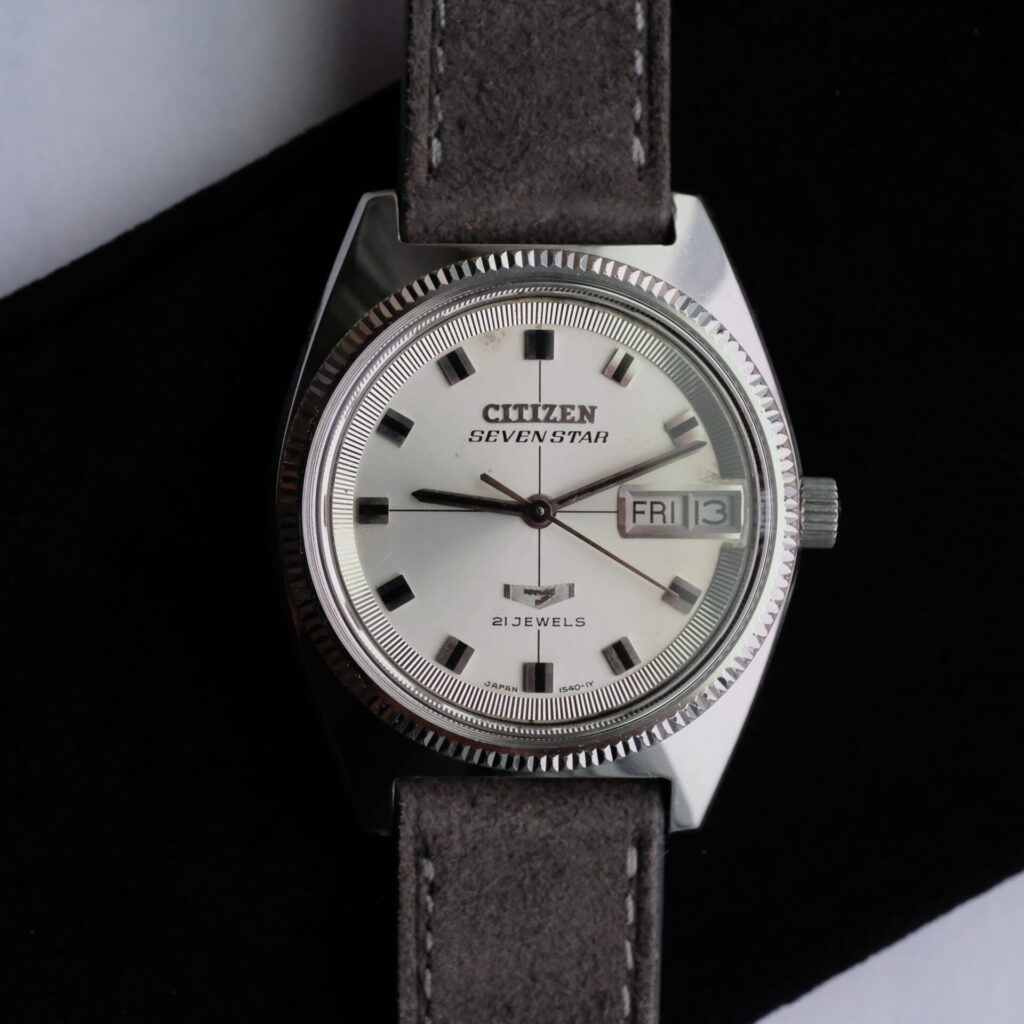
Some close up shots of the final watch. After some elbow grease, we were able to restore the case to a very respectable condition. The new crystal makes everything pop!
Rest assured that its twin brother we introduced at the start, has been similarly looked after and brought to excellent running order. More watches to follow!