
Today on the bench, we have a beautiful Omega Seamaster Ref. 14764-SC-61 from 1961. We found this watch during our trip to Japan while looking for a 65th birthday present for my father-in-law. After searching high and low for a 1961 model, the kind people at Fire Kids in Nakano Broadway came through to save the day. The service history is unknown, so let’s take a look at what we got.
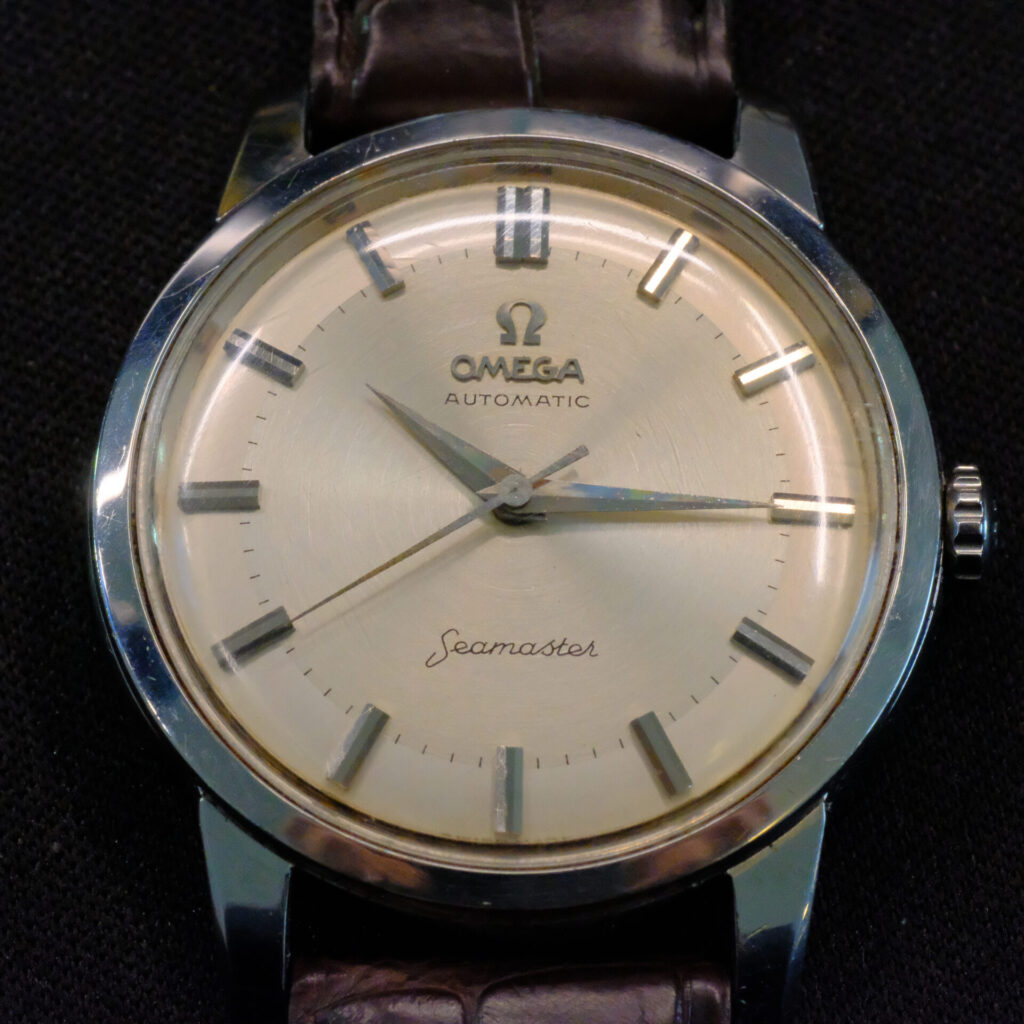
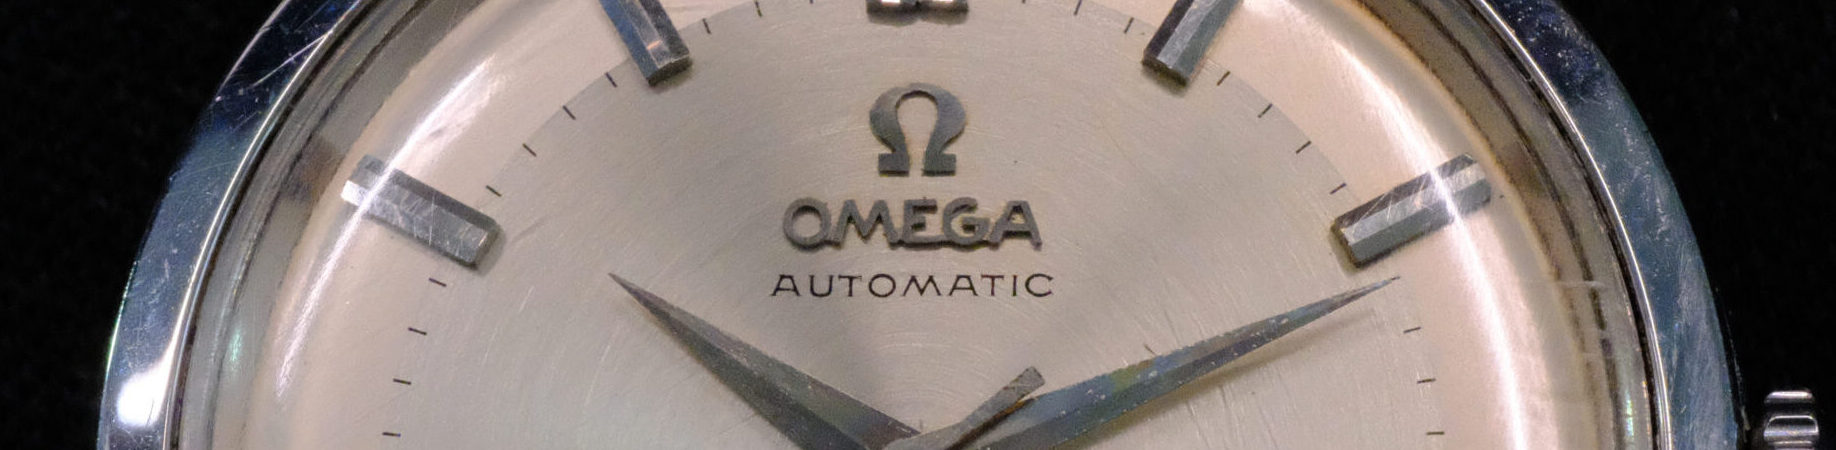
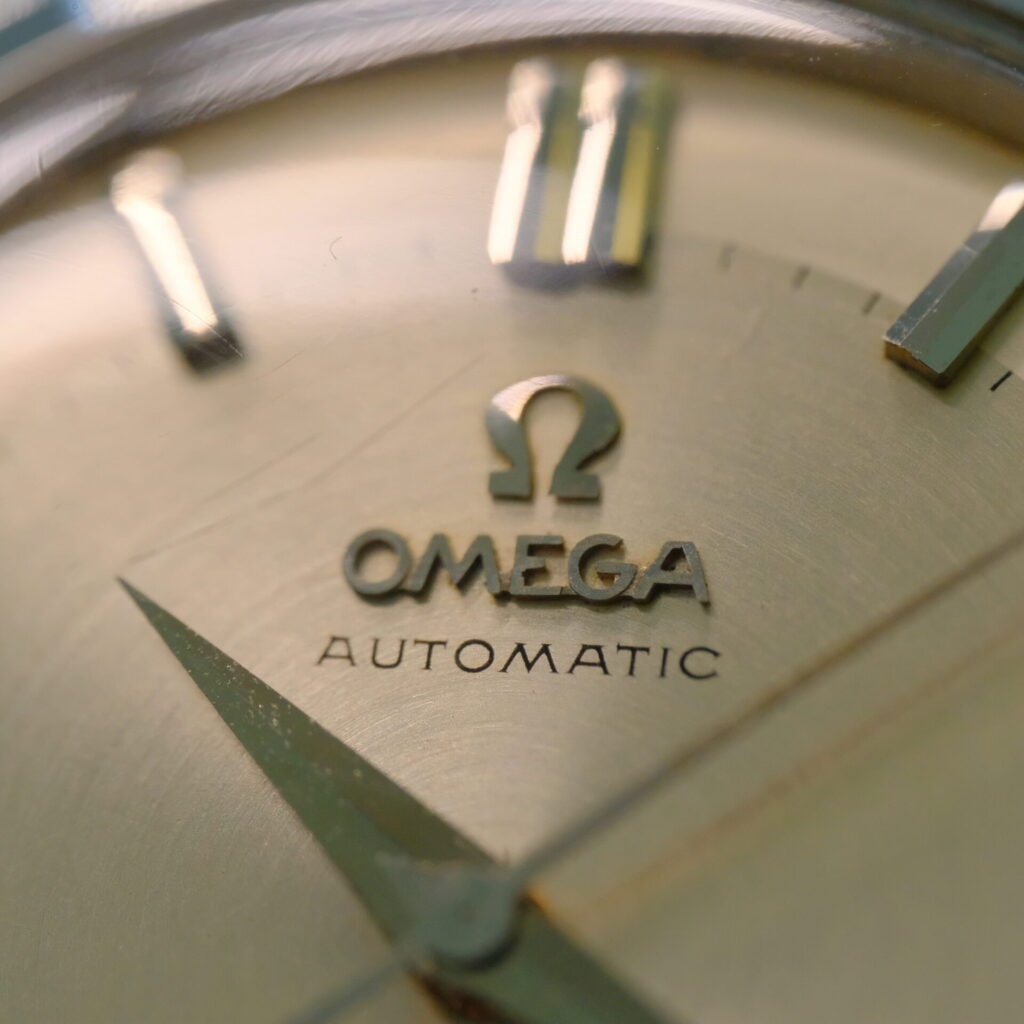
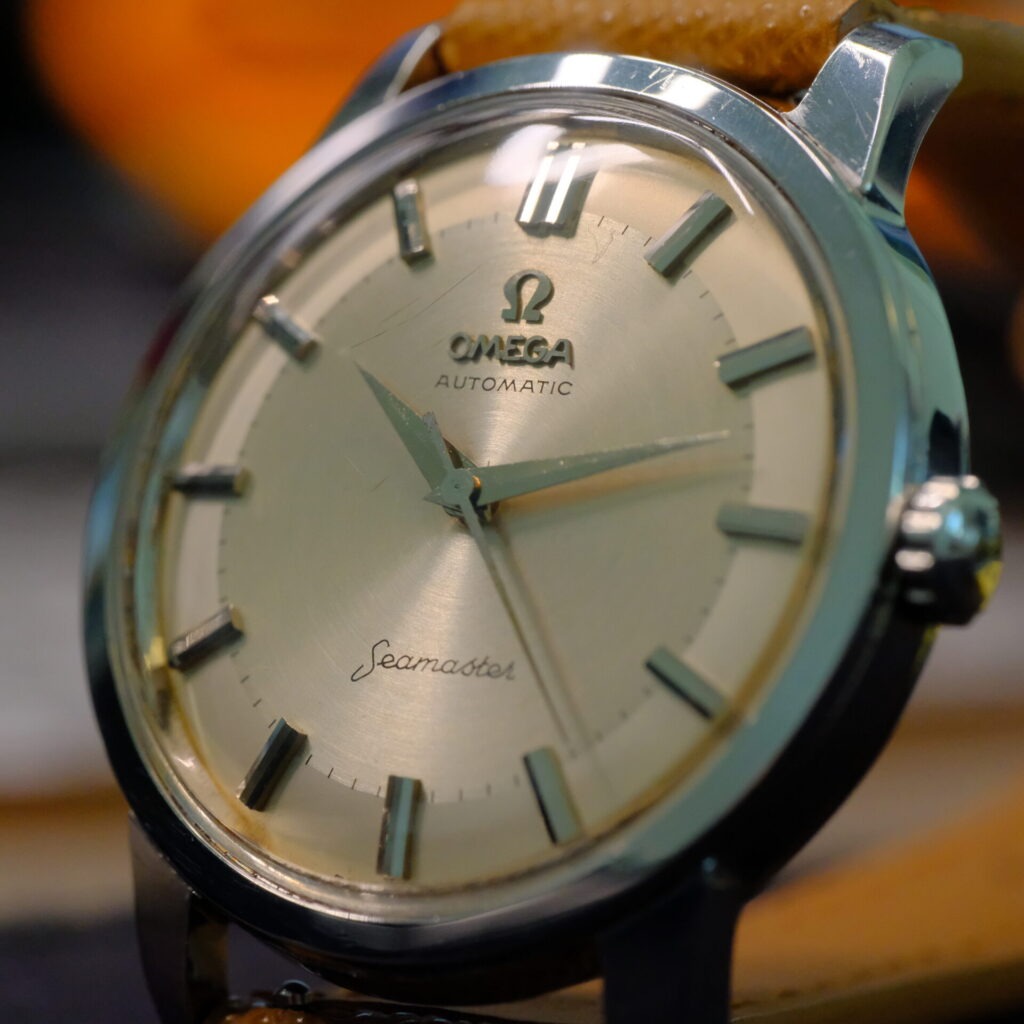
Powered by the reliable calibre 552, this watch features a stunning two-tone dial with a sunburst radial grain in the center, and a silky satin finish around the outer edge. It is highly reminiscent of the pie-pan dials Omega featured in their Constellation range during this era. Lastly, this piece has one final trick up its sleeve – a 36 mm case size. This is larger than the standard 34 mm casing for the time, creating a great balance of presence and legibility, even today.
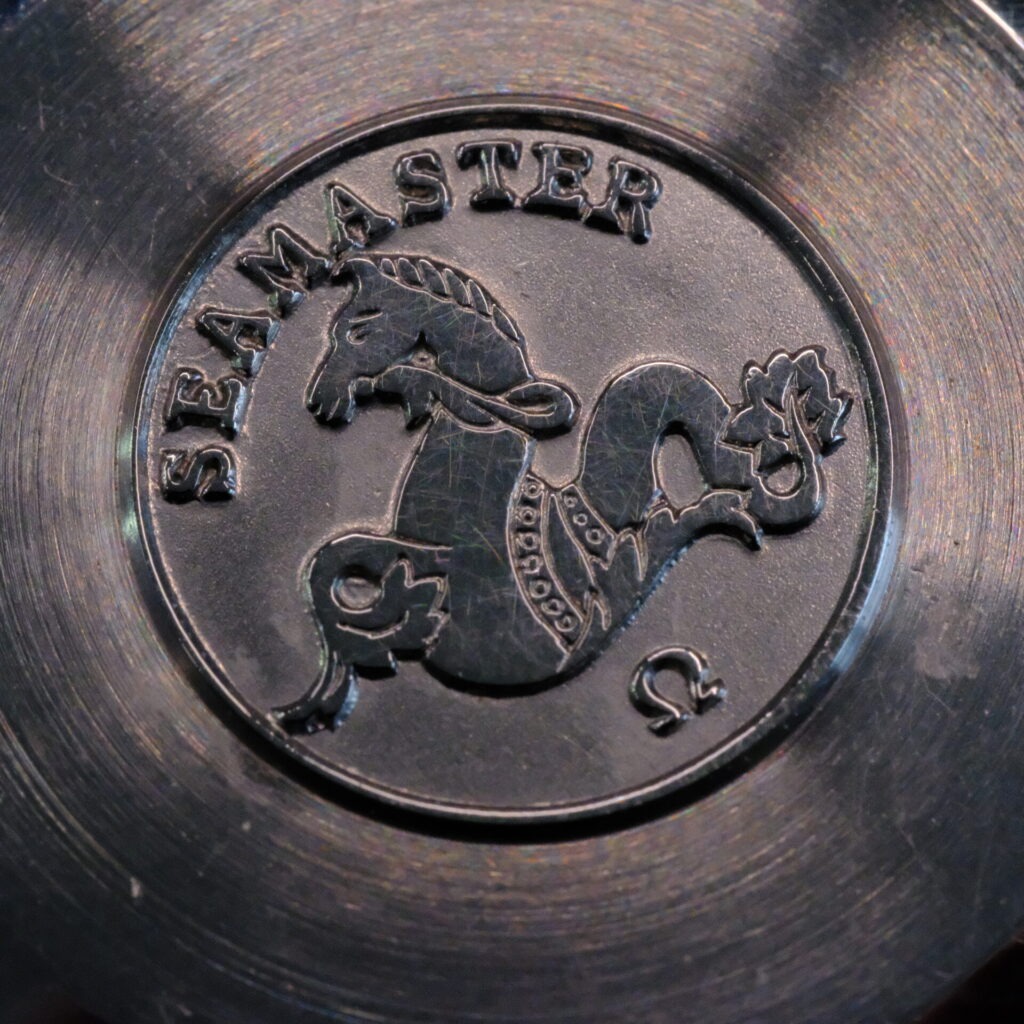
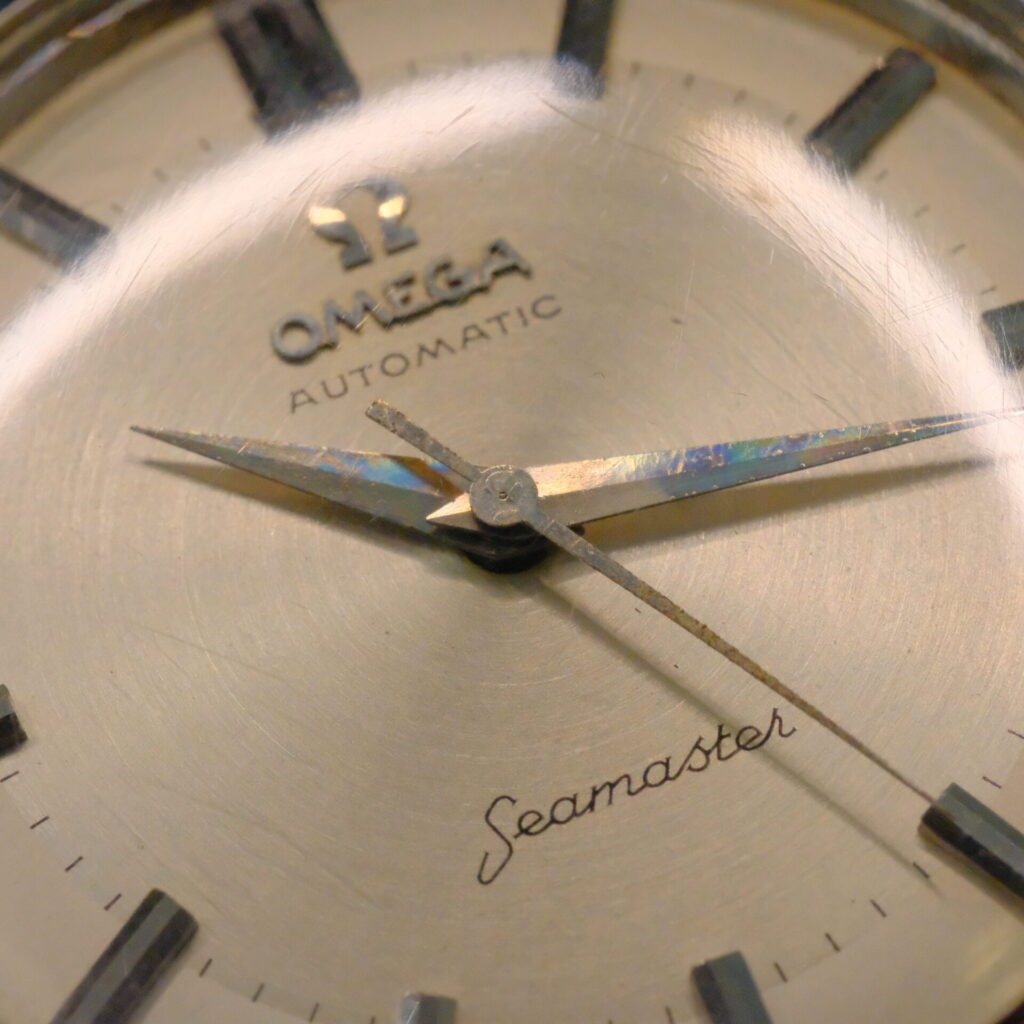
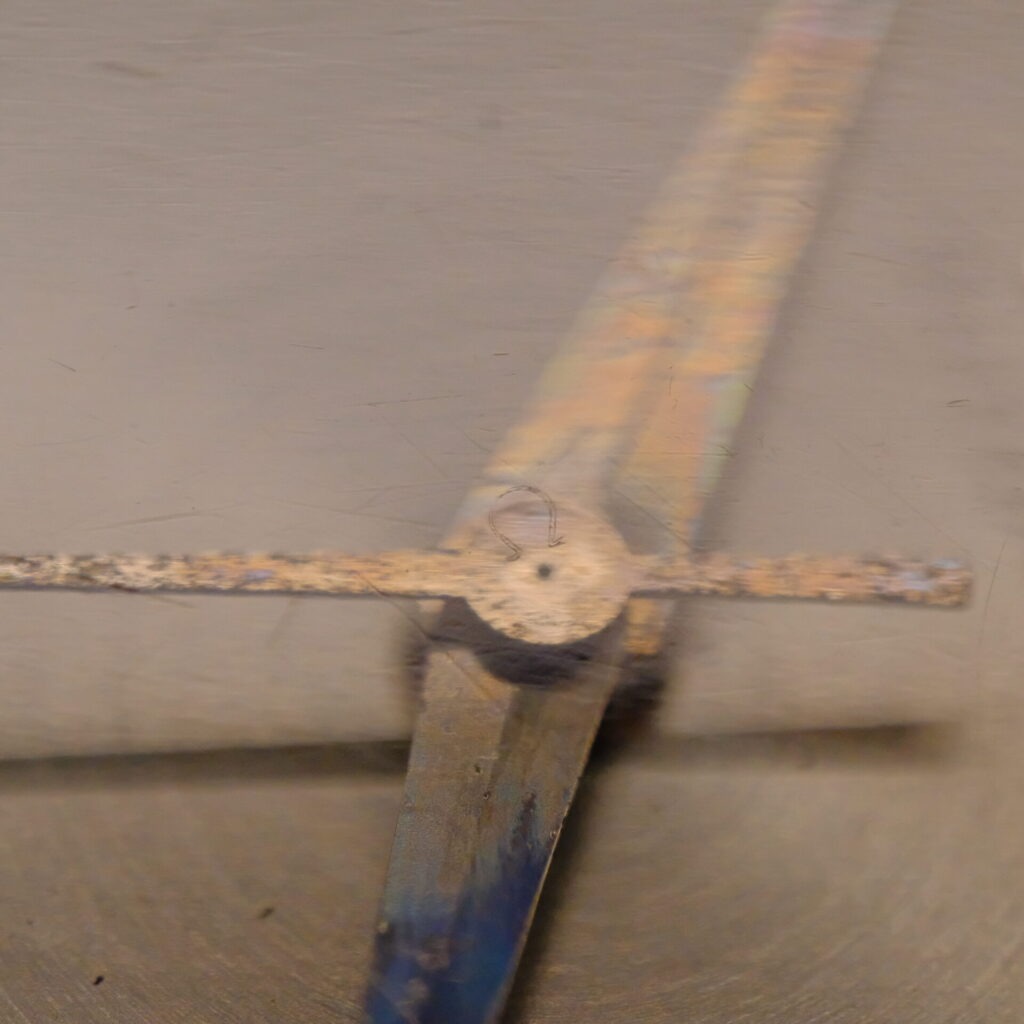
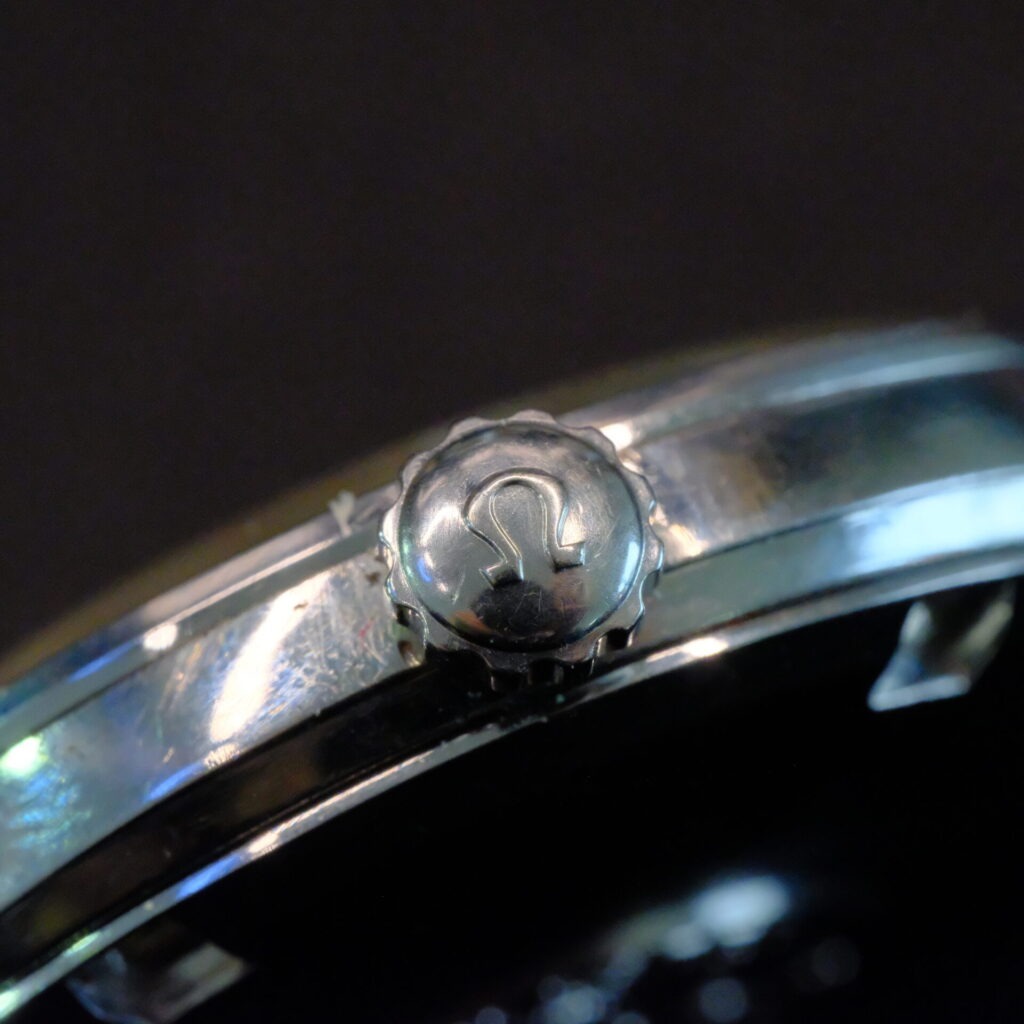
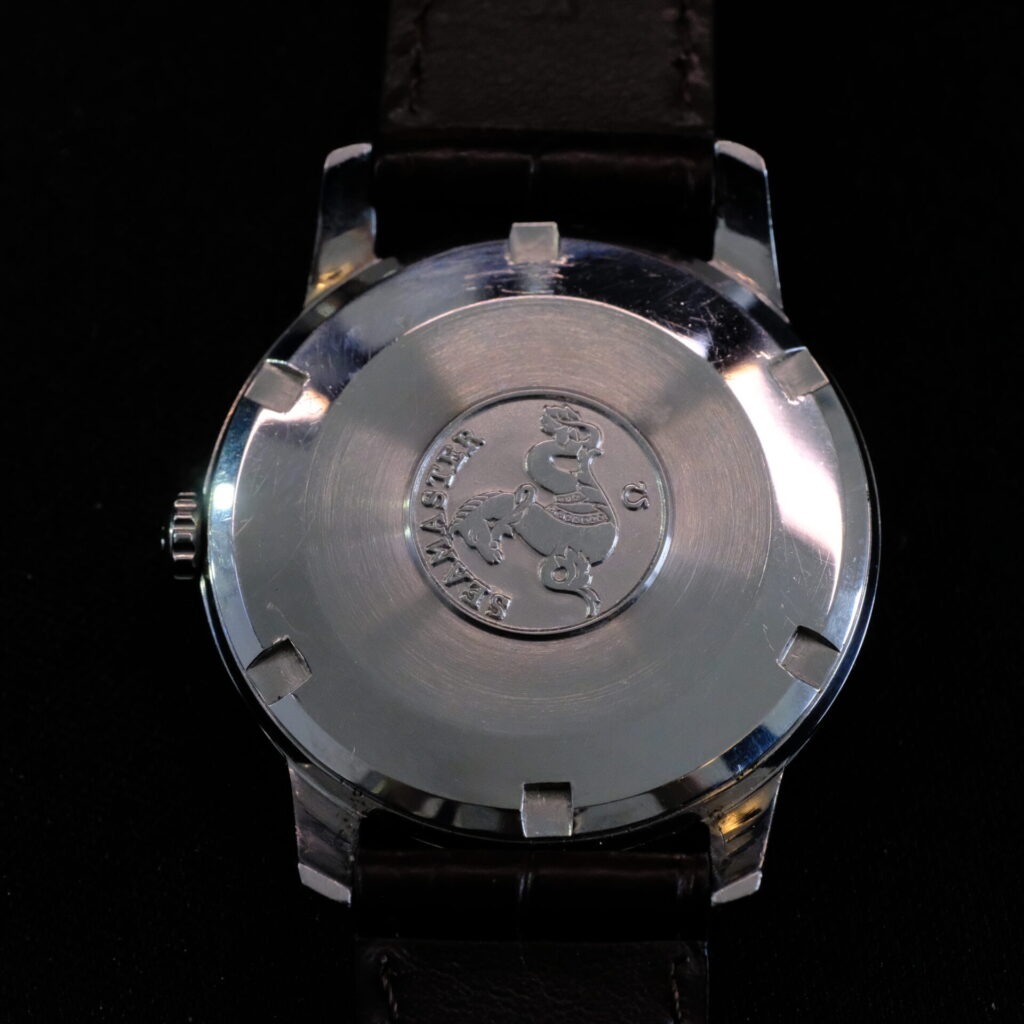
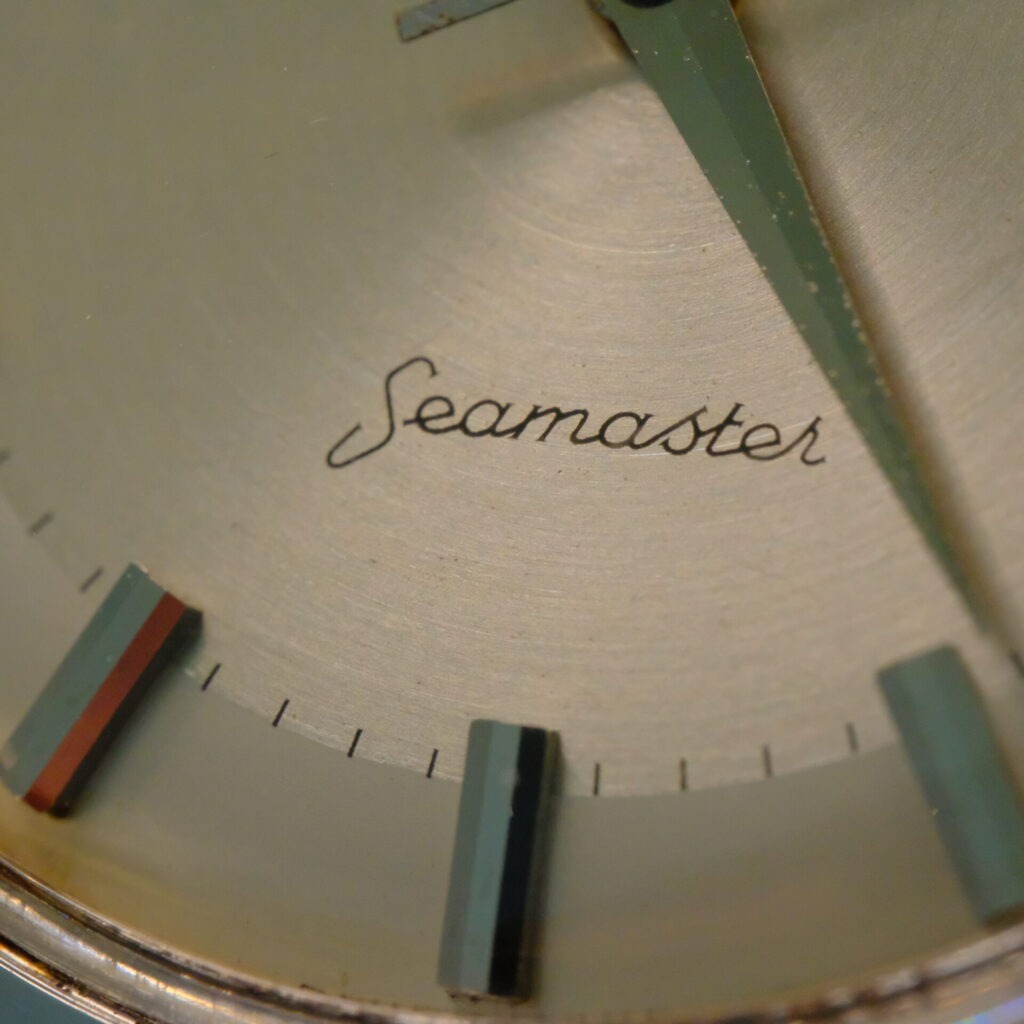
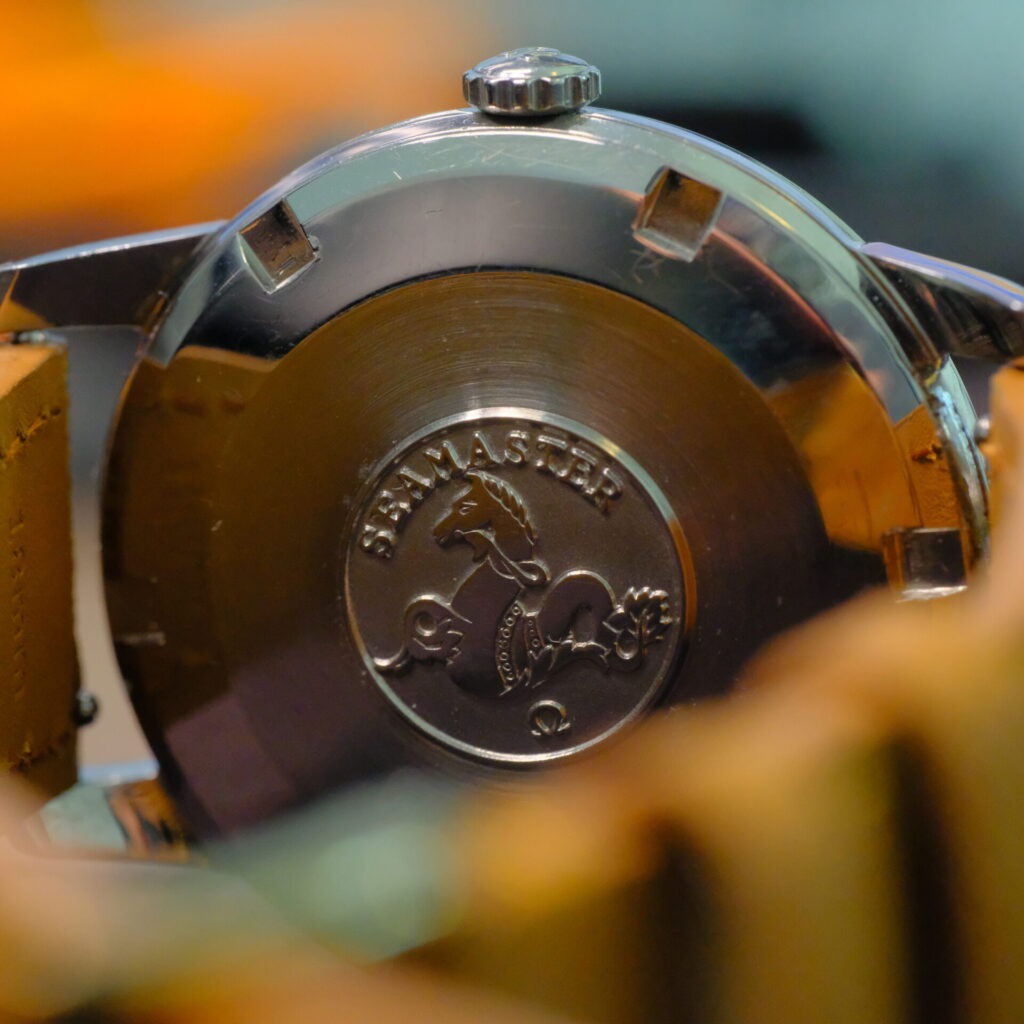
After a closer look at the watch, there are a multitude of Omega logos stamped across the case. The caseback features a sharp medallion depicting the iconic sea-horse (or hippocampus). The dial boasts the vintage “coat hanger S” at the start of the word “Seamaster” — a feature soon discontinued in the early 1960s. The crown, too, appears to be the original scalloped crown. The crystal is an original Omega part, as evidenced by the Omega symbol faintly visible in the centre of the crystal (lower left picture). Underneath, the hands show possible signs of moisture ingress.
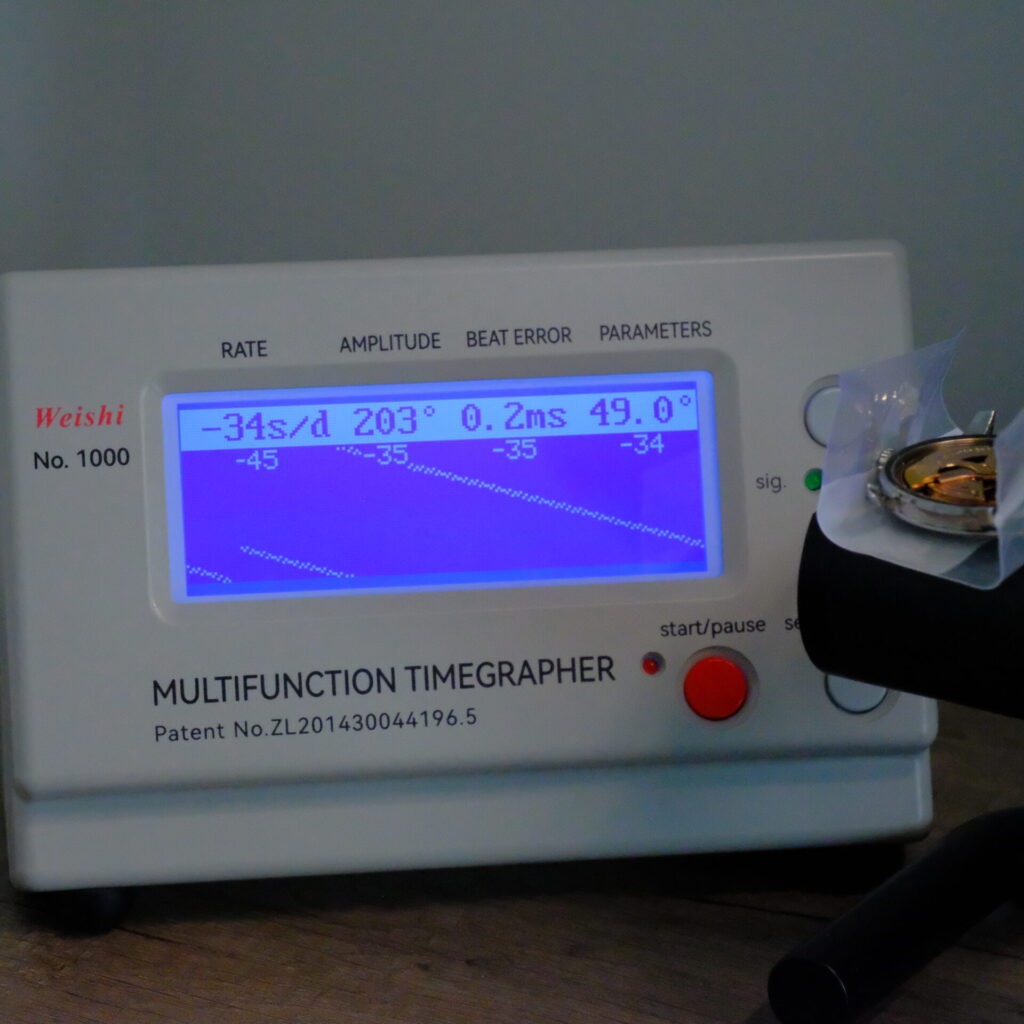
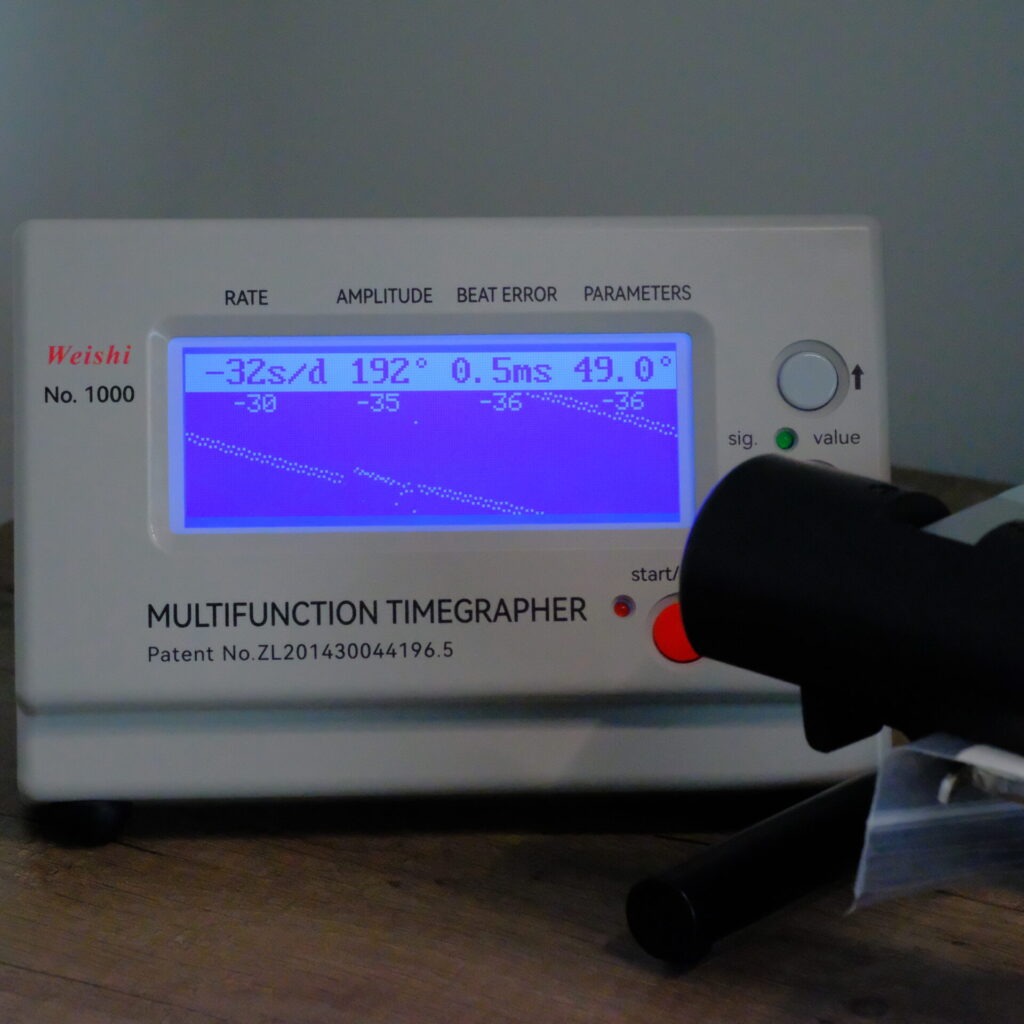
Taking the watch to the timegrapher, the readings are not brilliant. The watch is running around 33 seconds slow, with quite low amplitude. At full wind, we are only getting around 200°. We should be able to improve this with a service. Note that the correct lift angle for the Calibre 552 is 49.0°.
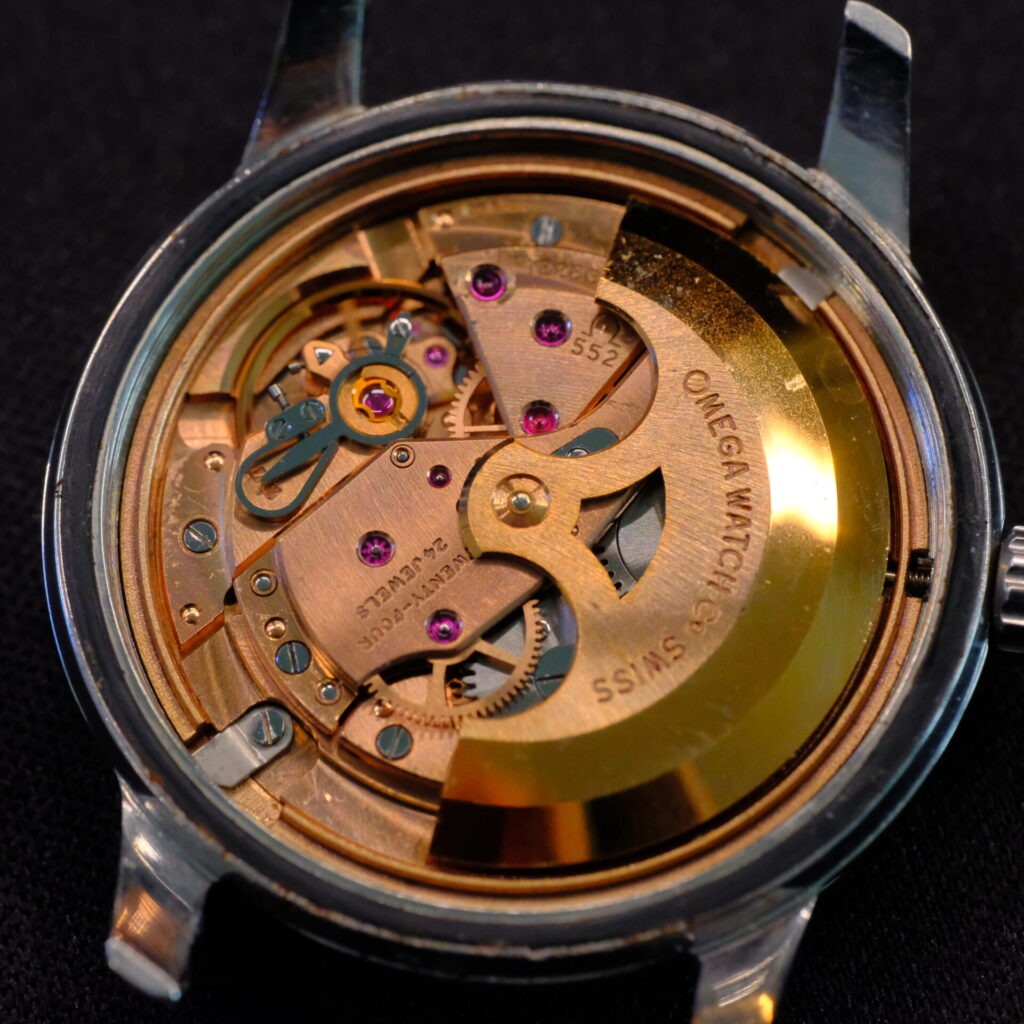
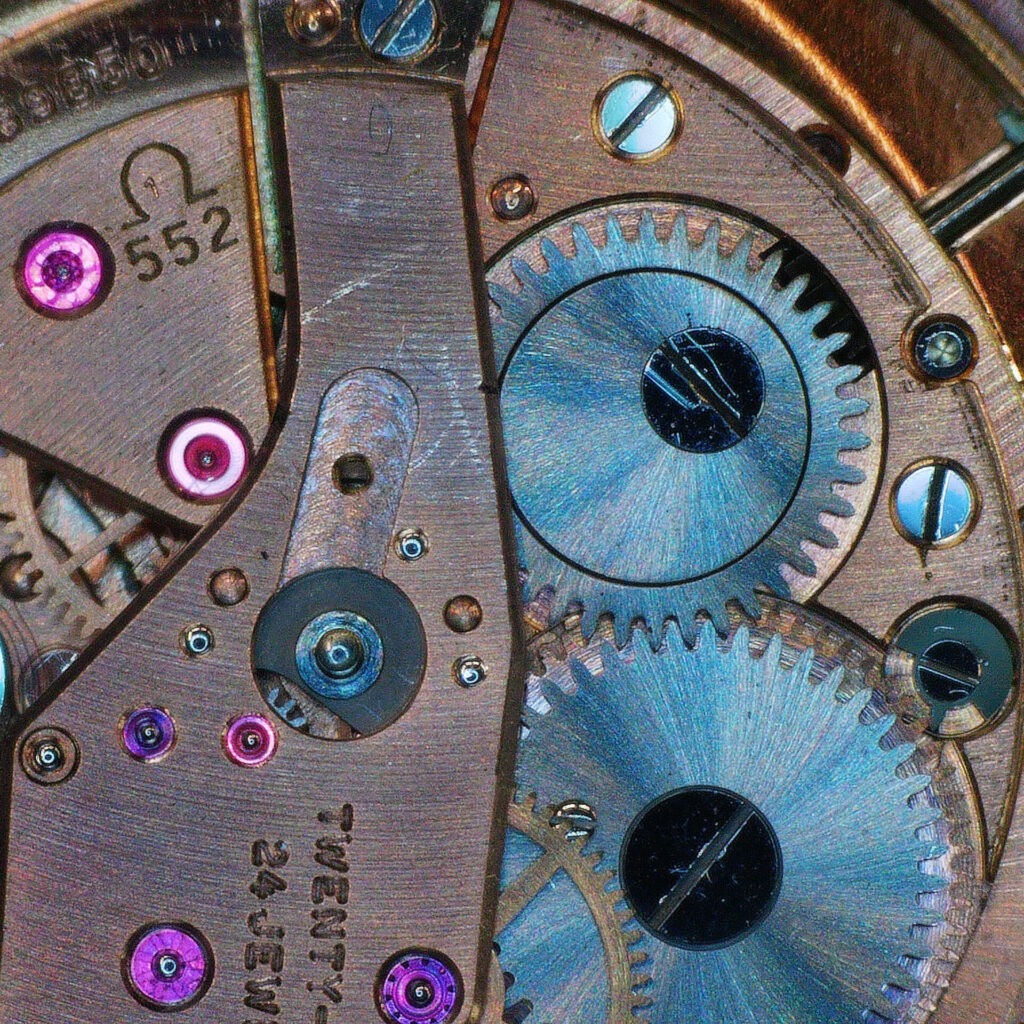
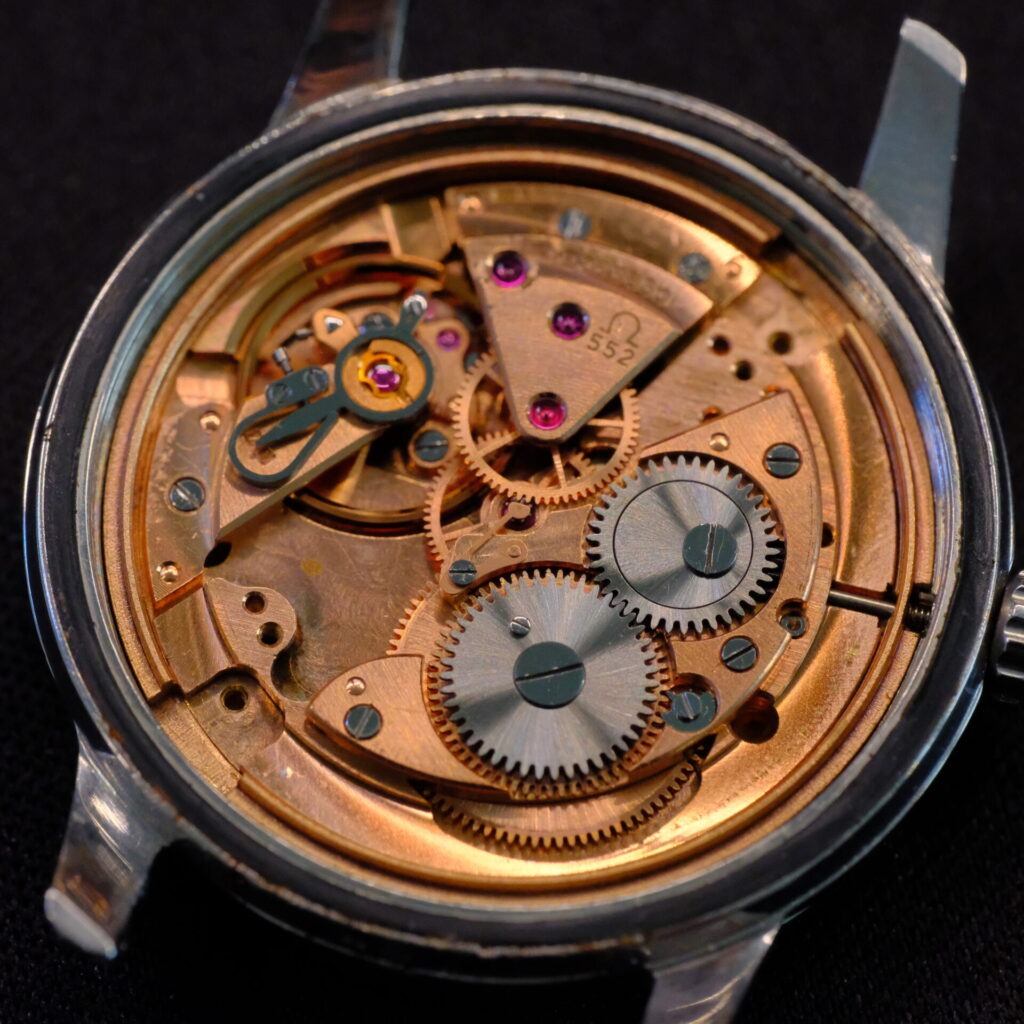
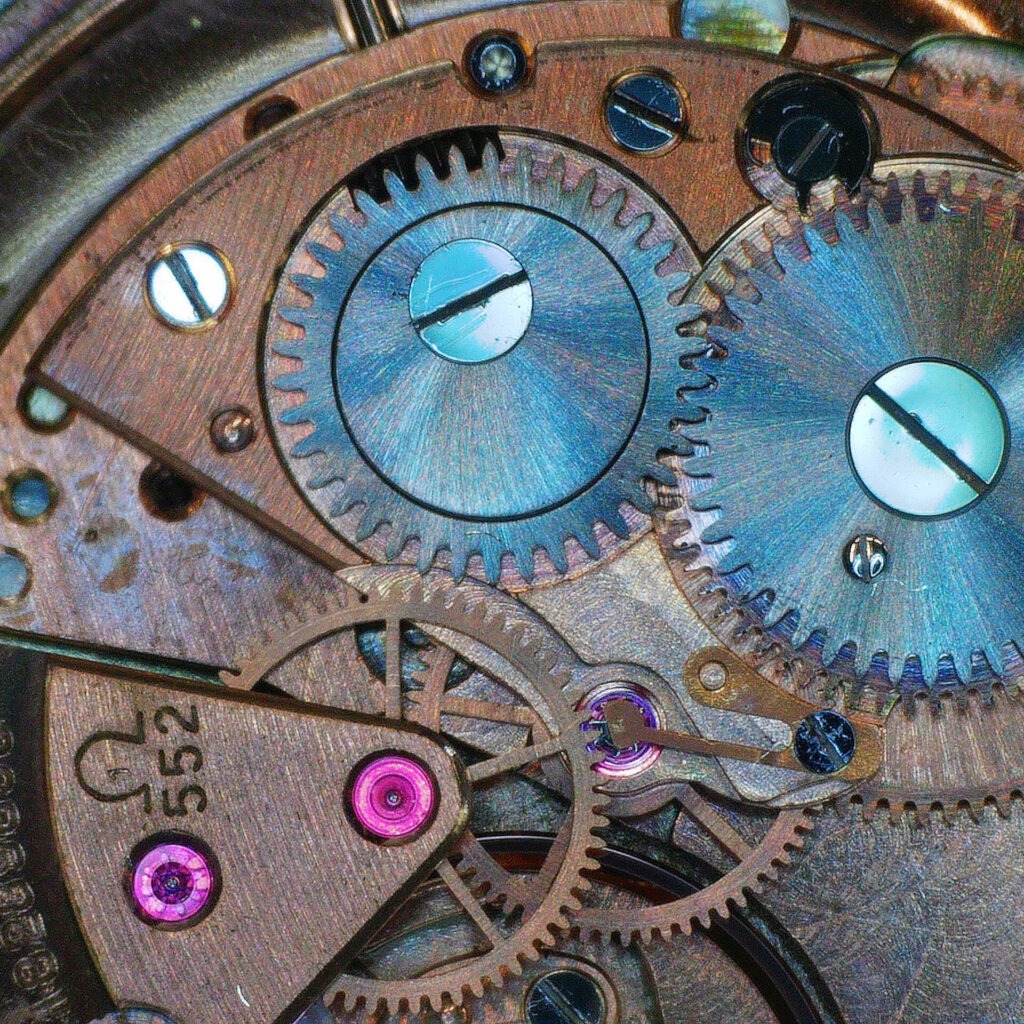
Opening the caseback, we see that the movement is in good visual condition. The gasket is completely dry and compacted, and the rust around it is evidence that moisture has made its way into the case. This will be replaced with a new gasket during service. The warped screw heads and light marks indicate that this watch has been serviced at some point in the past. Before removing the gib holding the winding rotor, we perform a visual inspection of the rotor axle and check for play.
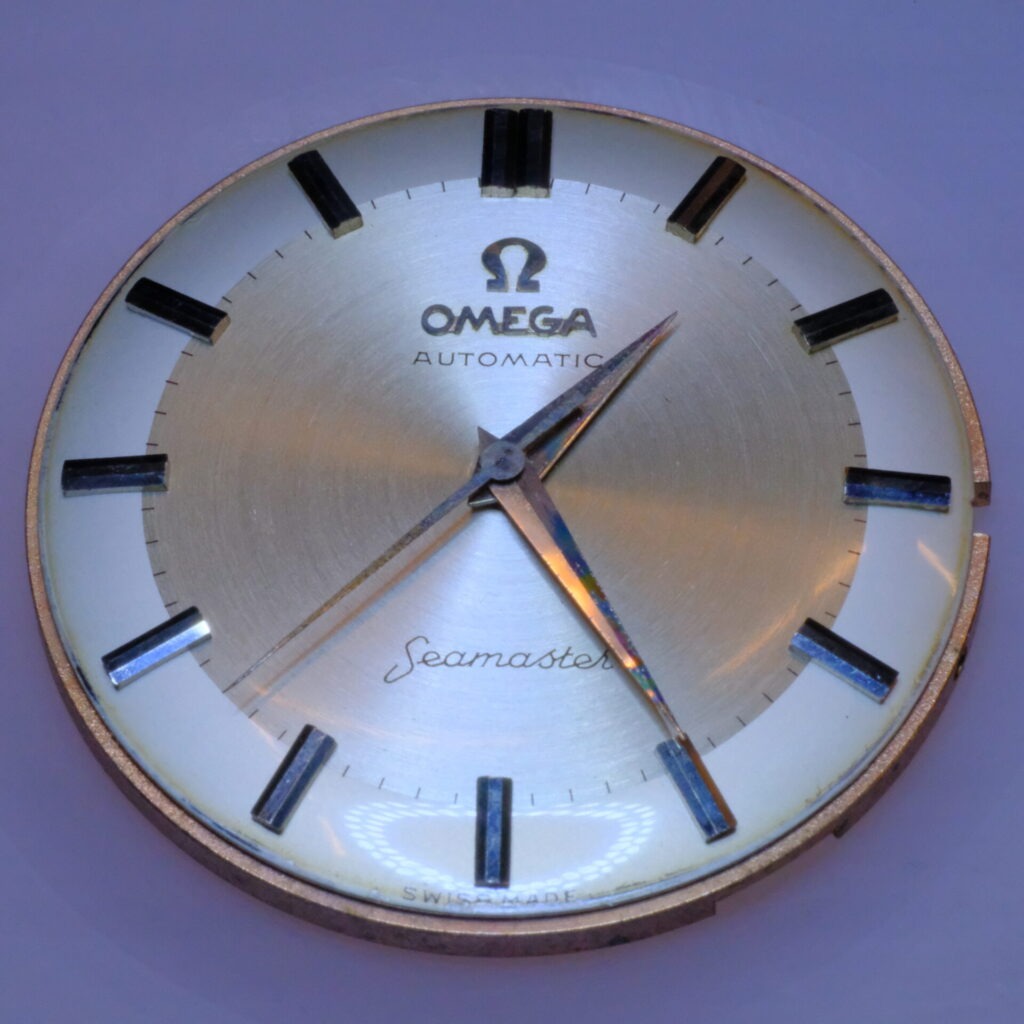
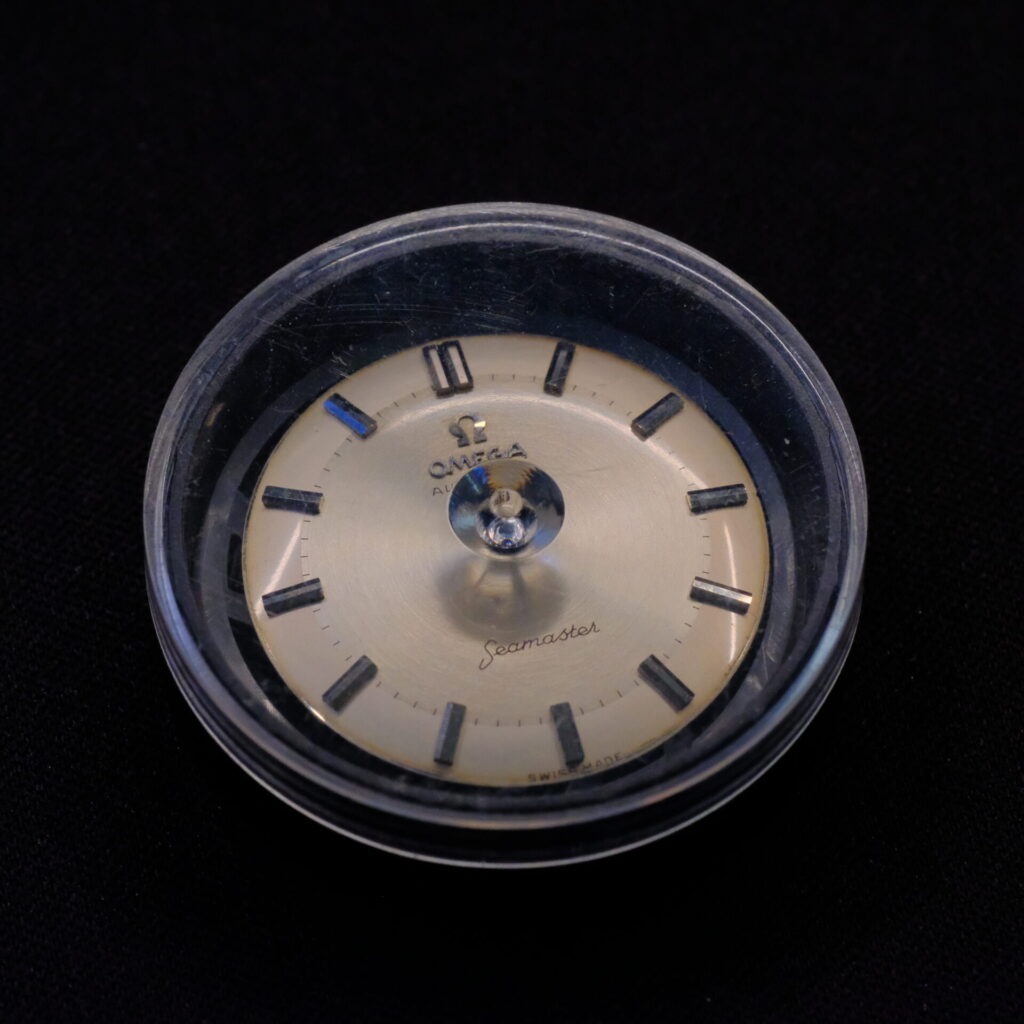
After taking the movement out of its case, we can see the two-tone finish of the dial more clearly, as well as the usual telltale rainbow of oxidation on the hands. We will attempt to give them a light polish later on. For now, the dial and the hands all go into a protective container and are set aside.
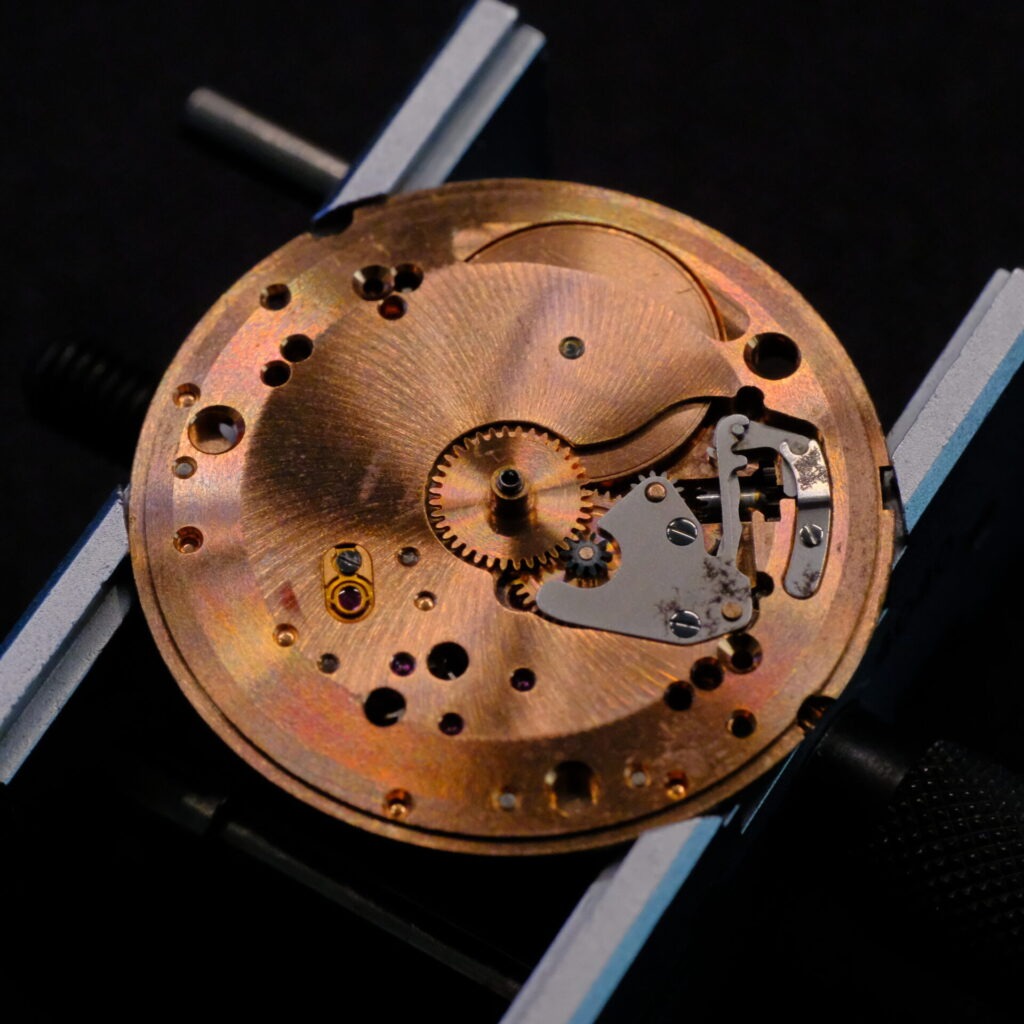
Under the dial, the keyless works too has some spots of rust. This is mostly cosmetic as everything still works as needed.
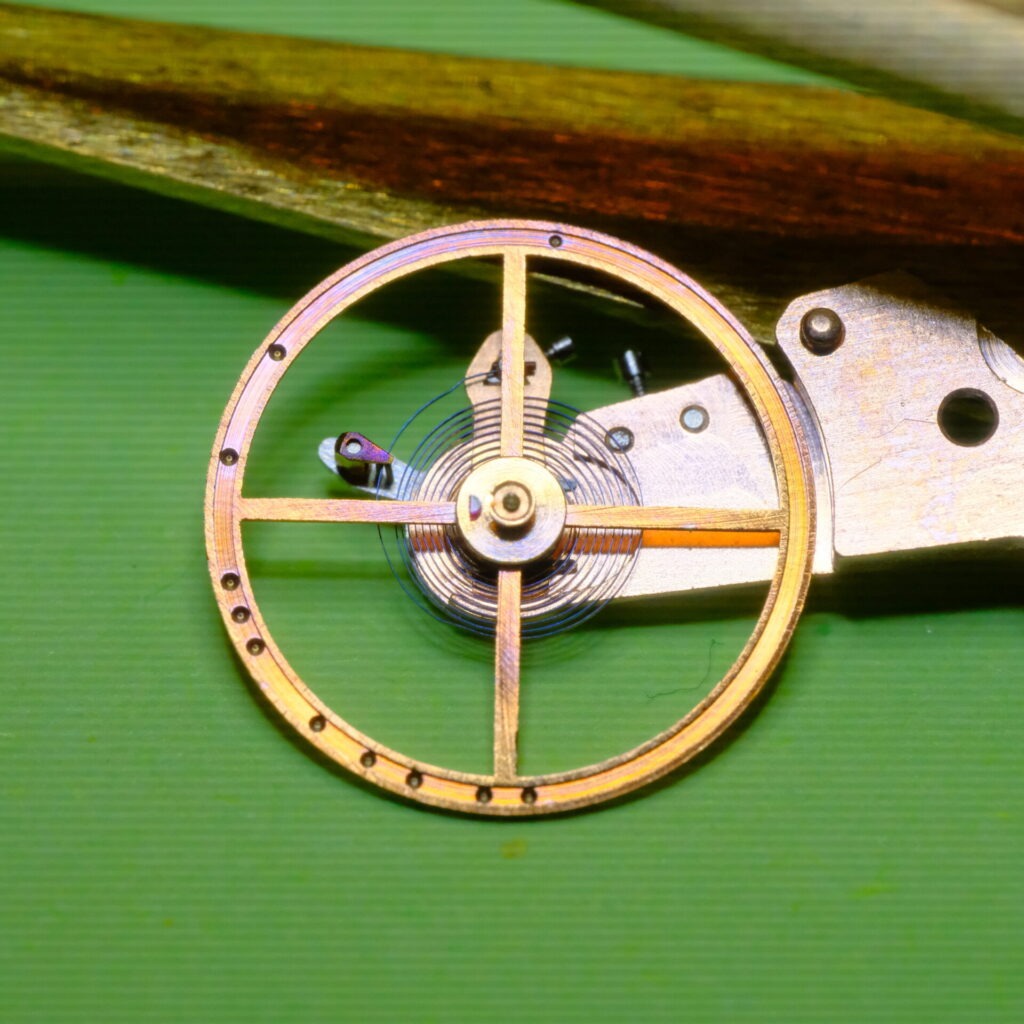
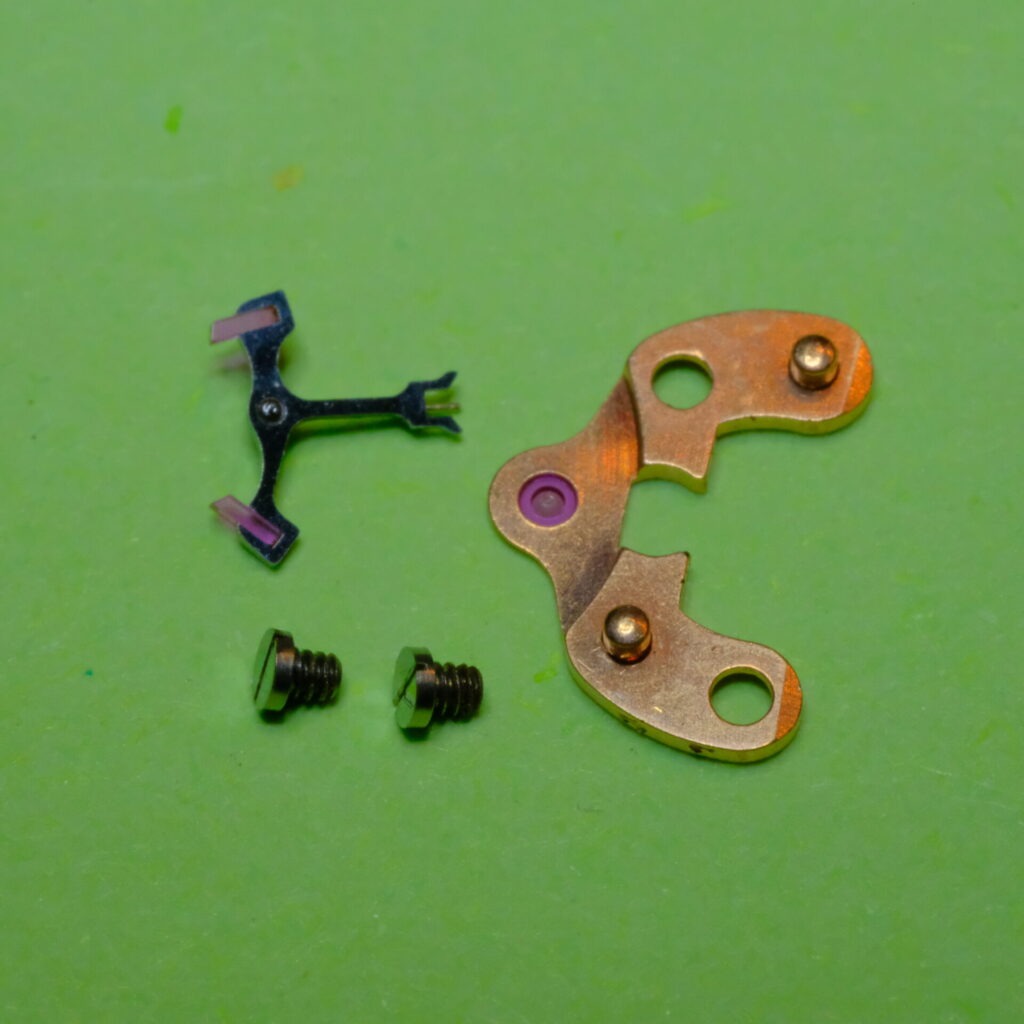
Turning the movement over, disassembly starts with checking that there is no power left in the mainspring. Only then can we continue by removing the balance cock and balance wheel. On the left, we can see the spots where weight has been removed from the balance wheel during dynamic poising to ensure the balance and spring combo are accurate across multiple positions. Next come the pallet fork and pallet bridge.
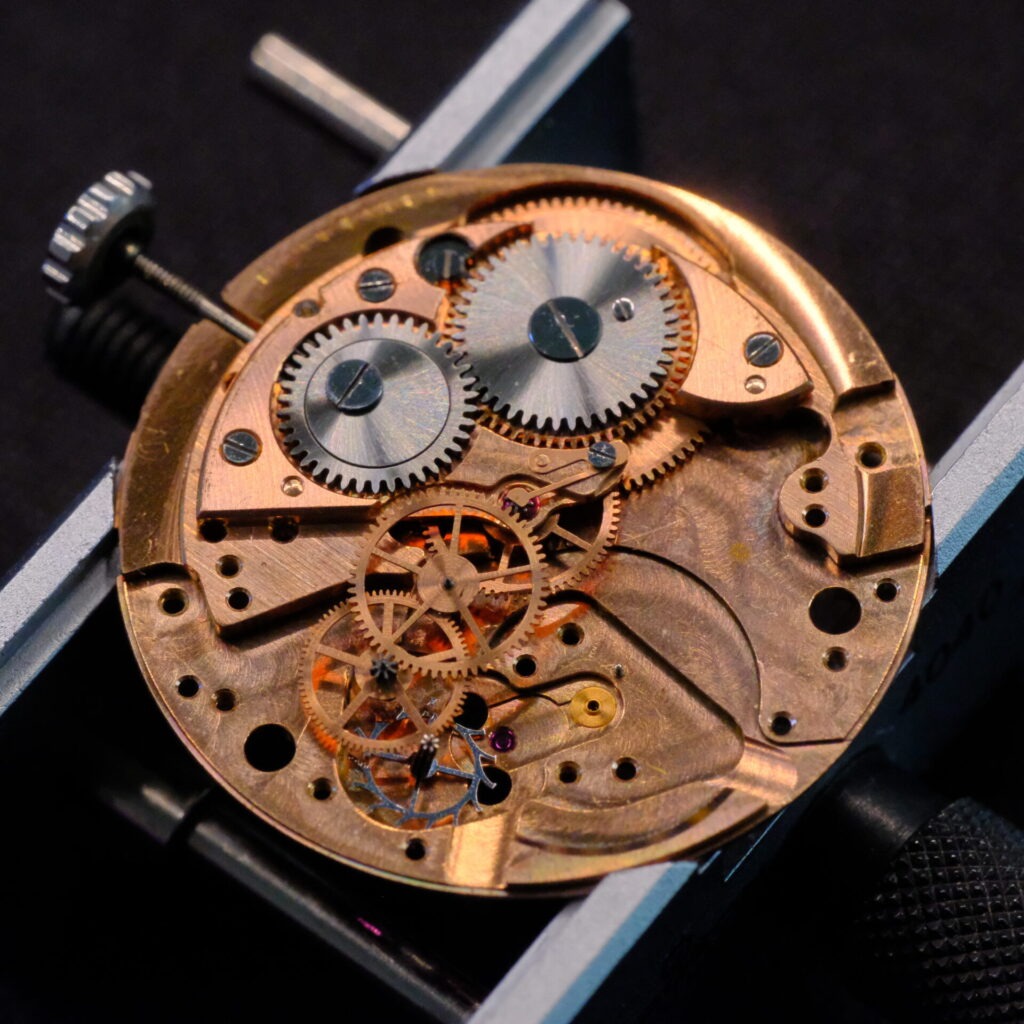
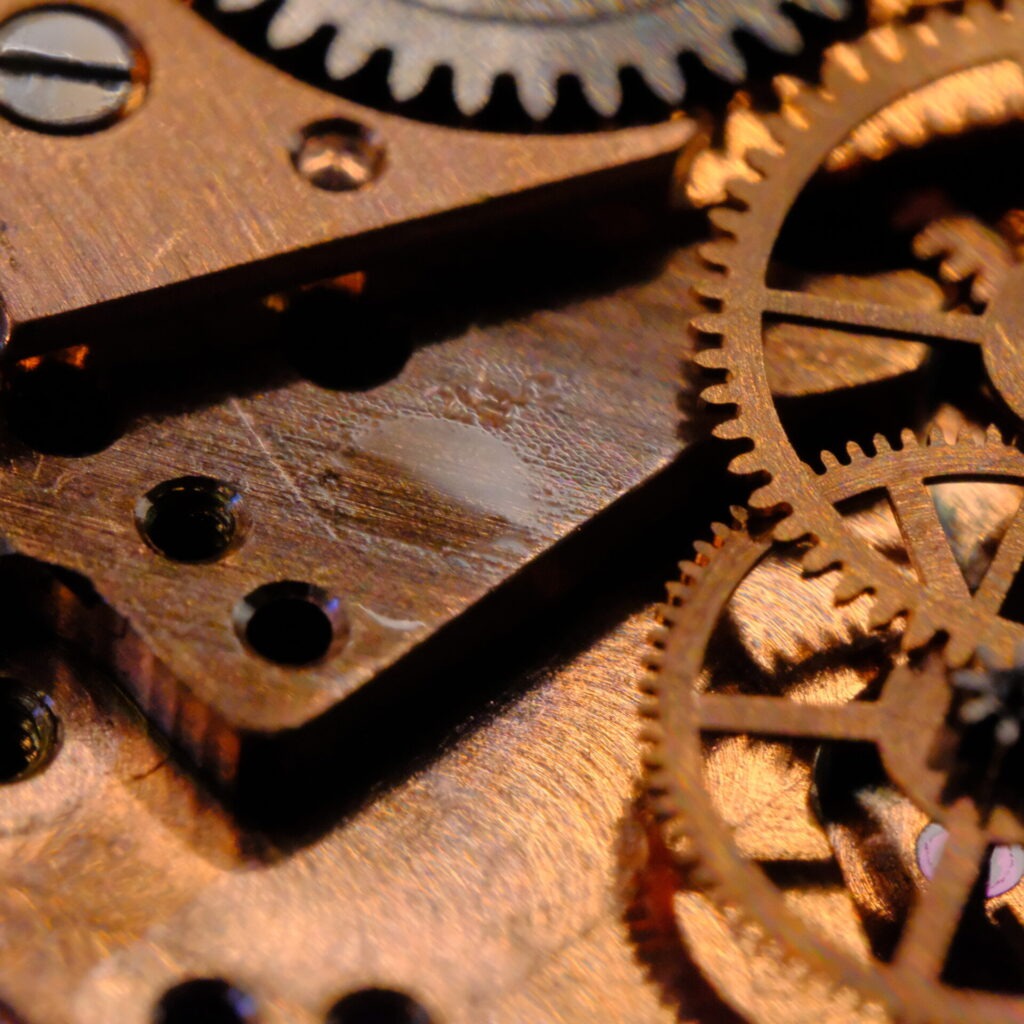
The train wheel bridge is removed, exposing the third wheel, the fourth wheel, and the escape wheel. There is oil pooling next to the wheels in a place where there shouldn’t be any. No doubt a desperate attempt to improve performance during its previous service.
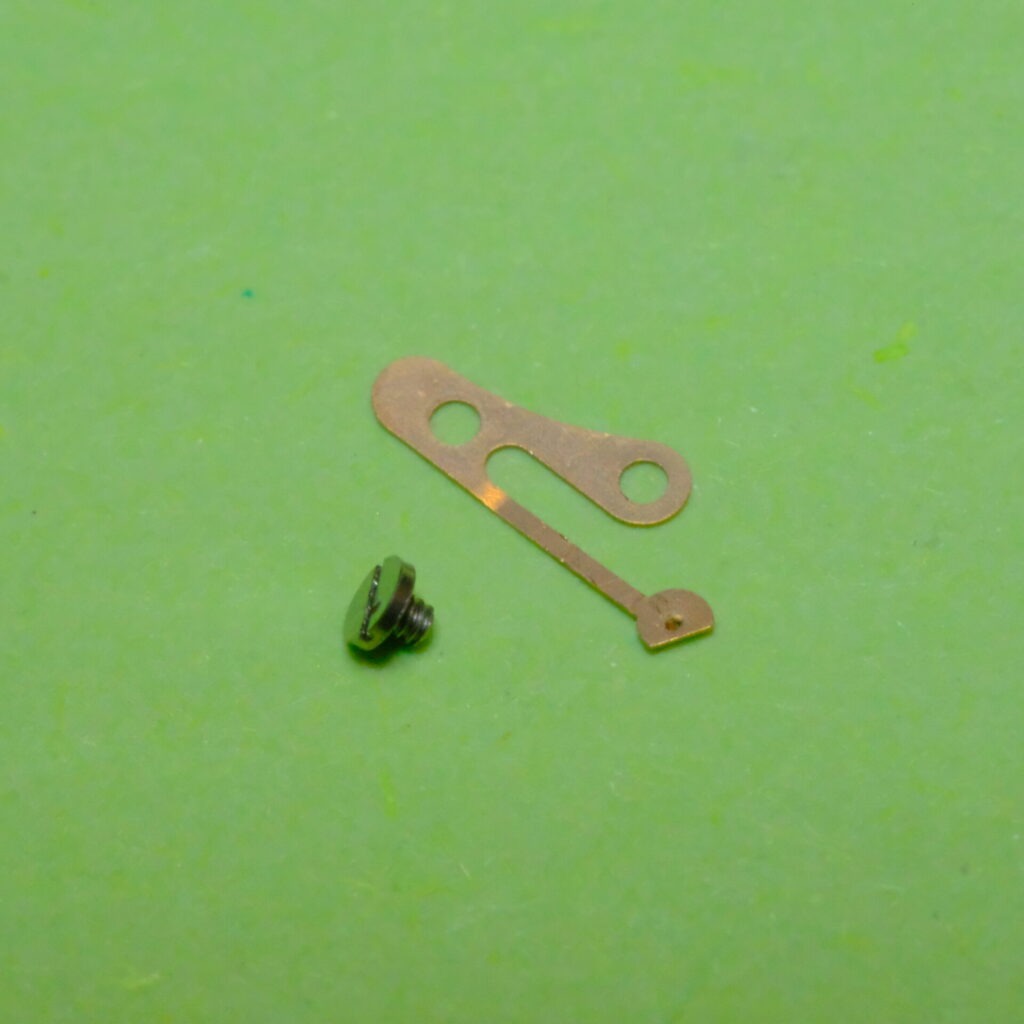
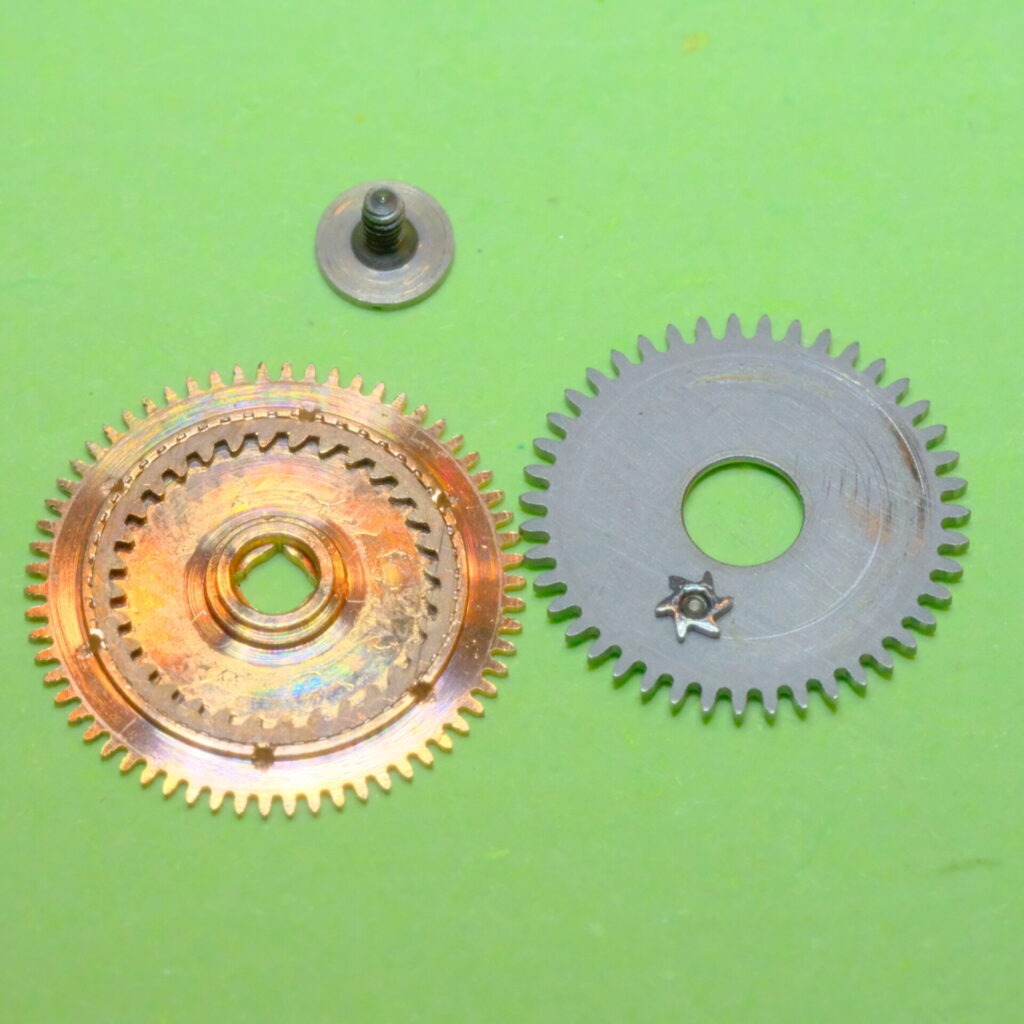
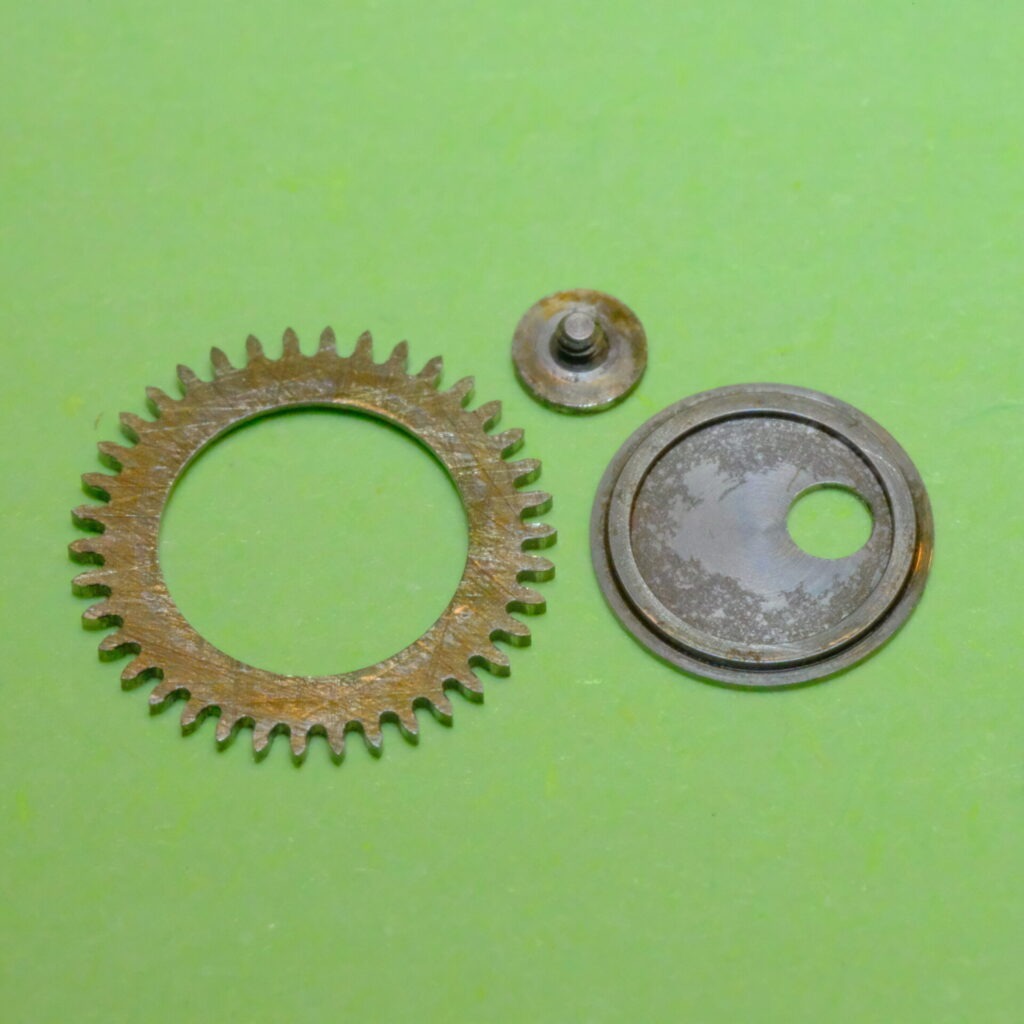
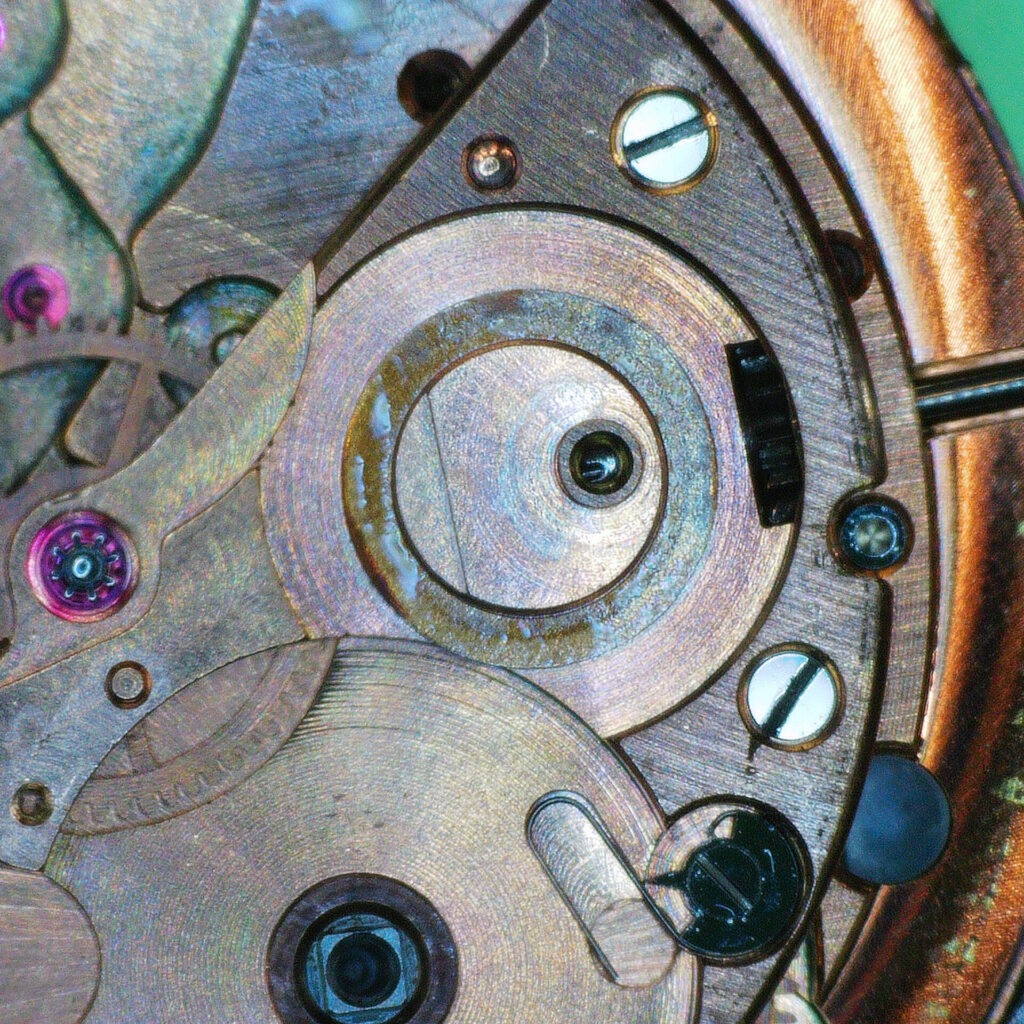
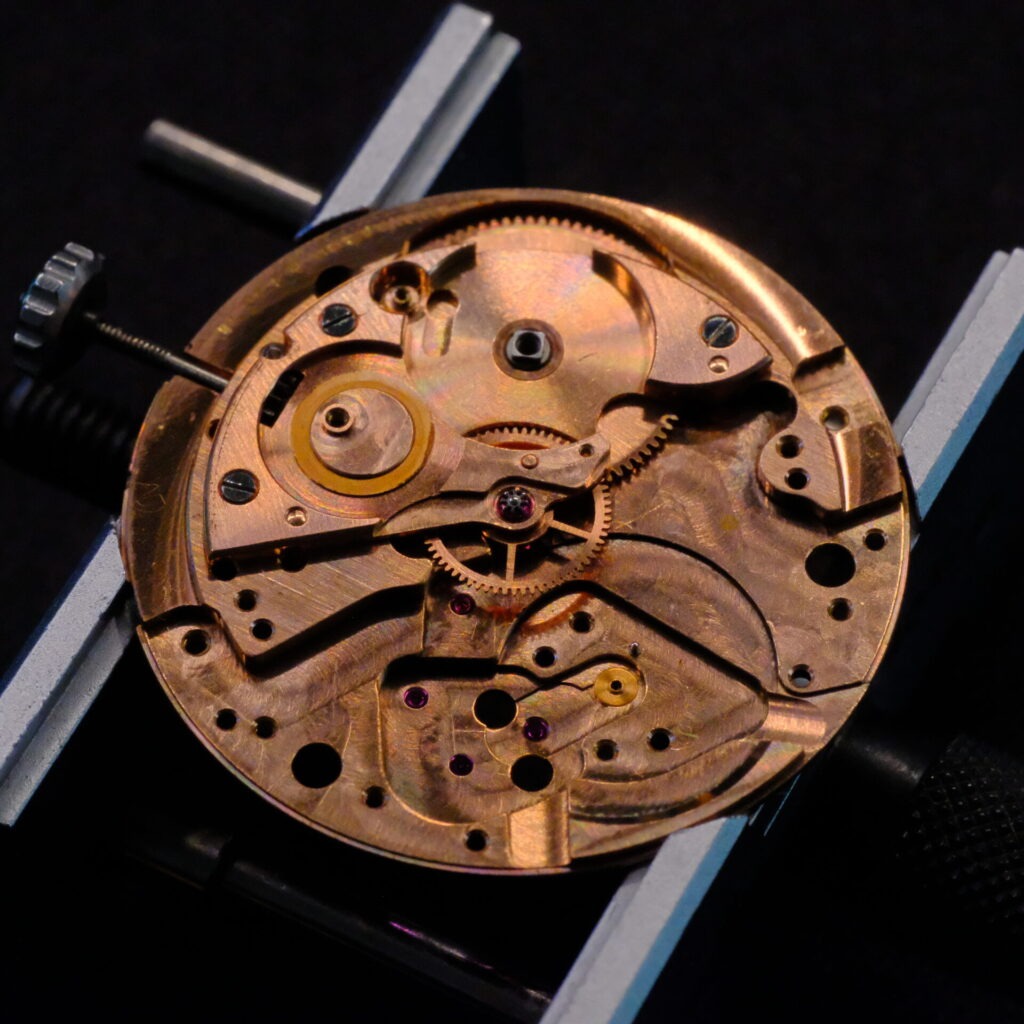
Removing the second pinion spring, we see the steel pivot has worn a dimple on the brass spring. The ratchet wheel is composed of two parts. as is the crown wheel. All components are in need of a cleaning.
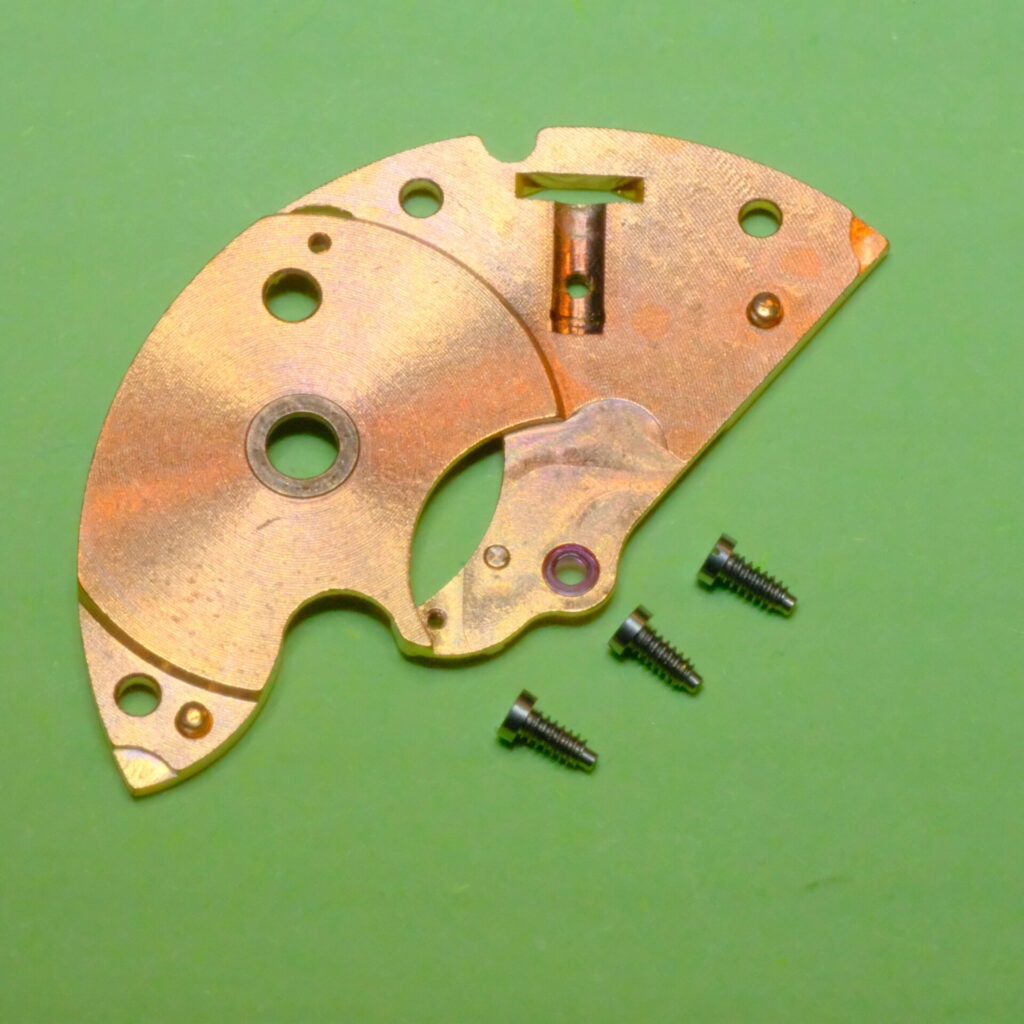
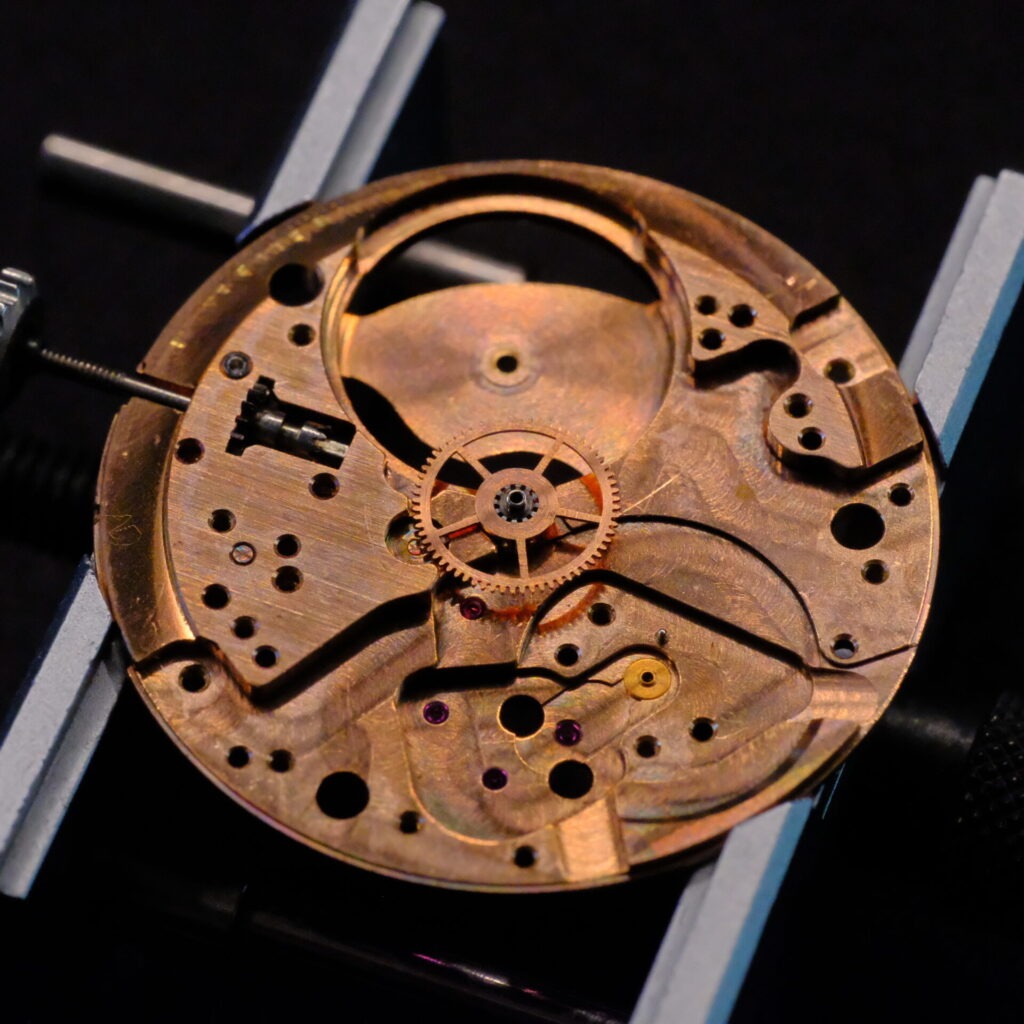
After checking the play in the barrel, we found excessive side shake, indicating the mainspring barrel is moving too much side to side within the upper and lower holes. This will be addressed using the staking set. For now, we finish the disassembly of the movement.
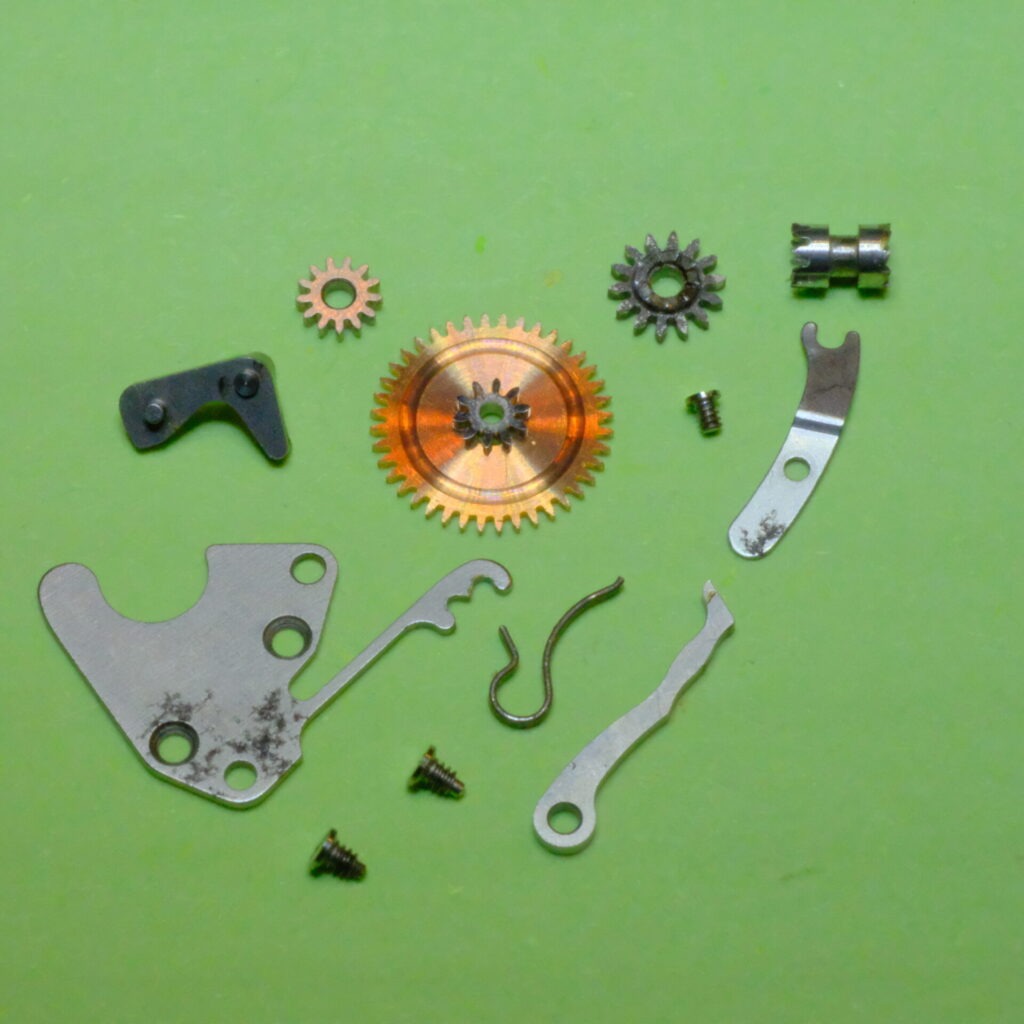
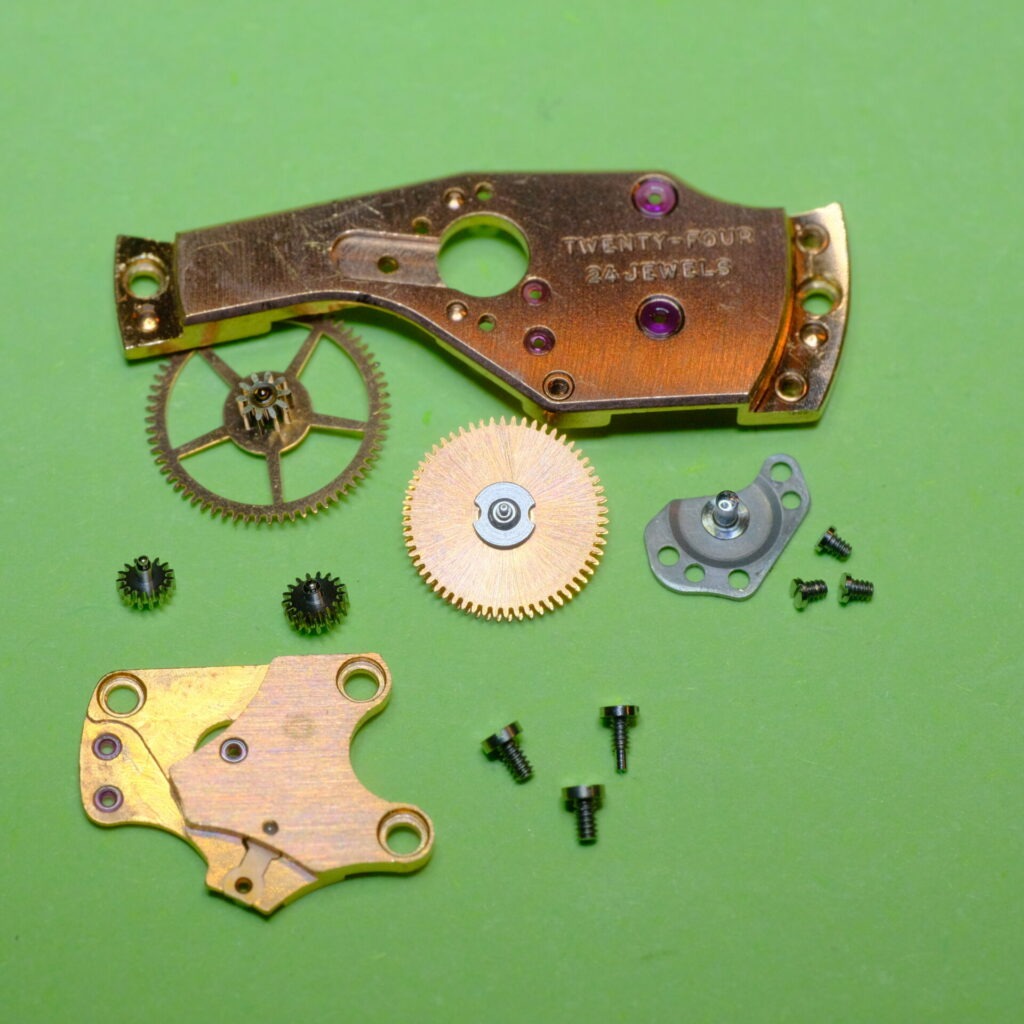
Disassembling the keyless works (left) is a very simple process, as this watch does not have complications such as a date or day-date function. The automatic module (right) requires a little more attention, mainly regarding the position of the reverser wheels. These two wheels look identical, but they have specific locations and orientations in order to function correctly. Here, the technical guide for the Calibre 551 (the base movement of the 552) was a great resource.
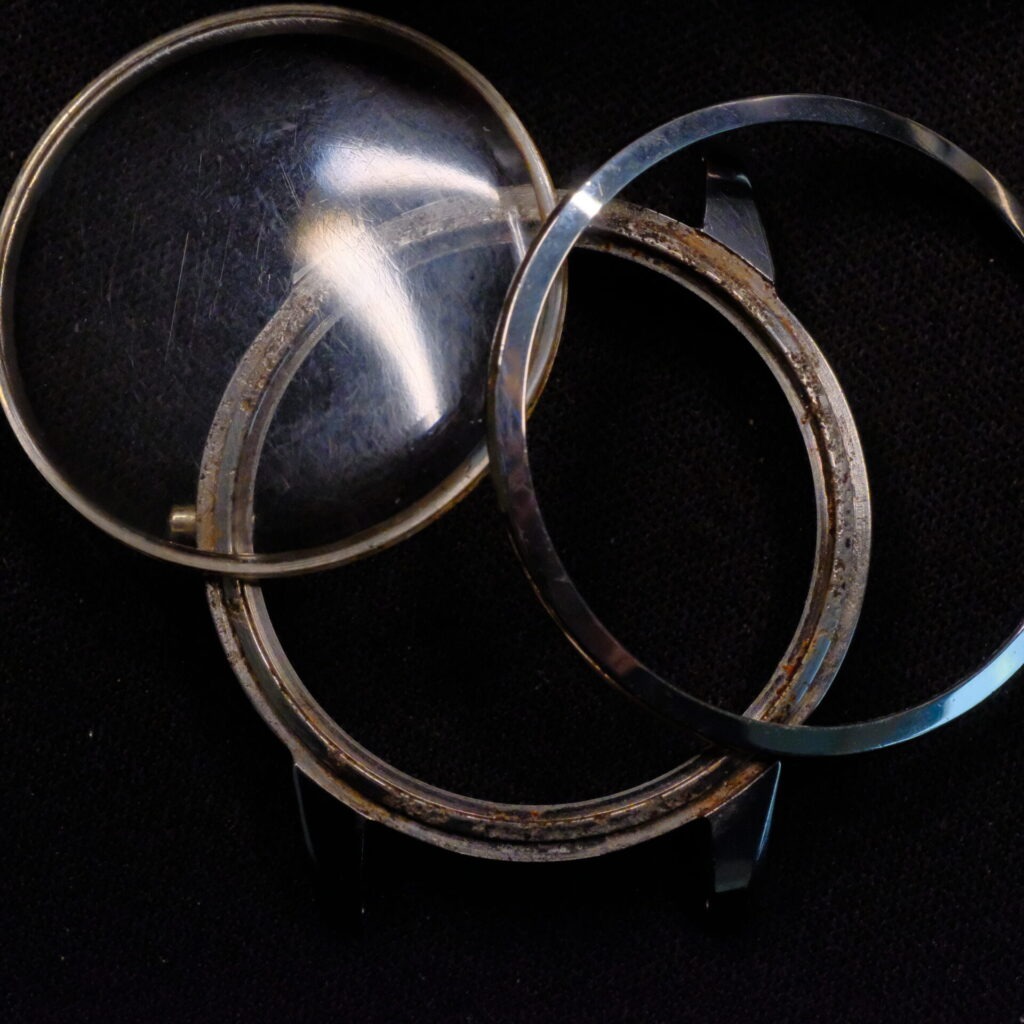
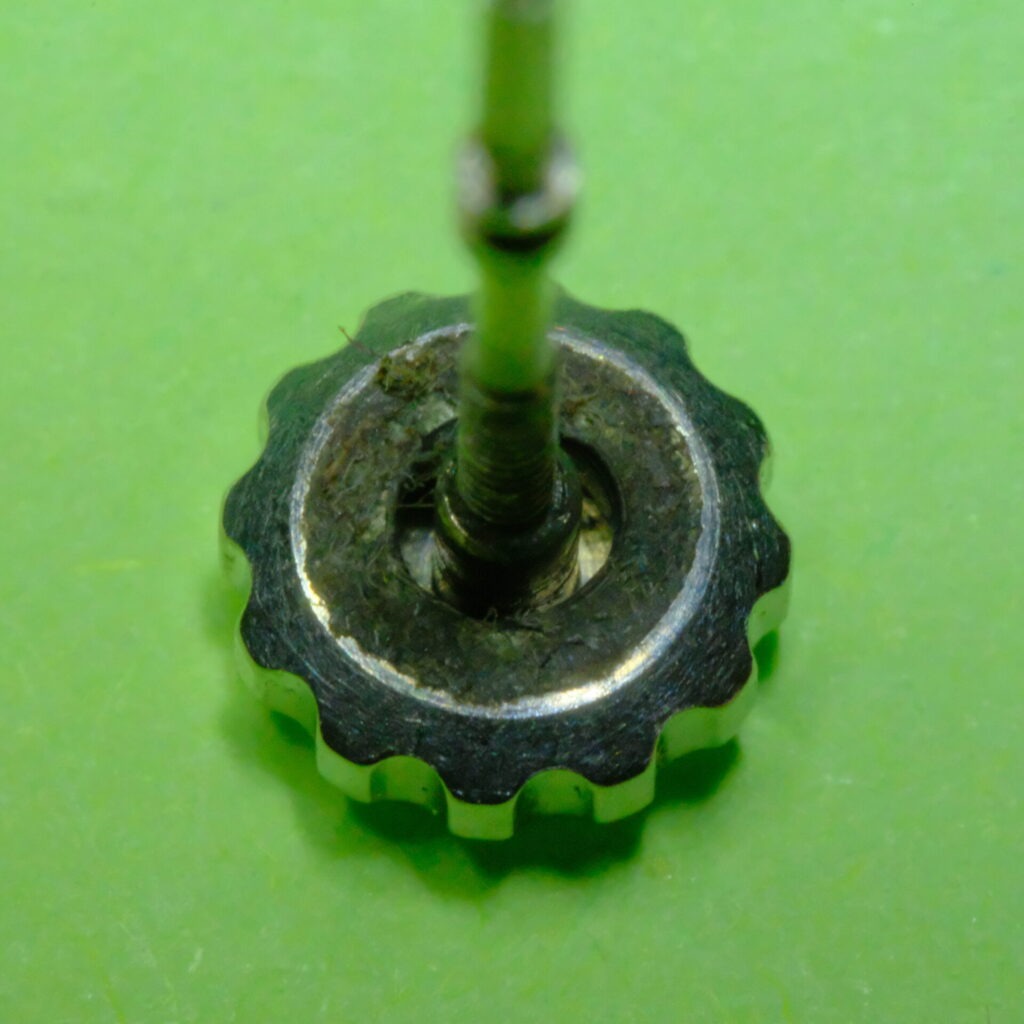
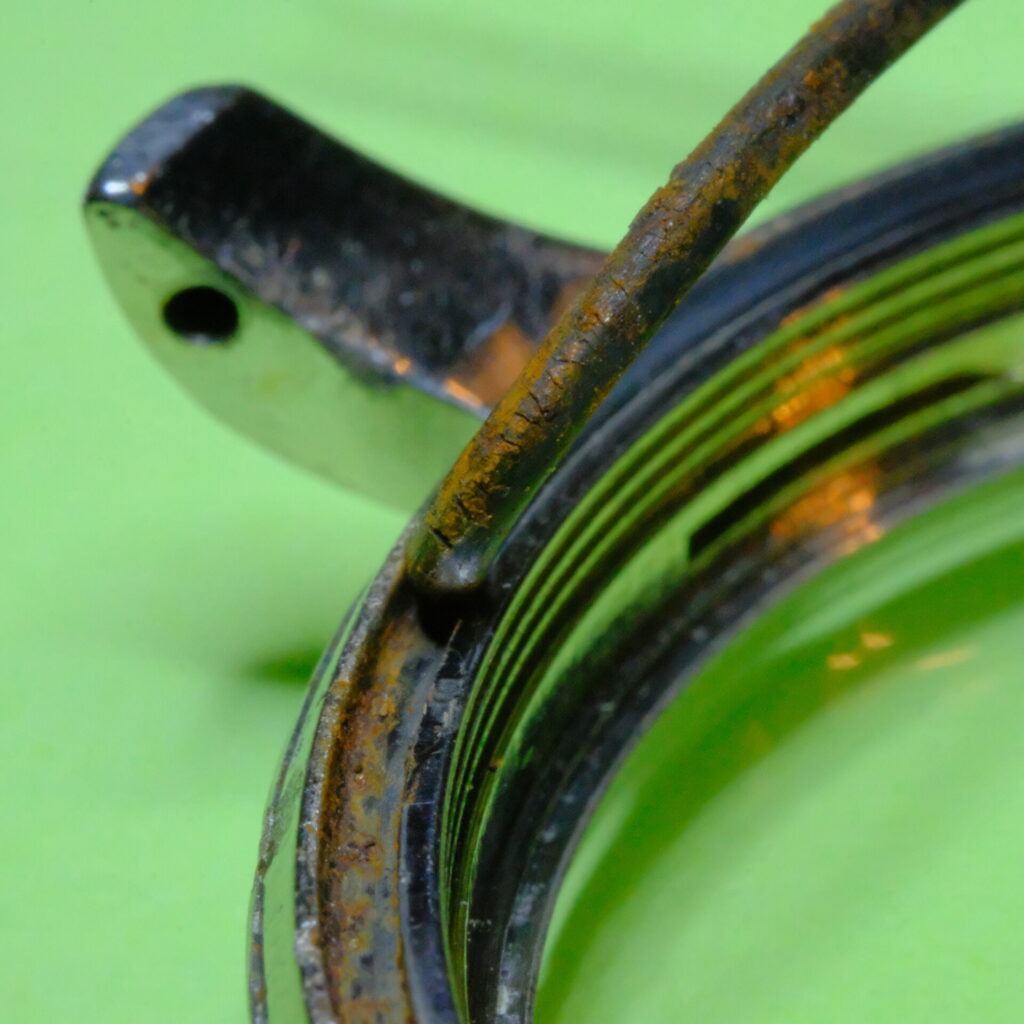
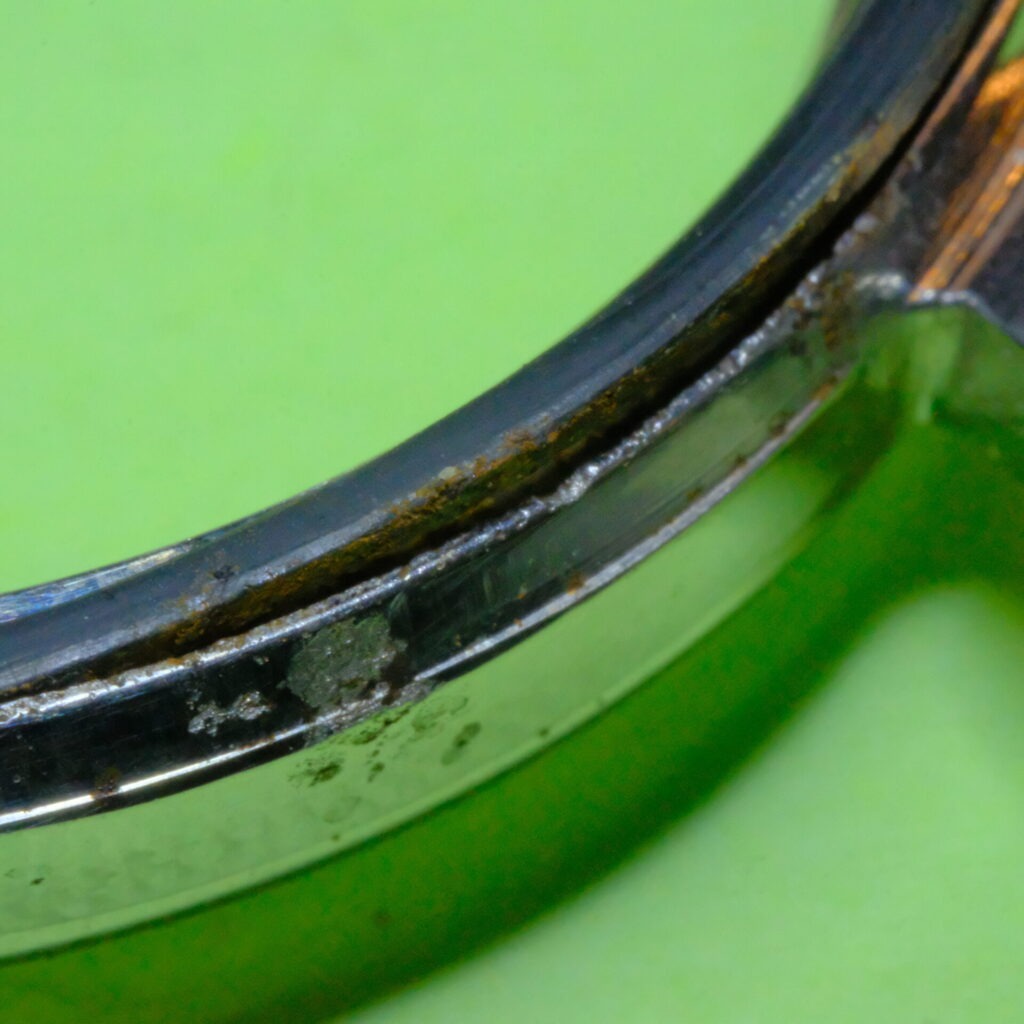
While the movement parts run through their cleaning baths, we turn our attention to the case. Here, our fears are confirmed. Moisture has made its way into the case and behind the gasket. The gasket itself is worn and brittle, requiring some convincing to remove. In addition to this, there is a thick layer of residue around the crown. Using a sharpened piece of pegwood, we manage to remove most of the gunk and rust from the case. Lastly, all parts were ultrasonically cleaned.
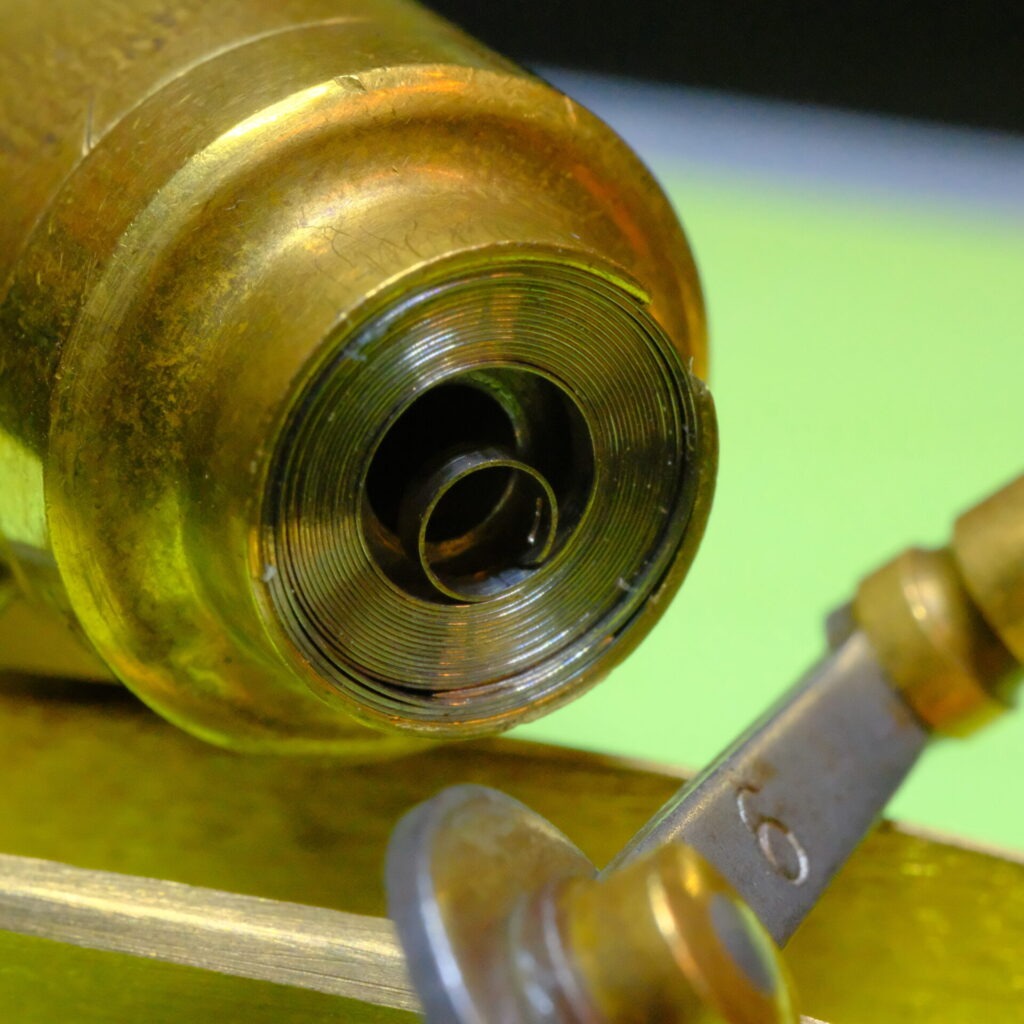
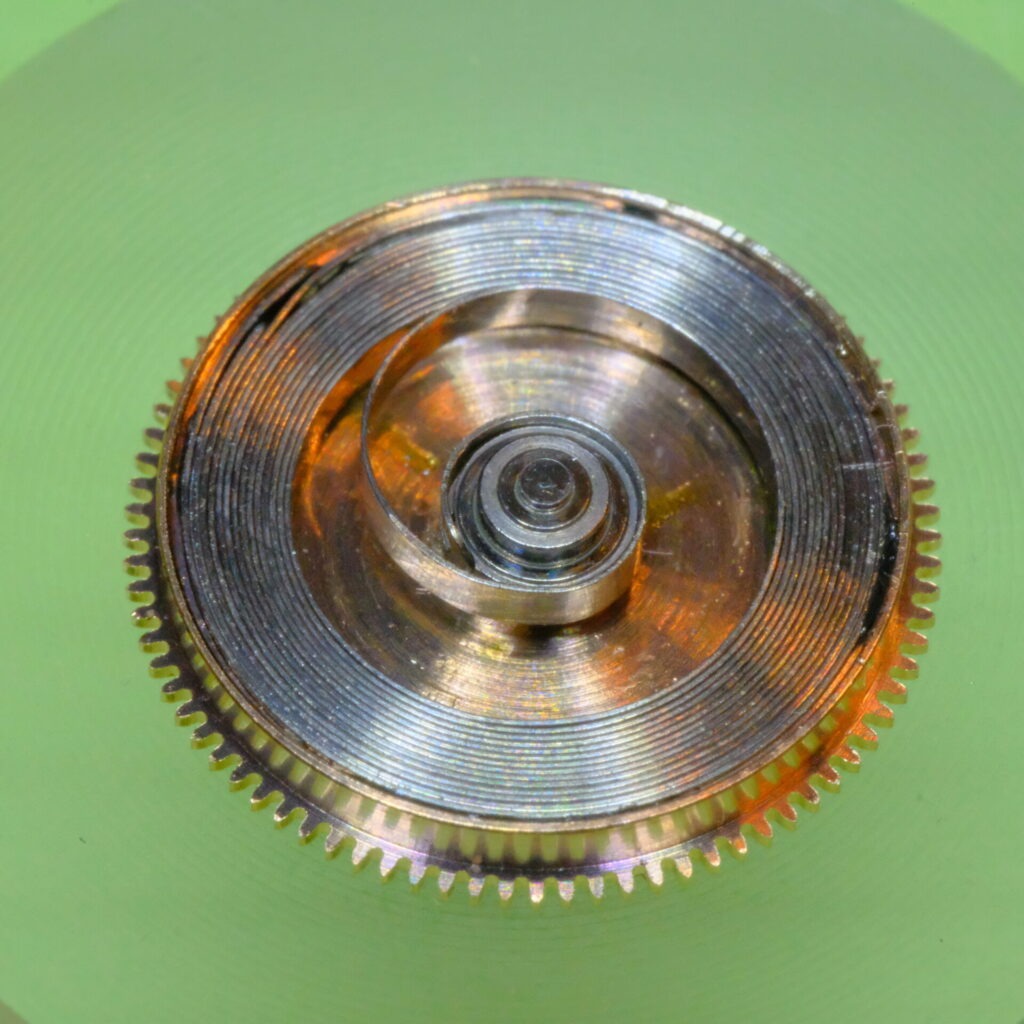
The mainspring seemed to be in decent shape. Using a mainspring winder tool (left), we are able to fit it back into the barrel.
/galler
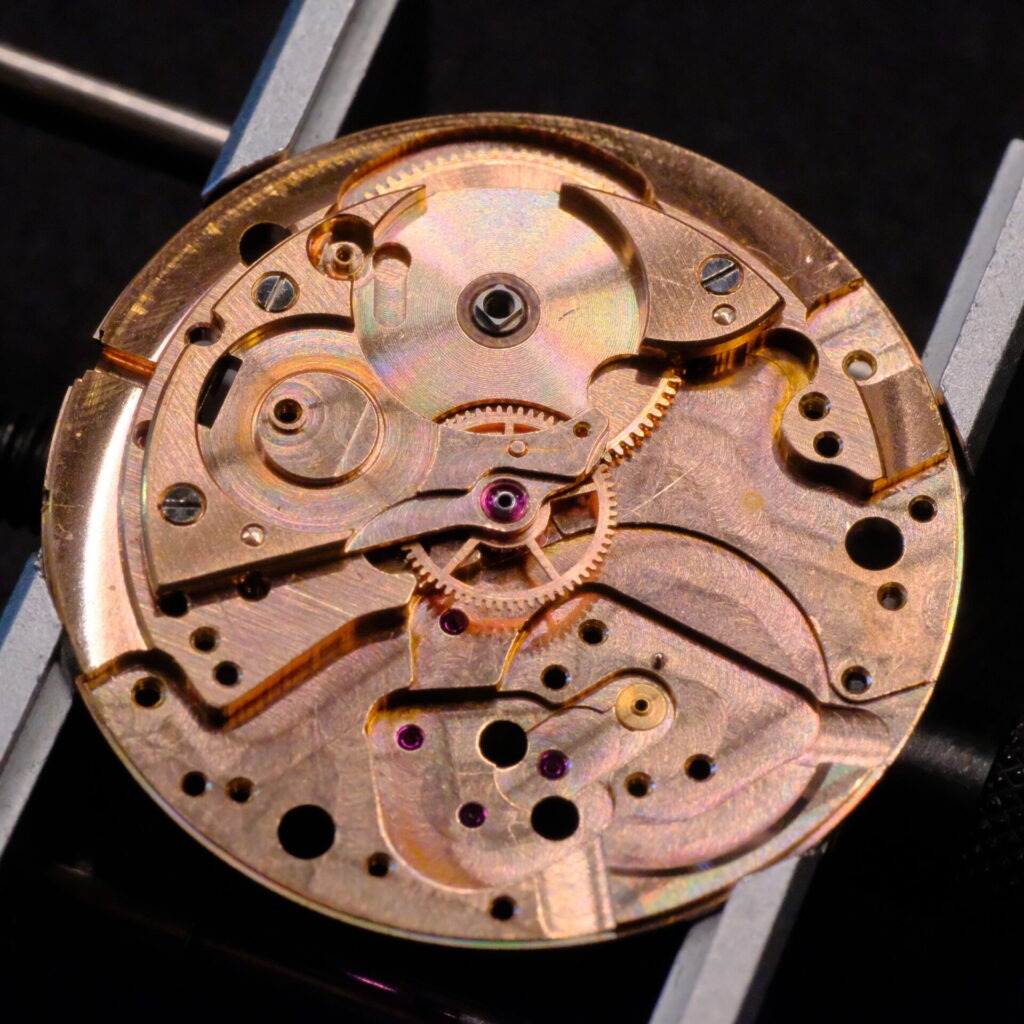
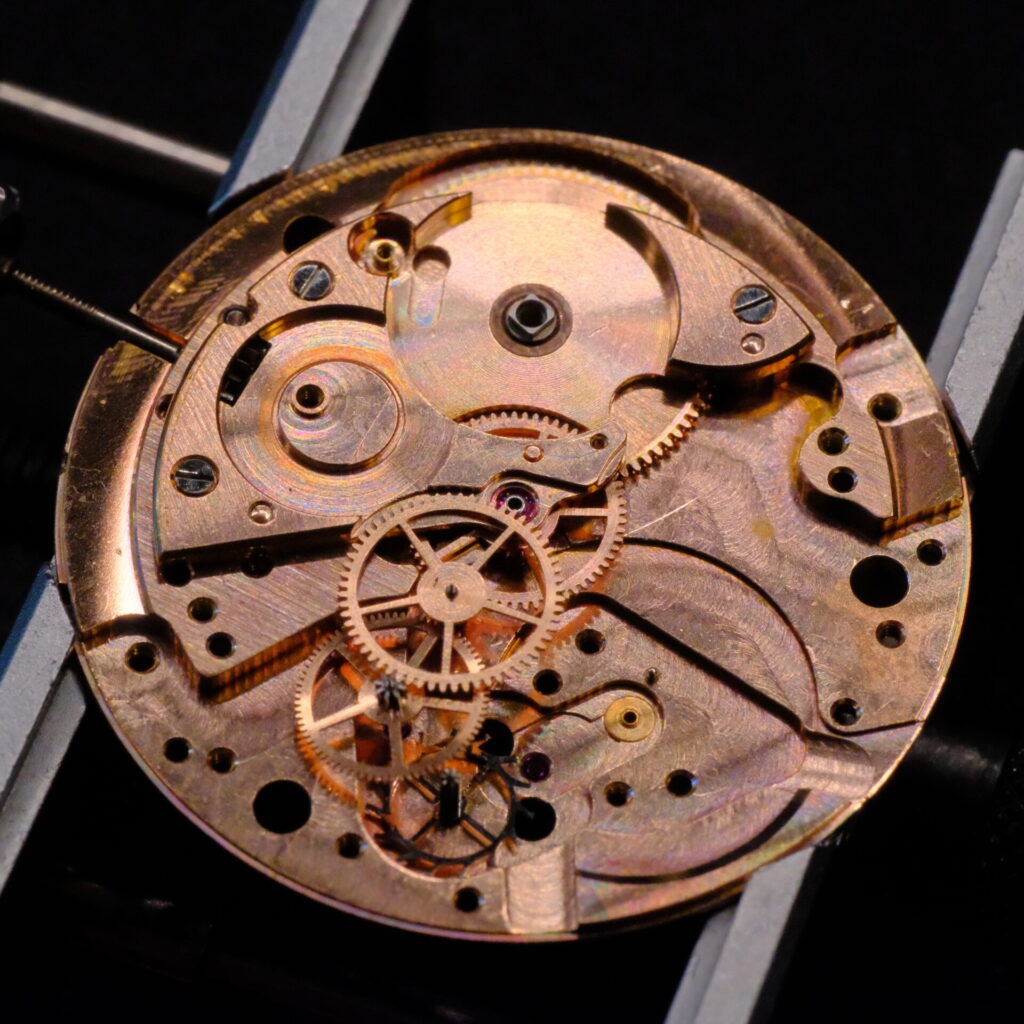
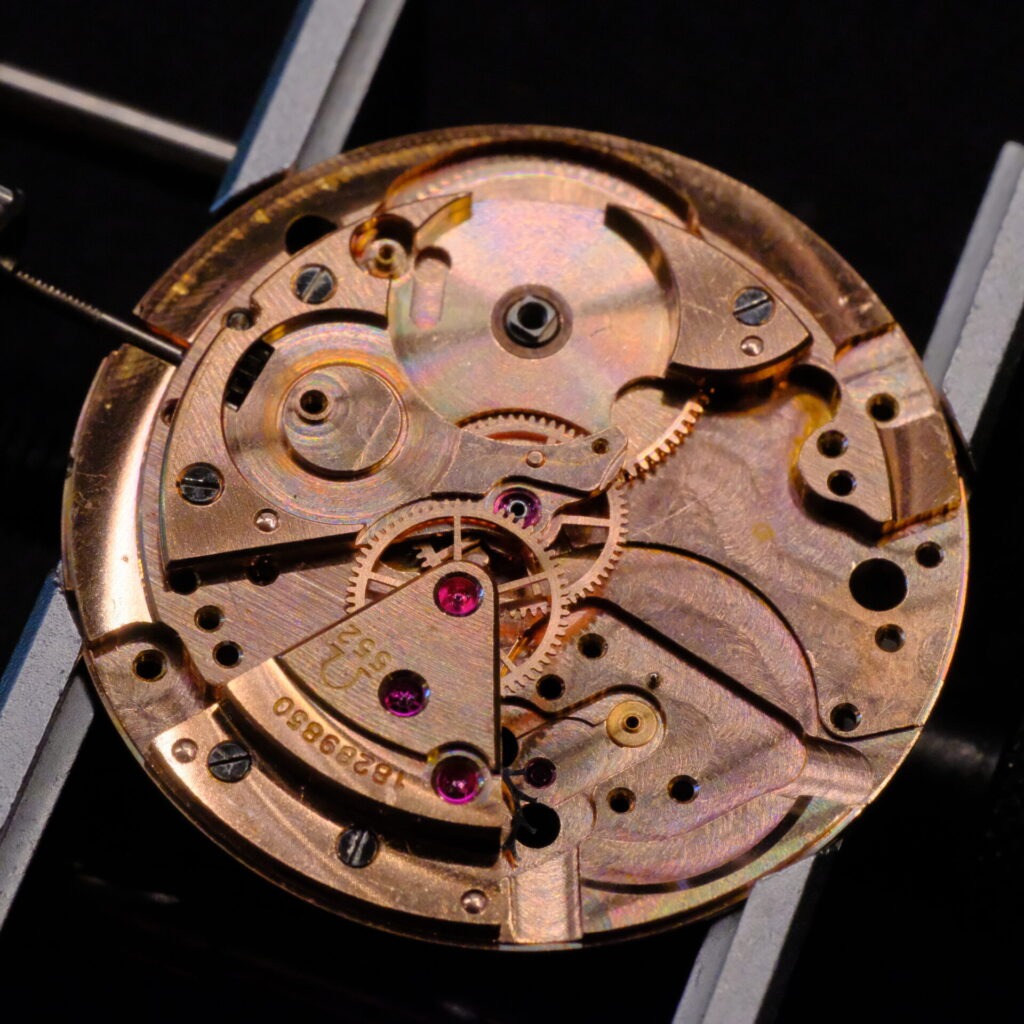
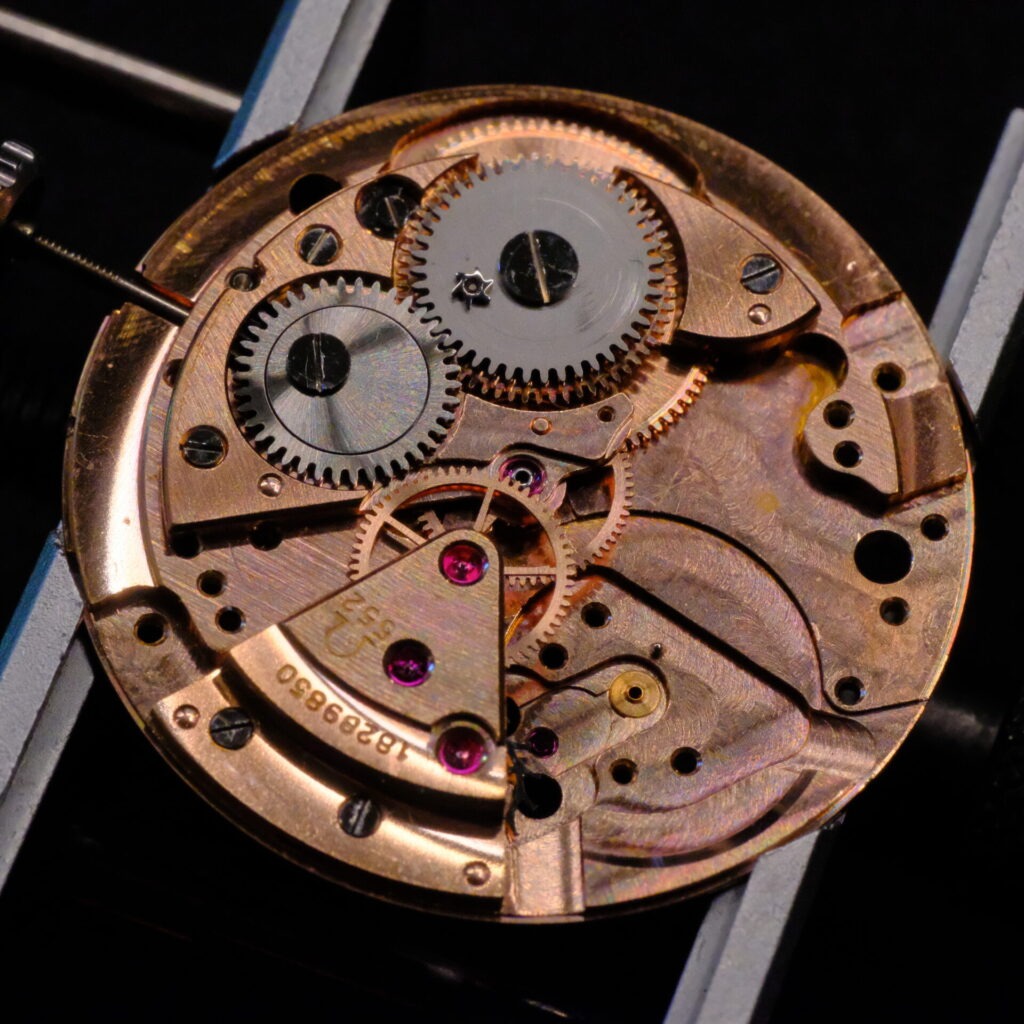
Having corrected the endshake and side shake on both the bridge and the mainplate by tightening the upper and lower barrel arbour holes, the wheel train is assembled and checked, with no major issues.
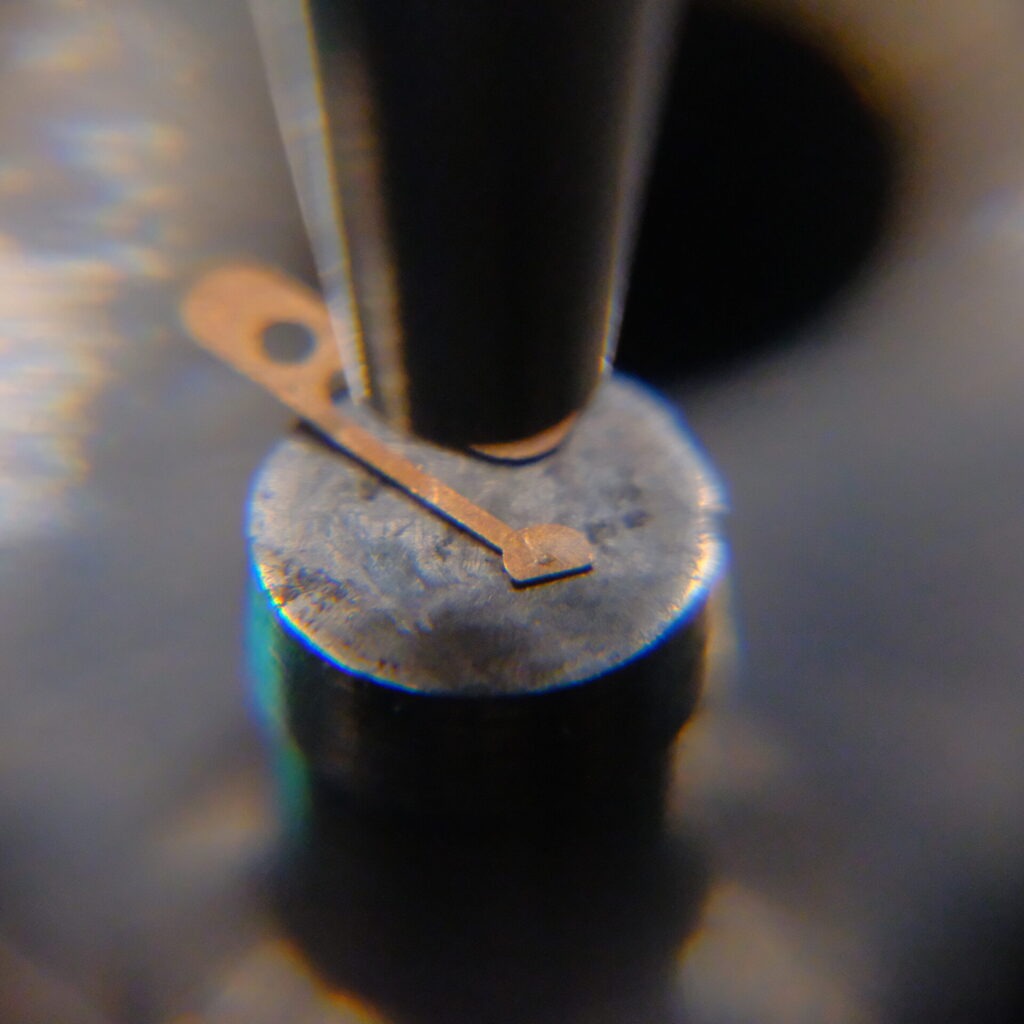
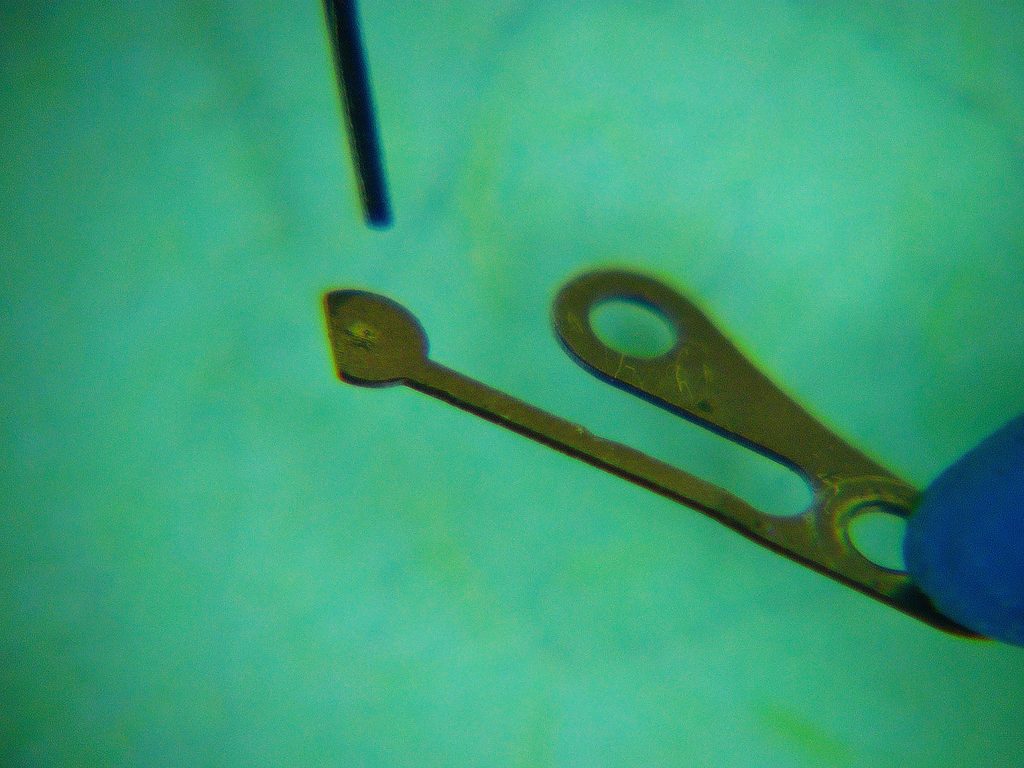
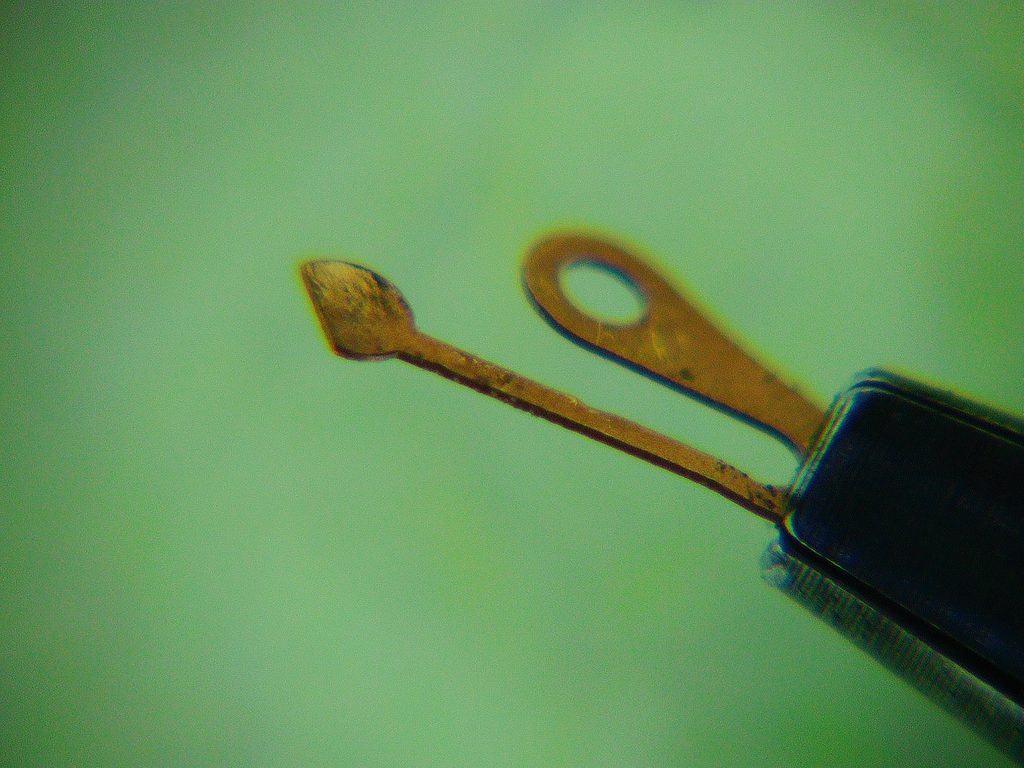
Using the staking set to flatten the dimple on the sweep second pinion spring.
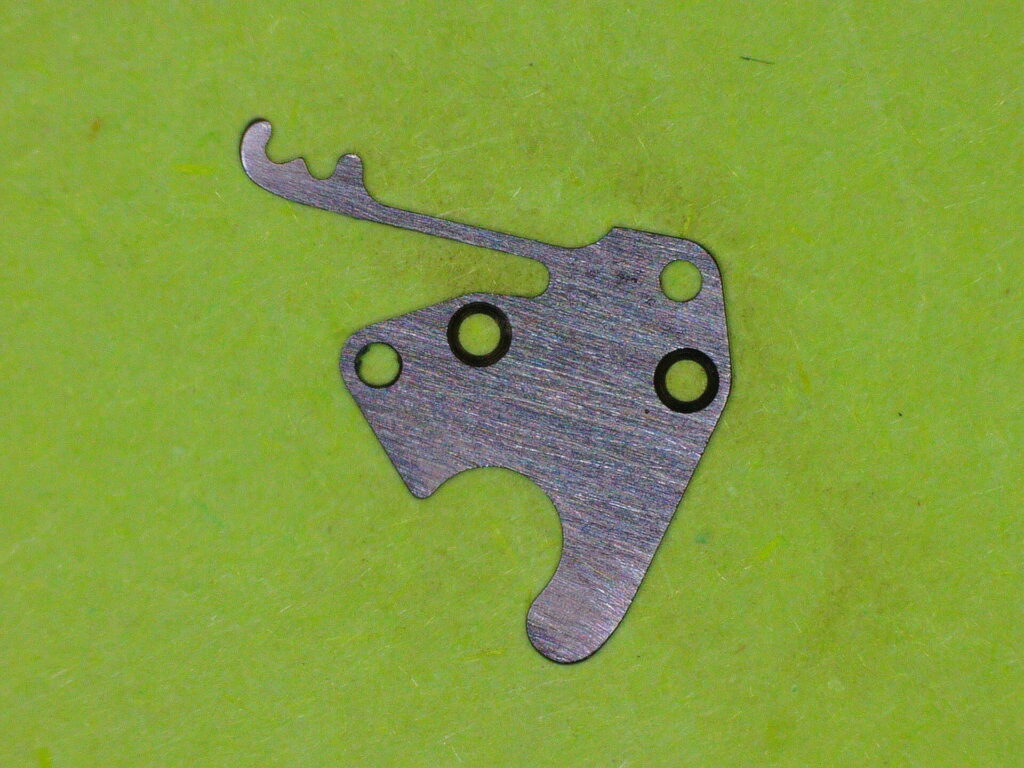
Sadly, I did not take any pictures during reassembly of the keyless works. The setting lever and setting lever spring were scrubbed with a fiberglass brush and given a light polish to remove the superficial layer of. Reassembly and casing all proceeded without issue.
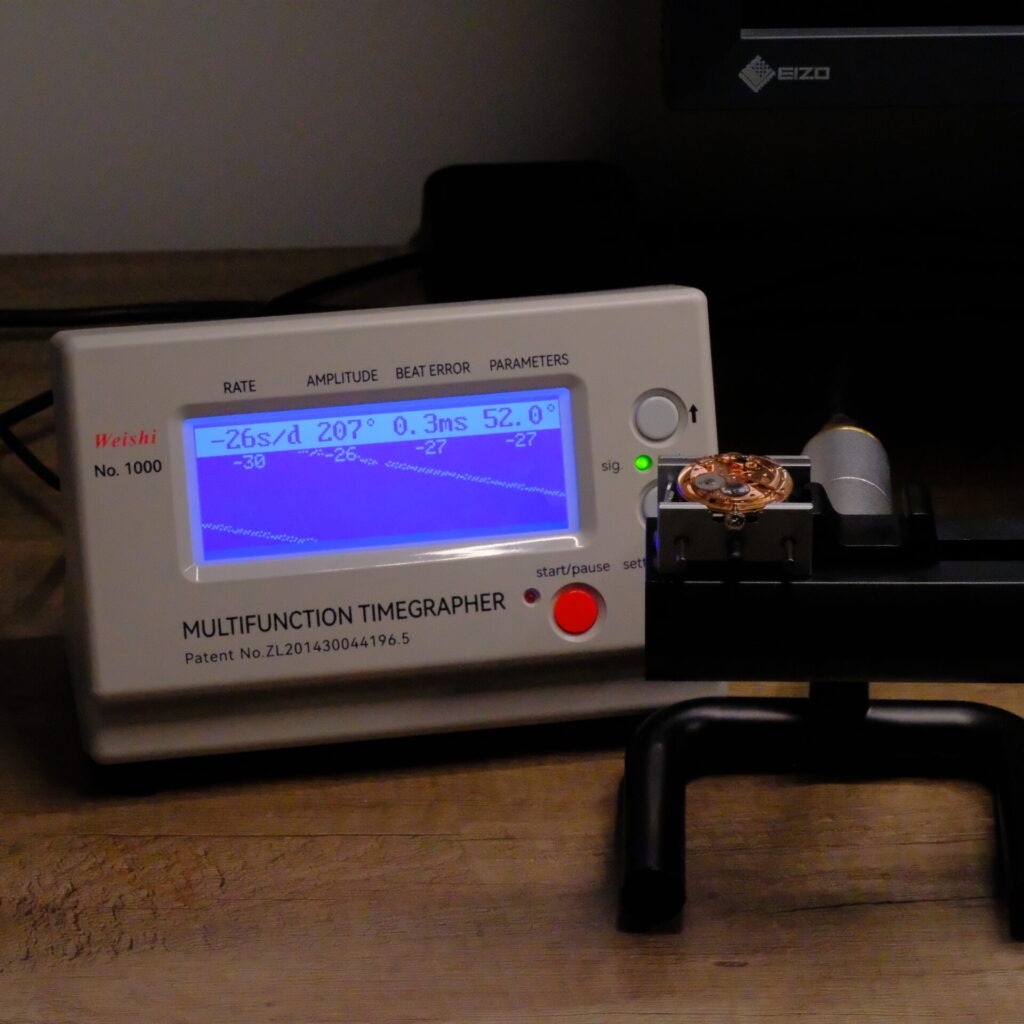
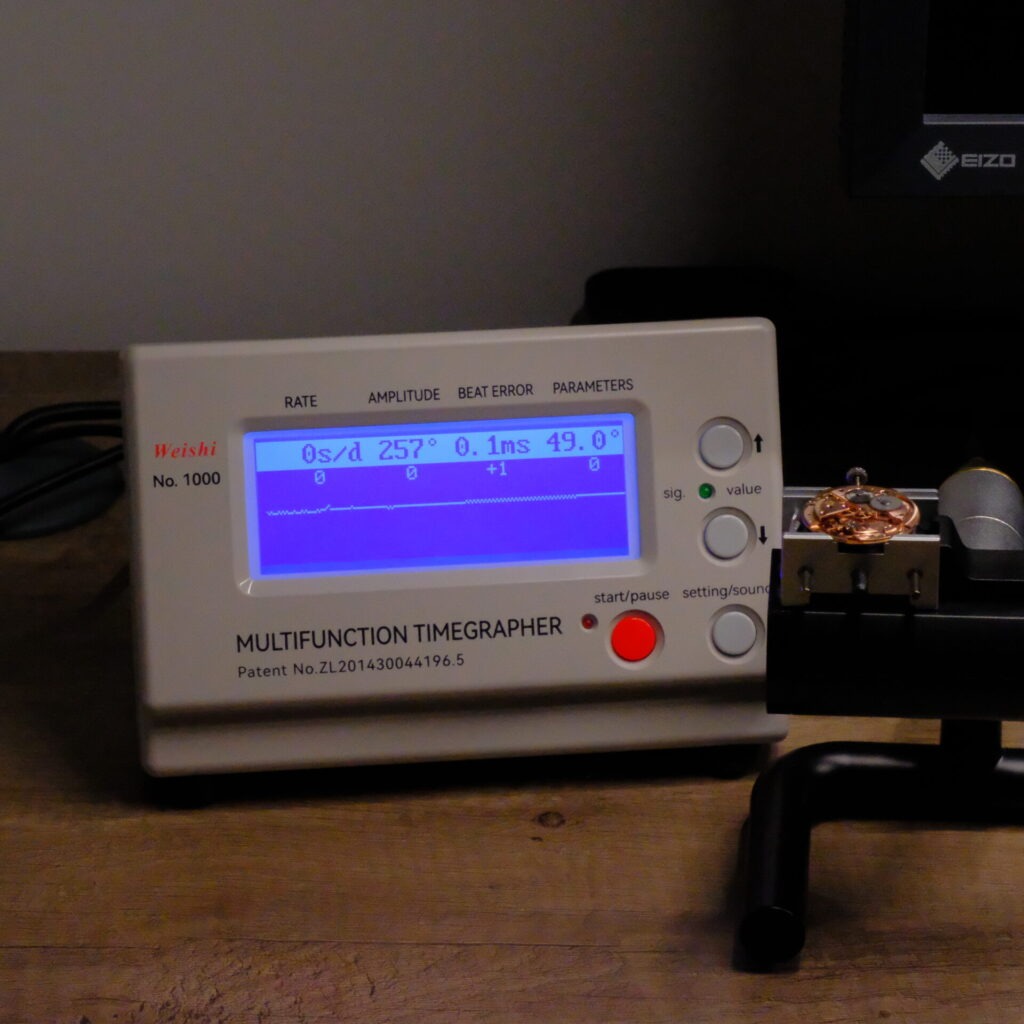
As an experiment, on the left are the initial readings on the timegrapher before lubricating the watch. After the movement was lubricated and regulated (right) – and letting the oils spread for a few hours – we saw a significant improvement in amplitude. These numbers are not terrible; after all, we do see an improvement, but they are not the numbers we were looking for.
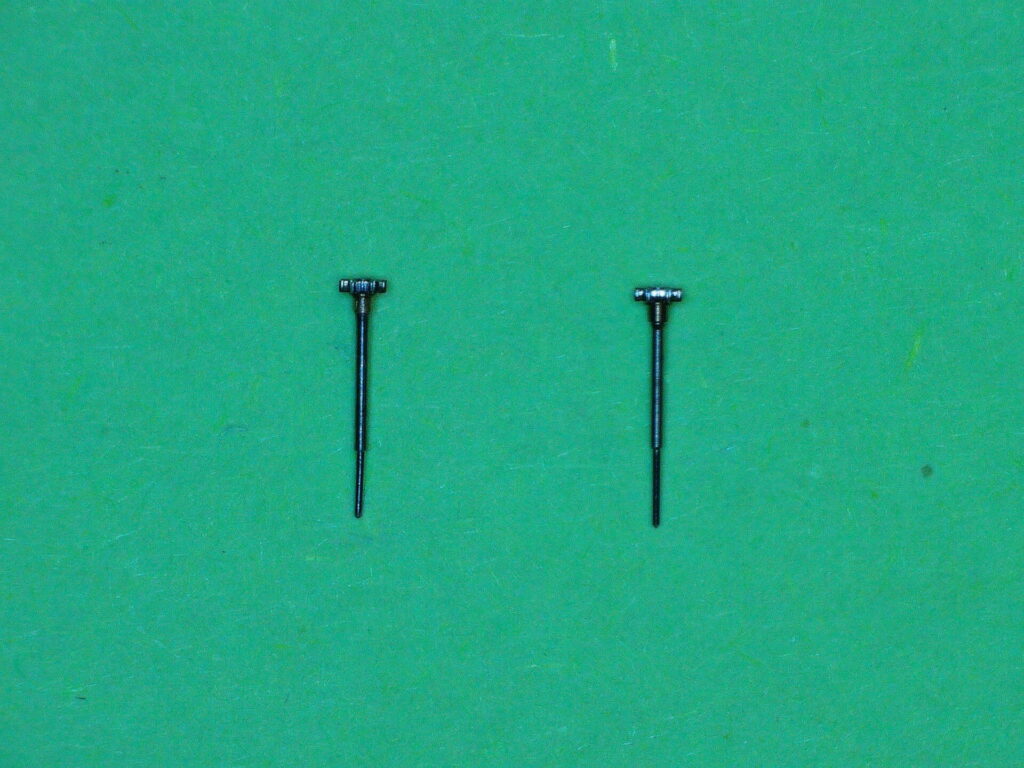
This took some troubleshooting, but in the, end we found that our sweep second pinion was slightly bent. Above are the new replacement part (on the right) and the original (on the left). The difference is subtle but will cause the pivot to rub inside the tube of the centre wheel.
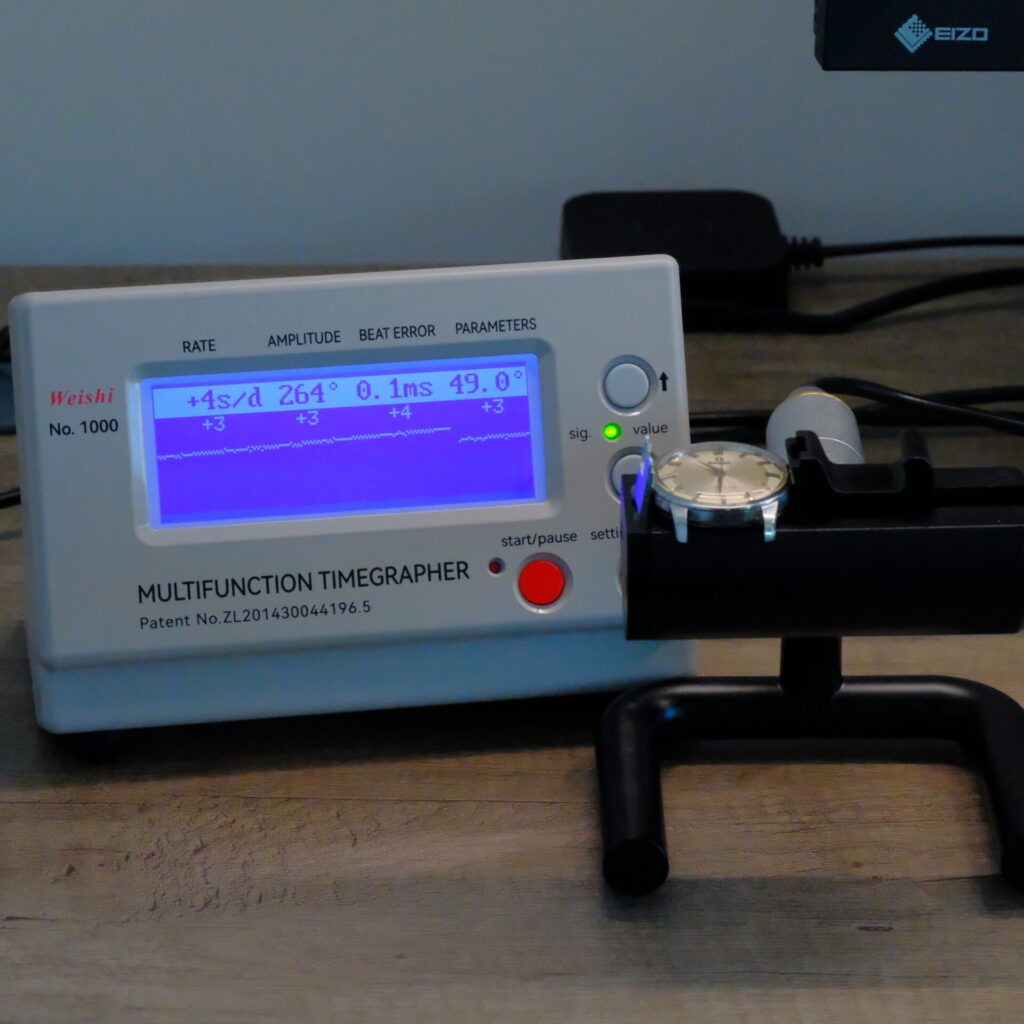
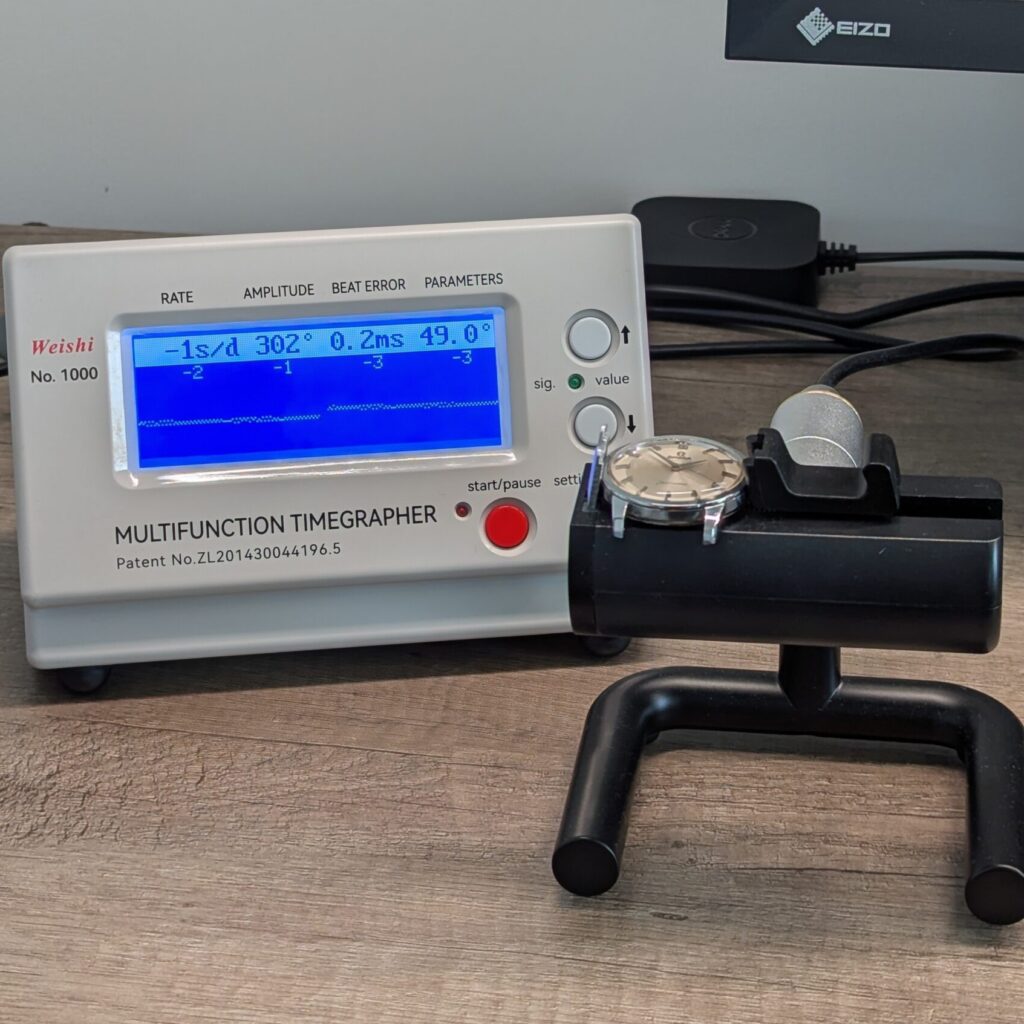
And with the new part fitted and after disassembling, cleaning and reassembling the watch, we ended up with a much better amplitude overall. Here we see how our results improve after the watch runs for an initial few hours (left) and 24 hours (right).
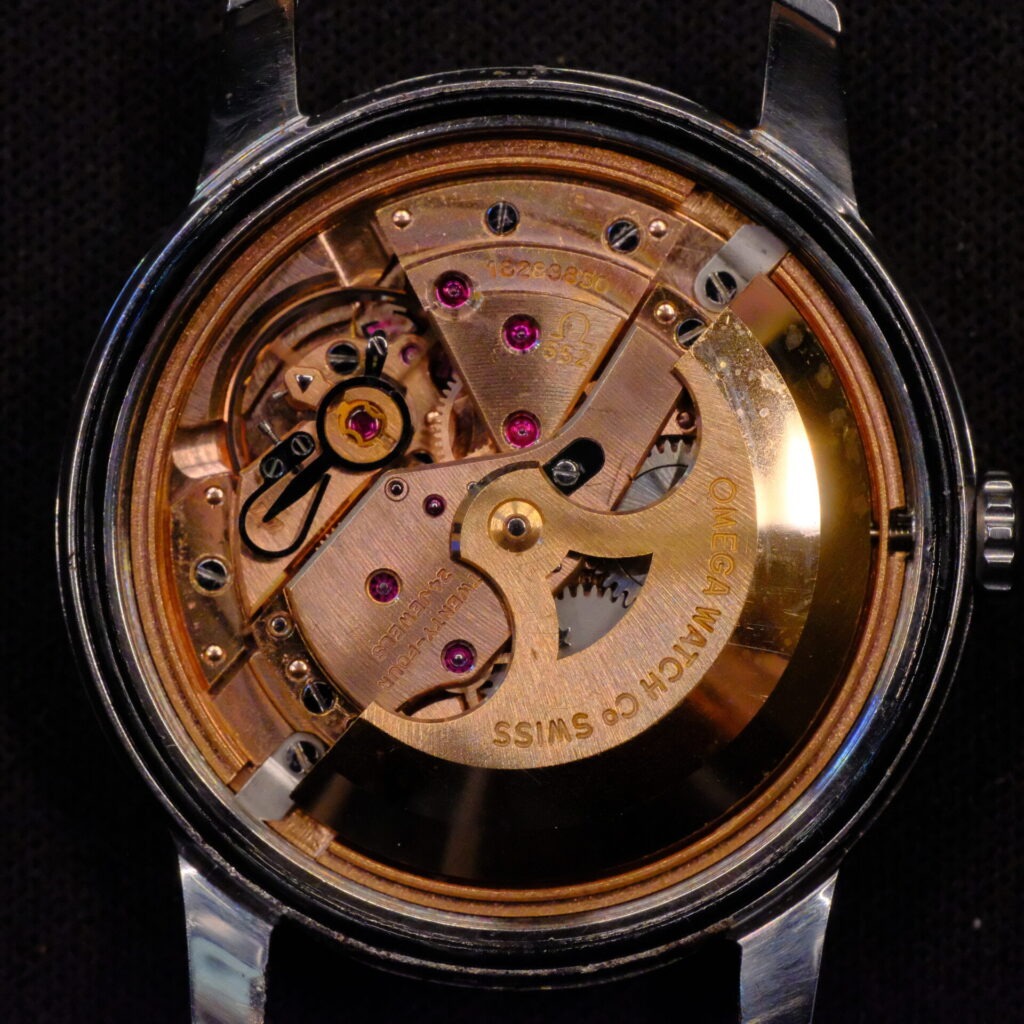
The dial and hands are given a very light clean, using some leather buffing sticks to gently polish the hands and hour markers. The crystal, too, is given a slight polish with Polywatch and kept original. With a new, lubricated rubber gasket installed, it was time to put the caseback on the watch and take some close-up photos!
– Wrist Made Workshop –